Before you start the parts you need to order are:
Valve stem seal (Inlet) 90913-02088 (12)
Valve stem seal (Exhaust) 90913-02123 (12)
Cam shaft oil seal 90311-40020 (2)
I recommend that if you've not had the camcovers off in a while you also order the following:-
Cam cover bolts 90105-06166 (12)
Cam cover nut 90179-06288 (4)
Cam cover washer 90210-07001 (16)
Cam cover gasket (Inlet) 11213-46020 (1)
Cam cover gasket (Exhaust) 11214-46011 (1)
You'll also need some gasket sealant. I bought the Toyota stuff which
was a little expensive to say the least, but hell, I've got it now so...
Seal packing 08826-00050 (1)
If you've not replaced the spark plugs in a while also, you may want to order the following:-
Coil pack clip 90980-11246 (6)
Cam breather hose 12263-46010 (1)
Cam breather hose 12264-46010 (1)
As far as specialist tools go you'll need a couple of items. I ordered mine from snap-on.
Tool, Overhead Valve GA318A
Pliers valve stem seal YA8230
You'll need to make a modification the valve tool (which is used to
remove and install the valve keepers) In stock form it is knurled. Thus
needs to be removed otherwise it can scratch the head around the bucket
bore. I turned mine down on a lathe. The tool actually comes in two
main bits:-
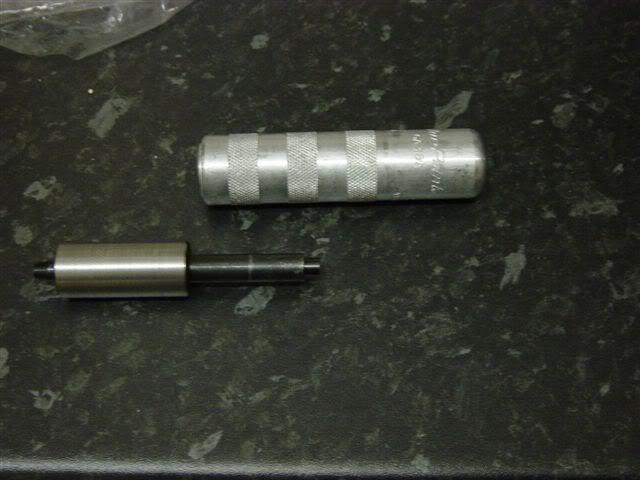
Hopefully you can see where I machined off the knurling:-

You'll also need a length of rope. I got 2m worth of 6mm dia rope.
Once you've got that little lot, you can be sure that the things that
are to be quite honest more than likely to break or leak or just need
replacing is covered. So I guess the first thing is to get on with the
job.....
There's 10 bolts which you'll need a 5mm allen key to undo.
Once that's done you'll need to remove the two cam breather pipes:-
12263-46010

and
12264-46010
These were recently replaced so were nice and supple, if you've not replaced yours recently they'll be hard and will more than likely split.
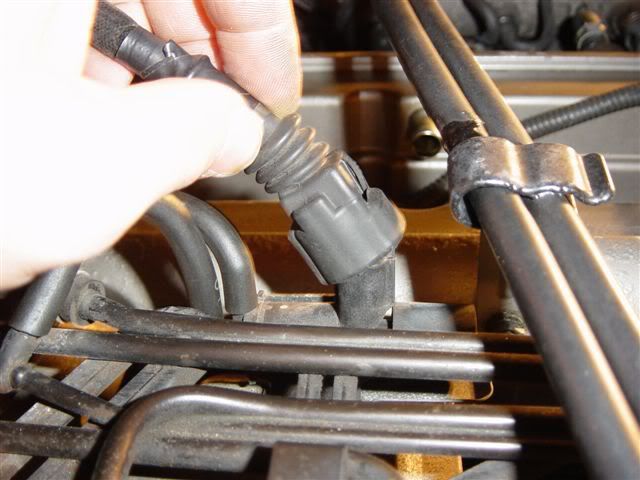
Next you need to remove the coil packs.
To do this you need to unclip the 6 plugs that connect to the coil packs. They look like this:-
90980-11246
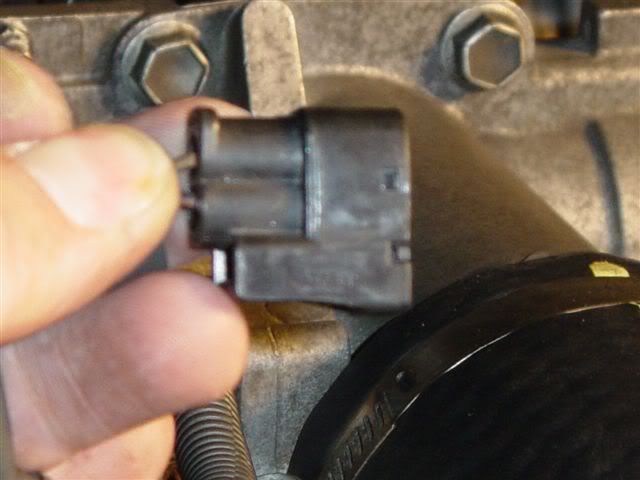
and

Again these will tend to go hard and brittle with age, and will tend to dissintegrate on contact so best to order a replacement set first.
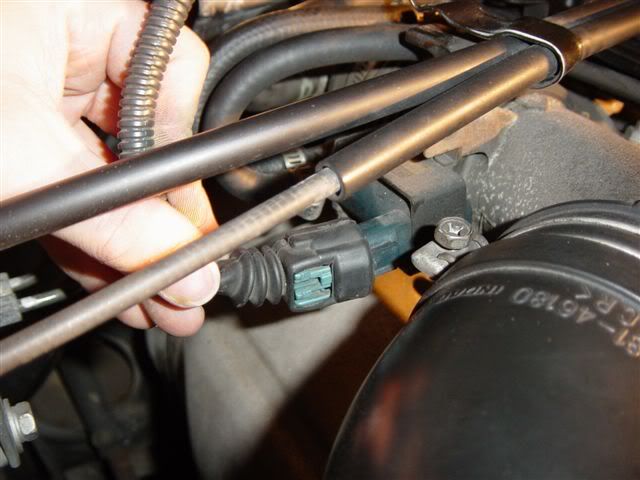
You'll also need to disconnect the plugs that connect to the intake air control VSV:-
and also the exhaust bypass valve vsv:-
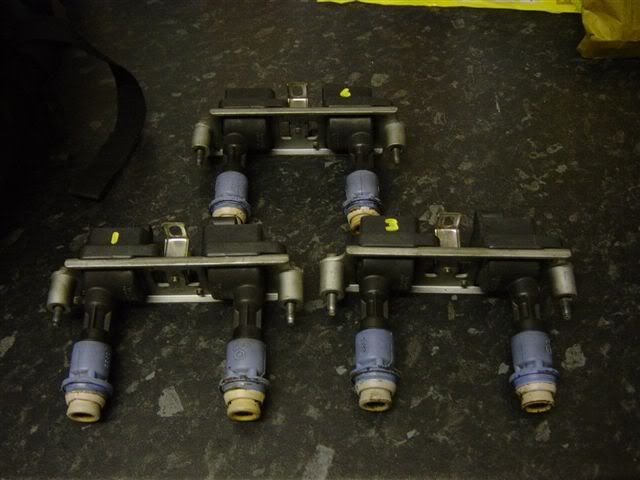
Next the coil packs. There's 2 bolts for each coil pack. 3 coil packs. As I removed each one I marked them so I could match them back to the cylinder they came from:-

Next to unbolt the cam covers there are 12 bolts and 4 nuts.
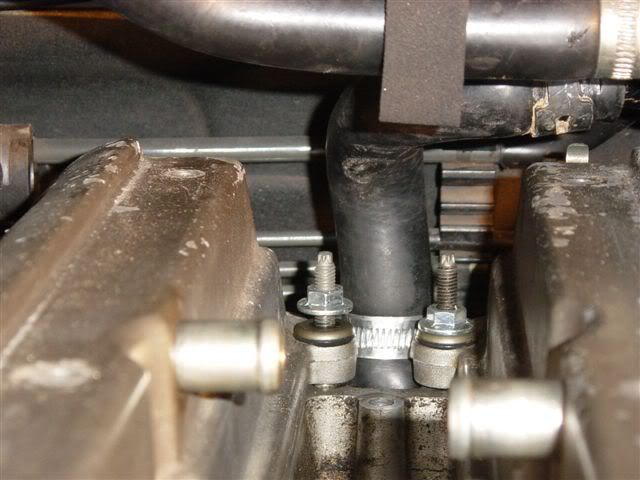
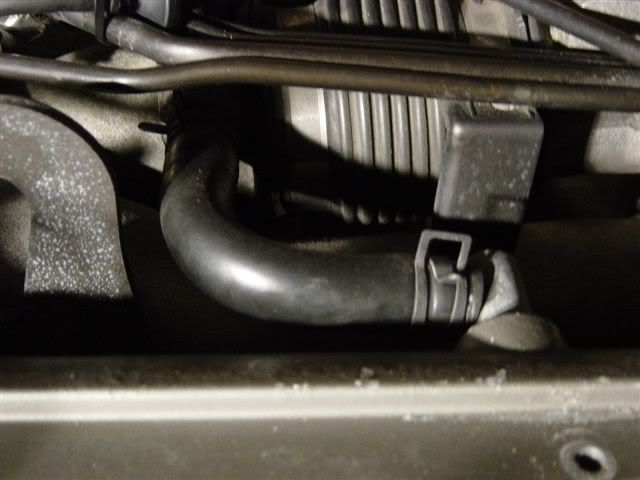
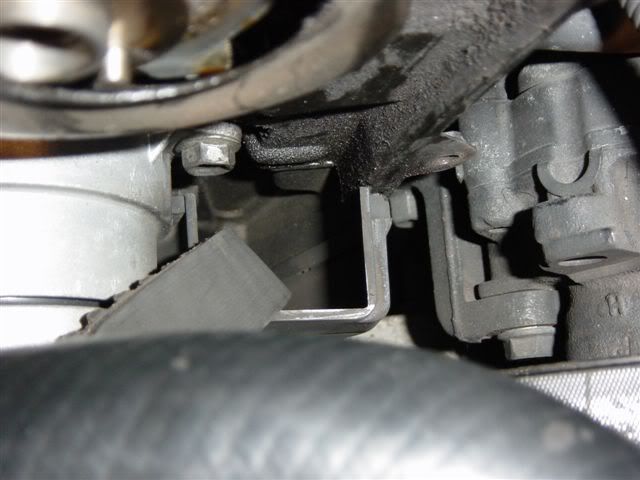
Th real pain here is getting to the last two bolts on the outside of each cam-cover, and the two nuts on the inside near no.6 cylinder. The problem is that the air tube that feeds air to the idle air control valve gets in the way. It has to be removed!
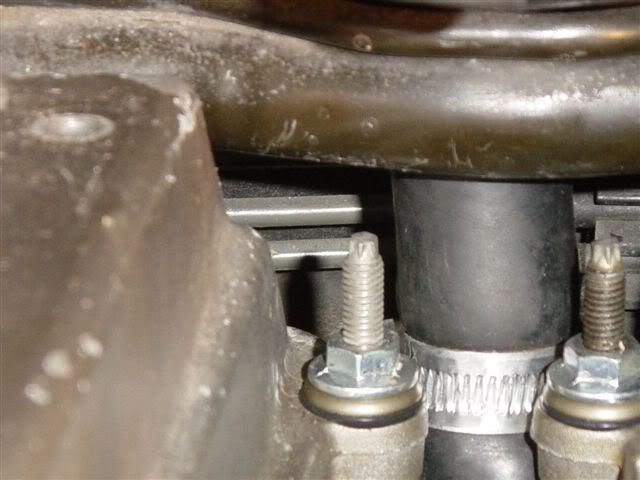
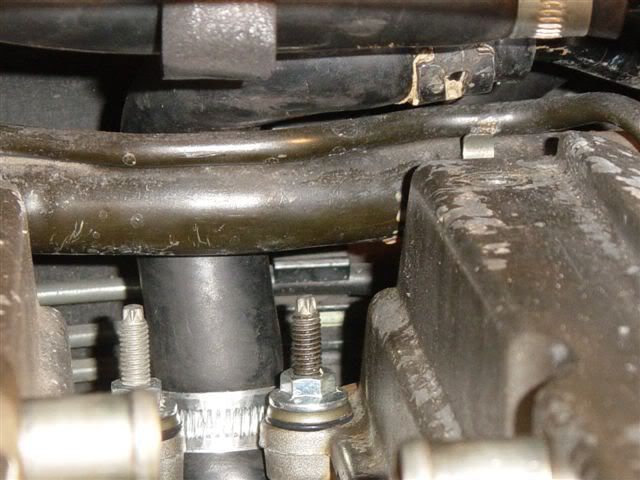

It's got 5 pipes attaced to it and is held against the inlet cam cover by a spring clip. Once I'd undone the 5 clamps, it was fairly easy to shuffle it out. Be careful as the pipe above it runs to the heater matrix, so don't yank it around too much as you don't want to split the matrix as it's a dashboard out job to replace it.
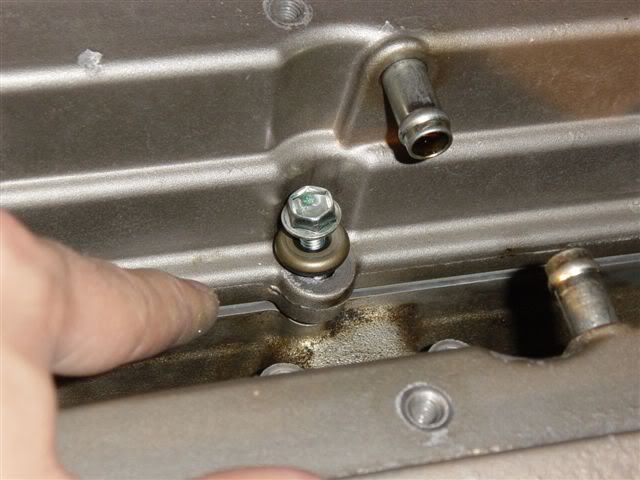
Once you've removed the idle air crontrol valve pipe, you'll be able to get to the nuts and bolts:-
Now if the nuts come off, but the washers underneath won't move, try gently prying them off with a flat bladed screw driver. If that doesn't work, the next step of aggresion involves a hammer and the same screw driver. Using the screw driver (Or even a flat punch if you have one!) gently tap the washers around. They'll eventually start to turn, and then you can unscrew them. (The plastic bit melts around the thread of the stud, and forms it's own little thread - hence why it's difficult to just pull them off)
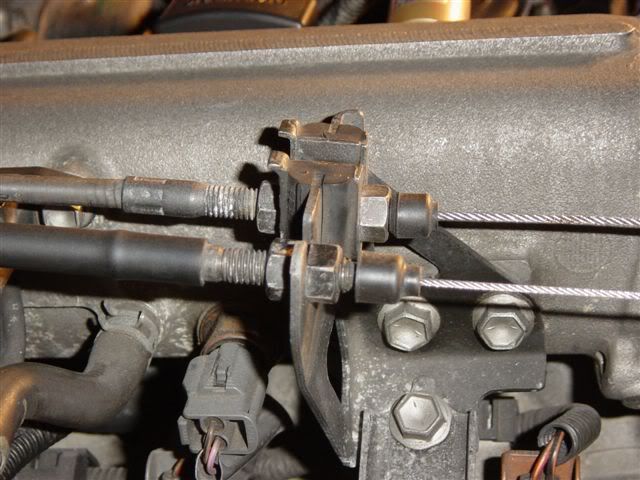
Now before I removed the cam covers I tidied around a little. I undid the accelerator and cruise control cables, and tied them out of the way:-
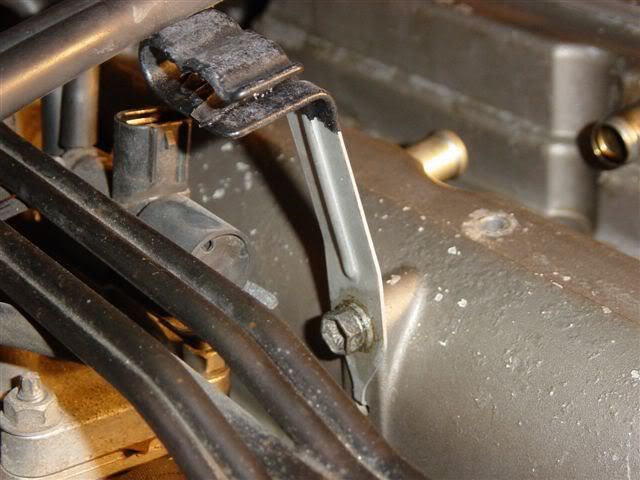
An I also removed the throttle cable support bracket otherwise you can guarantee it will just get in the way!
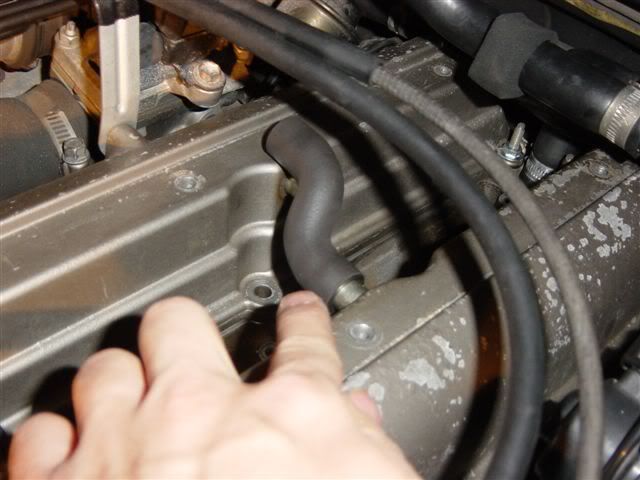
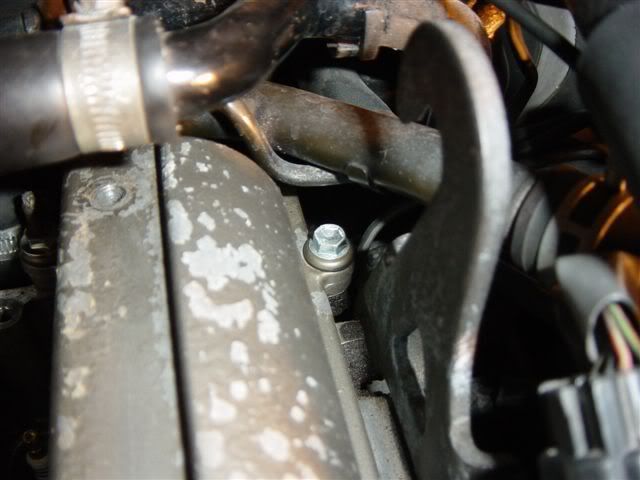
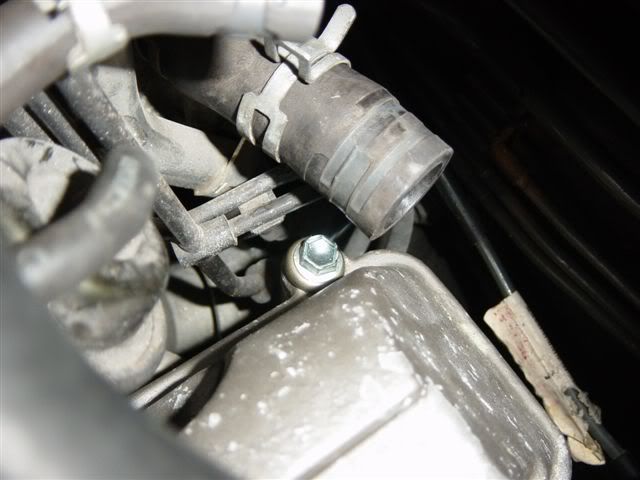
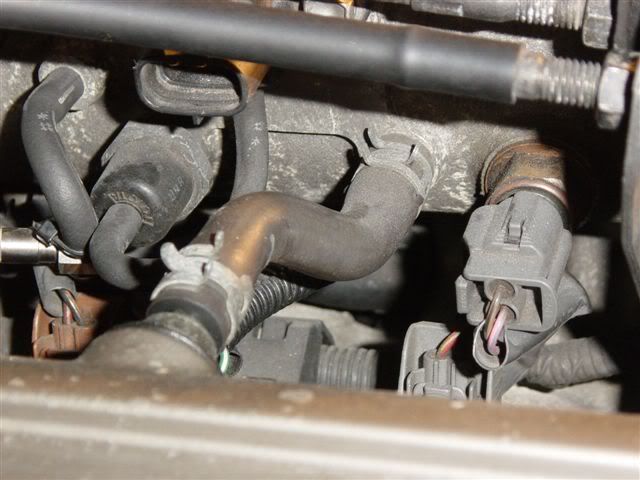
There's also two last pipes to remove, one on each cam cover:-
and
OK so next of all you need to remove the cam covers,
They take a little bit of maneouvring to get them out, but be persistance and they'll eventually come. If they're particularly stubborn, first try giving them a good whack with a plastic faced mallet. If you still have no joy, gently lever then with a flat bladed screw-driver. To avoid scratching the head, wrap the end of the screw-driver with tape.
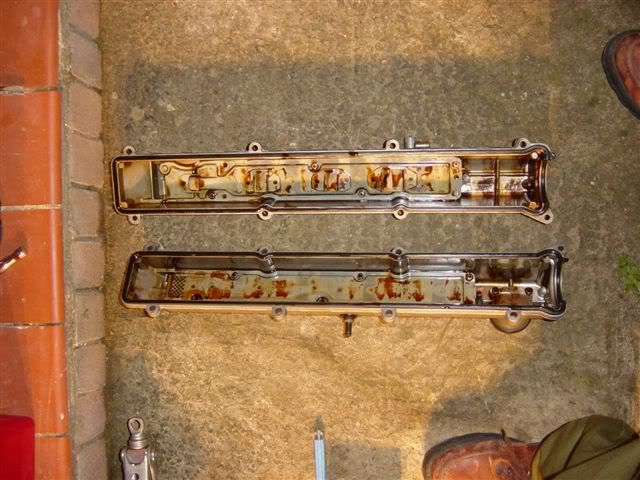
Exhaust side off:-
And both of them:-
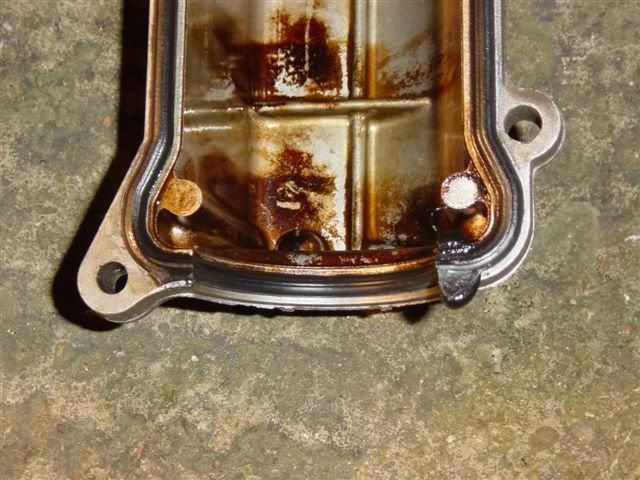
There may be some remnants of the seal packing gasket type gunk on the camcovers and the head near the front of the engine. You should be able to just pick it off it's the black blob to the lower right of this pick:-
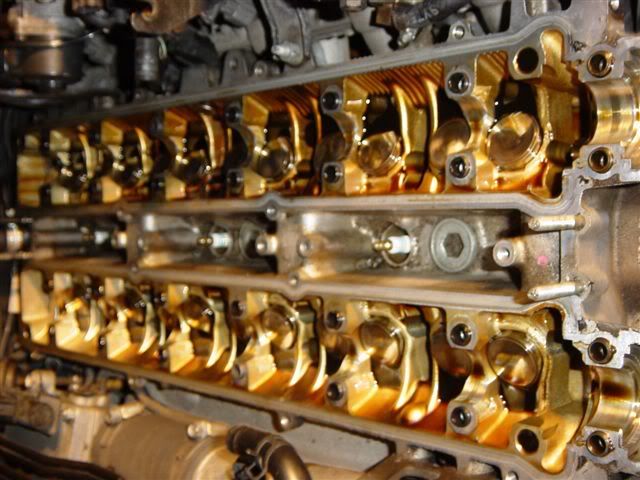
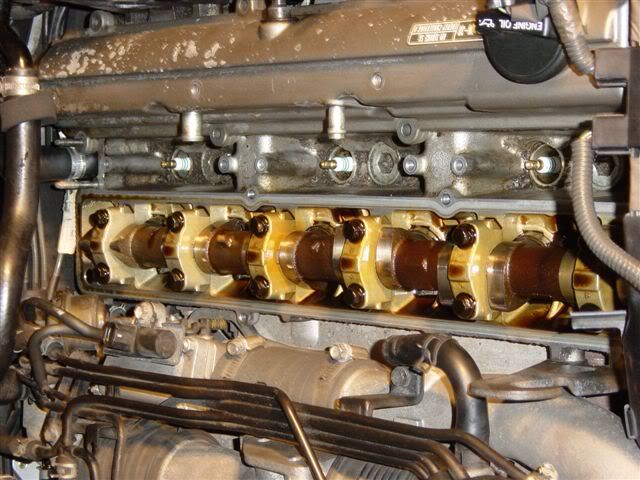
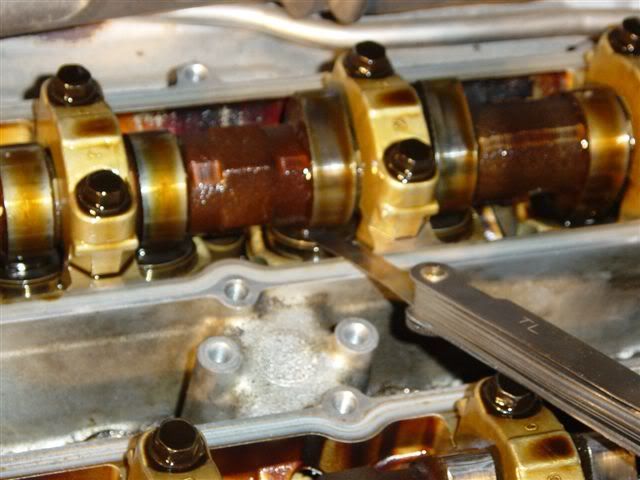
With the cam covers off, now's a pretty good time to measure the shim clearances. The gap between the inlet cam and the valve shims should be between 0.15-0.25mm (0.006-0.010 in) and on the exhaust side they should be between 0.25-0.35mm (0.010-0.014 in) If they're outside of these tolerances then make a note of which shim on which cylinder and also what value you measured with the feeler gauge. Mine were between 0.15 and 0.2 mm on the inlet and 0.25 and 0.3 mm on the exhaust - perfect.
Next remove the timing belt cover. There's 3 allen bolts. You'll need the 5mm allen key again. There's one in the middle:-
And one either side:-
Couldn't get a good shot of the RH side (drivers side) one but it's in there somewhere:-
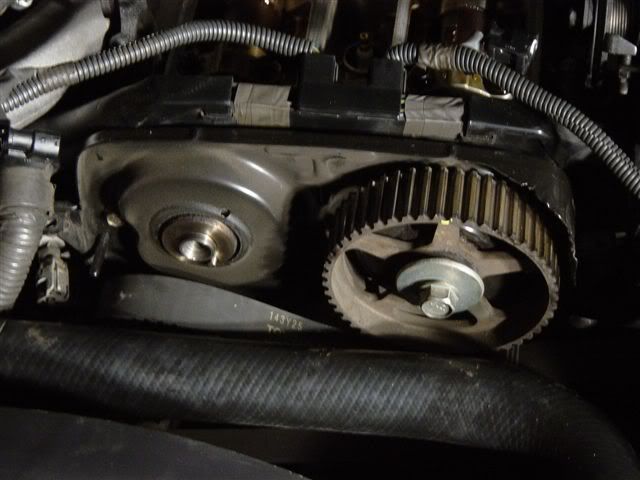
So you're getting close to removing the cam belt. However you also want to be able to put the timing belt back on, and not have to mess around with having to set the timing. Luckily to help us with doing this Toyota have put timing marks on the cam gears, the no. 1 and 4 timing belt covers and the crankshaft pulley.
I didn't get any pics of this bit (actually I'll own up and admit I forgot to line up the marks - doh!) but what you want to do is line up the timing mark on the crankshaft pulley to the 0 timing mark on the no.1 timing belt cover (It's down the bottom - I'll try and get a pic tomorrow and insert it here!) Hopefully the timing marks on the cam-gears and on the no.4 timing belt cover line up. If they don't give the crank a full rotation (360 degrees) it should now line up.
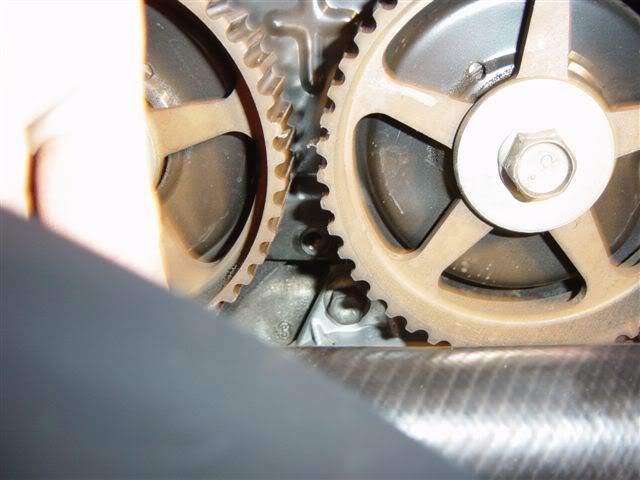
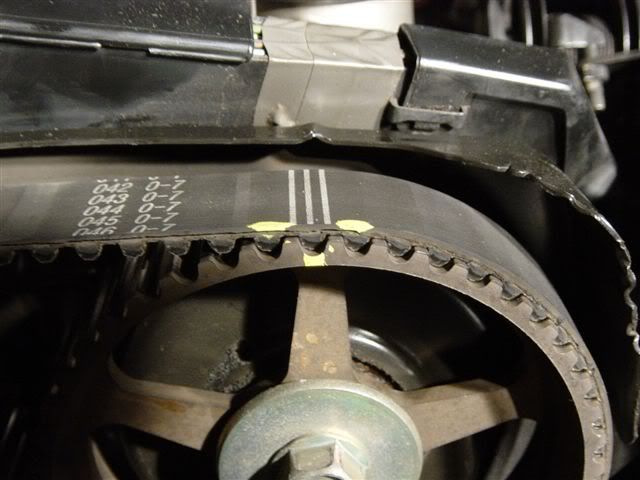
As I'm not removing the cam belt, to help me get it back onto the cam gears in the place I took it off, I marked the cam gears and the belt like this:-

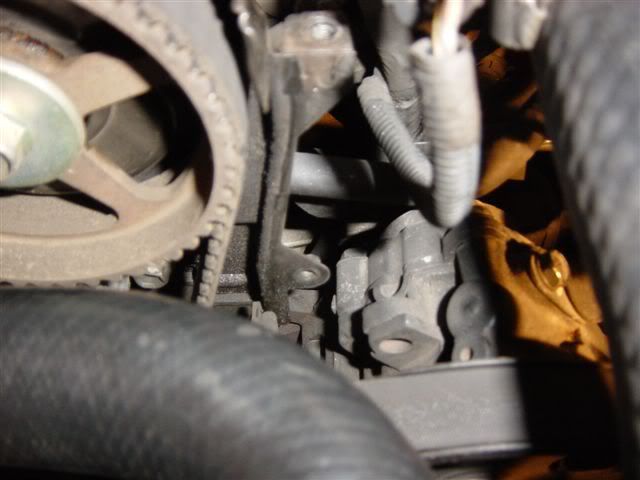
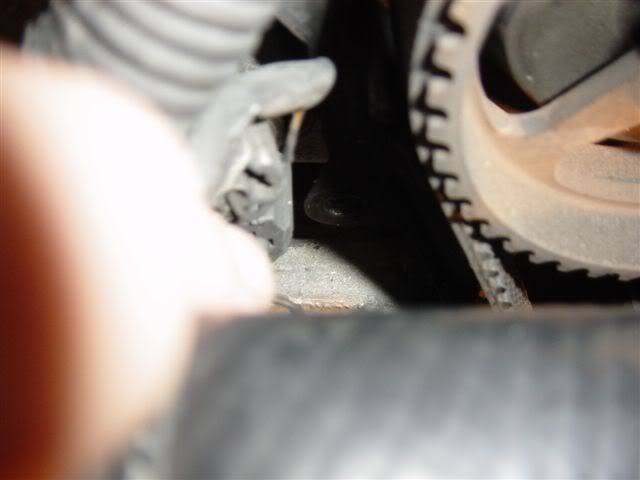
Now to actually remove the cam belt, you need to unbolt the cam belt tensioner. This is found between the alternator and the engine just behind the outer part of the crankshaft pulley. I tried to get a pic, but it's also just above the anti roll bar, which kinda get's in the way but it's the black cylindrcal bit slightly to the right of the middle of the pic.
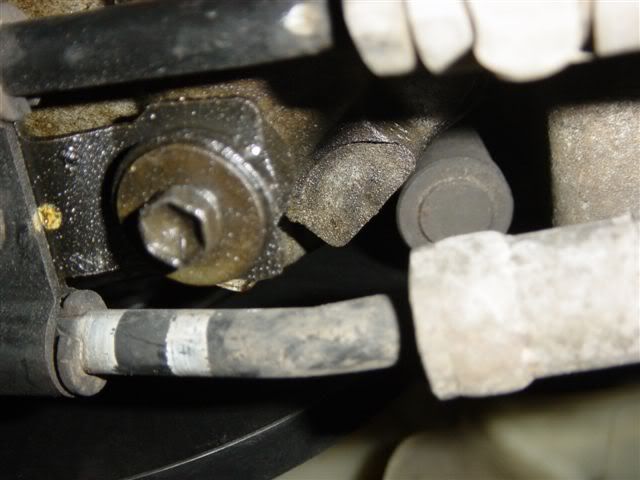
There's two bolts which you'll need a 10mm socket. I found it was easiest to momentarily unbolt the hose lines that run just under the tensioner (The bolts to the left of the middle of the pic, and another bolt on the lh side of the engine). I then used about 9-12 inches of extension bars to get to the bolts. Undo them evenly. Here's a pic of tensioner once removed :-

Now the cambelt is no longer under tension it should be fairly easy to remove the belt by sliding it off the camgears.

I then tucked the cam belt down out of the way without twisting it.
OK so now it's time to remove the cam gears. You'll need a 17mm socket for the bolt on the front of the camgears, and I used an adjustable spanner to hold the camshaft in place. Toyota very kindly gave us a perfect hex halfway down the camshaft to grip the camshafts:-
To stop the adjustable spanner dinking the head when you try to undo the bold, wedge a piece of paper towel between the spanner and the head. The camgears are done up to 79Nm (59 ft-lbf) so are pretty tight. You may need to get some extra leverage like a breaker bar or something. Here's the exhaust side off :-
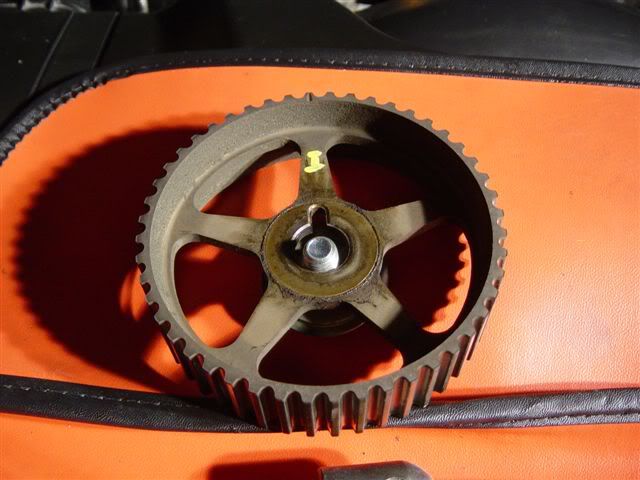
I marked the backs of both camgears with which side they cam from just so I can get them back on in the same order as they came off. I don't think it would really matter if you swapped them over though. Here's the inlet camgear:-
Both camgears removed:-
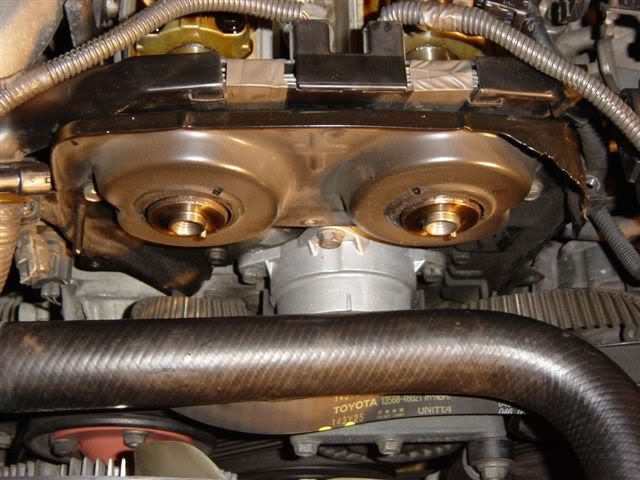
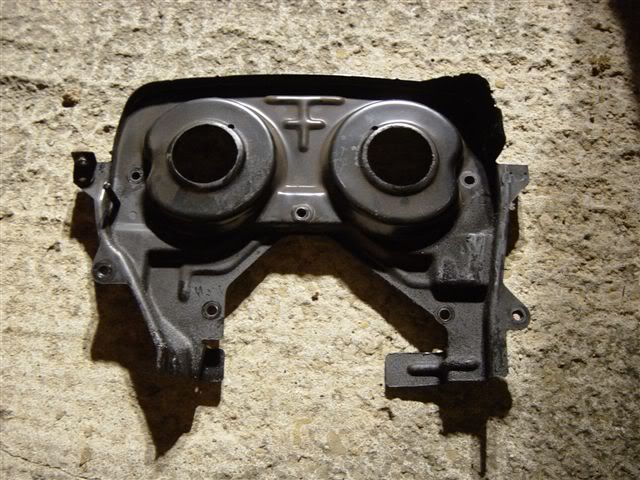
Next you need to remove the no.4 cambelt cover. There's 4 bolts. One either side of the camshafts and 1 each side a little lower down. You'll need a 10mm socket for these.
Once these have been removed you can start to remove the cover. It's a right git because of it's shape, and also it hits the lower timing belt cover. I gently prised the lower cover and with pushed the cover to the LHS of the car. Eventually after some wriggling around it came free:-
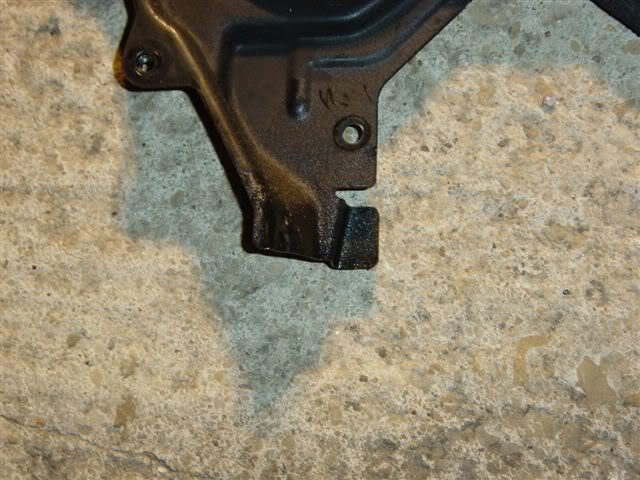
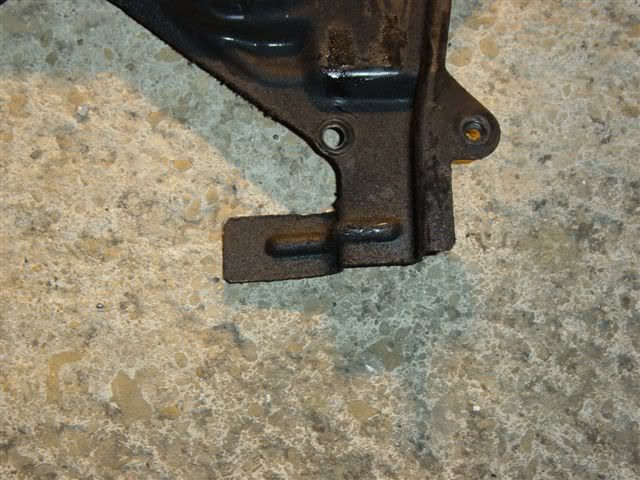
Where it fouls the lower cover
Reasons why it's difficult to remove:-
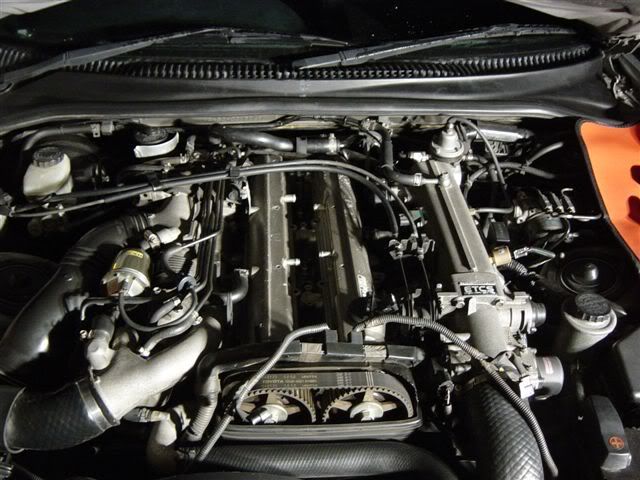
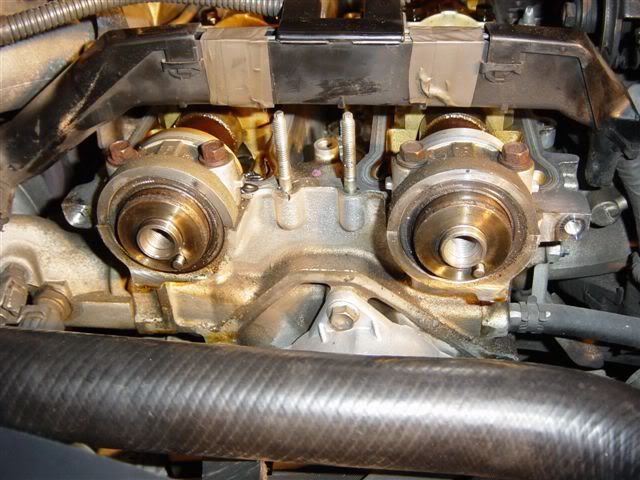
The front of your engine should now look something like this:-
So now you're pretty much ready to start removing the cam gears.
The first thing to do is to remove the no.1 bearing caps. There's 4 bolts that you'll need a 10mm socket for. Undo them uniformly, and remove the bearing caps. If the caps are difficult to remove you can prise them with a flat bladed screwdriver. Again wrap the tip in tape so as not to scratch the head. Keep the individual caps and their bolts together so you're not mixing up bolts and caps.

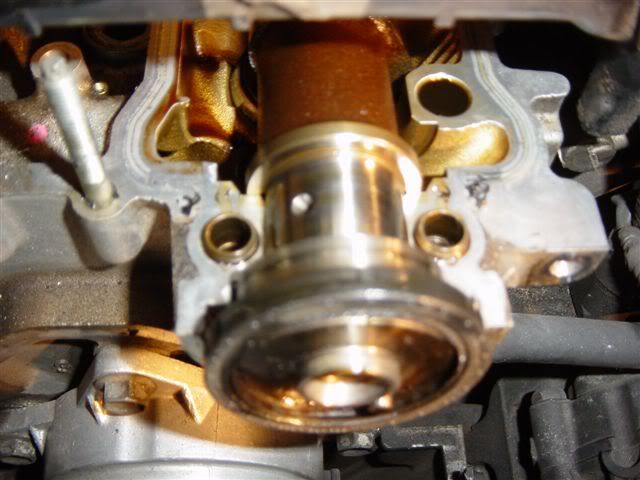
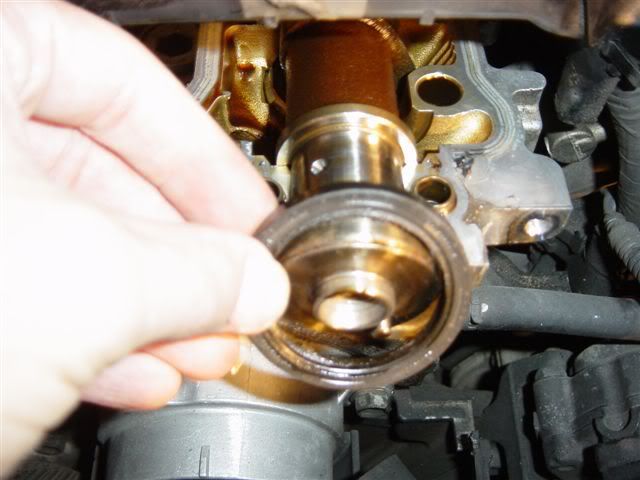
Now remove the oil seal
90311-40020
Here's a shot of one of the no.1 bearing caps once removed:-
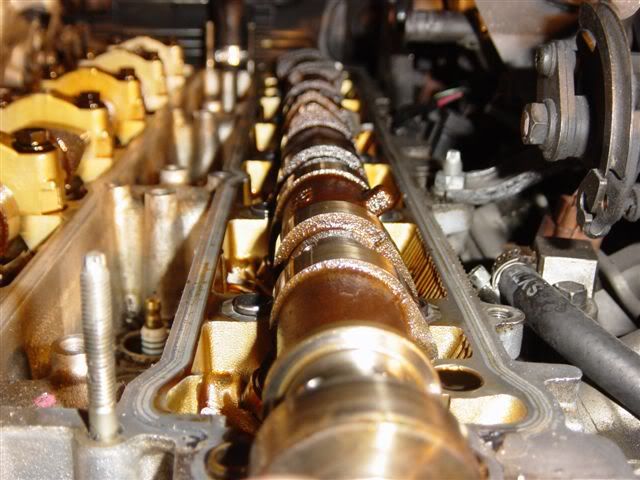
And of the cams:-
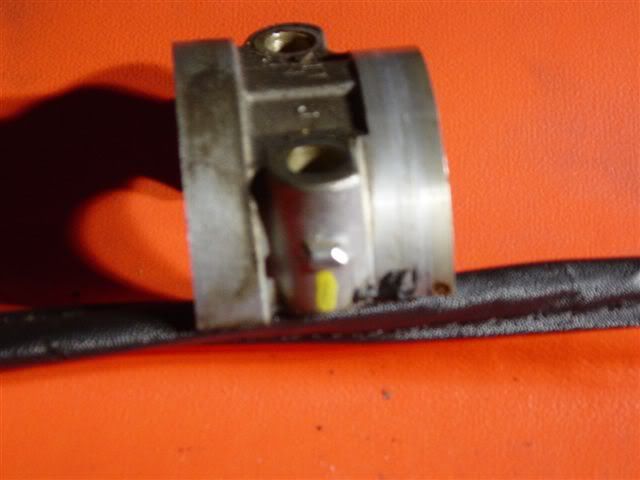
So now you need to undo the remaining caps. These need to be done in order. I've got a paper-copy of the order to remove them in which I'll try to scan in. In the mean time, if you look closely at the top of the remaining caps, you'll see they have numbers. 2-7.
You need to undo them in the following order in a number of passes.
2-6-4-5-7-3
Loosen the inner of the two bolts before loosening the outers. I did mine over 3 passes. As I was undoing them there was a little "clunk" as the springs under comrpression released.
No caps:-
Again keep the individual caps and their bolts together (sandwich bags are ideal) Don't worry too much about labelling them as they're stamped with their number on top, along with and arrow that points towards the front of the engine.
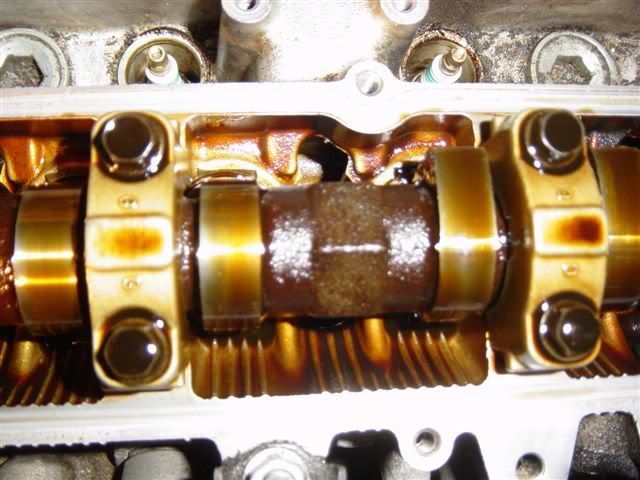
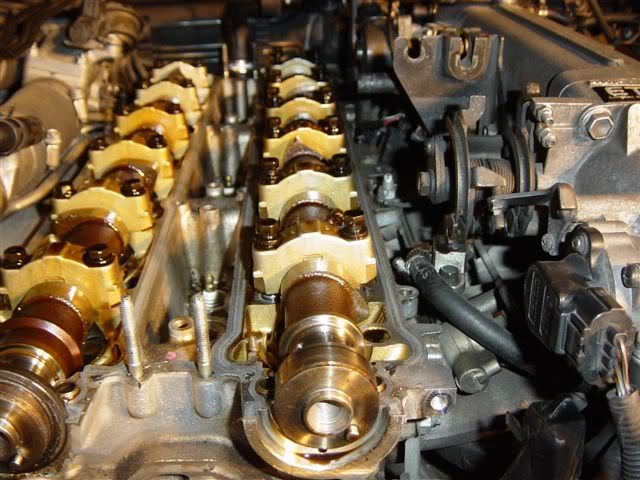
You should now be able to lift out the cams:-
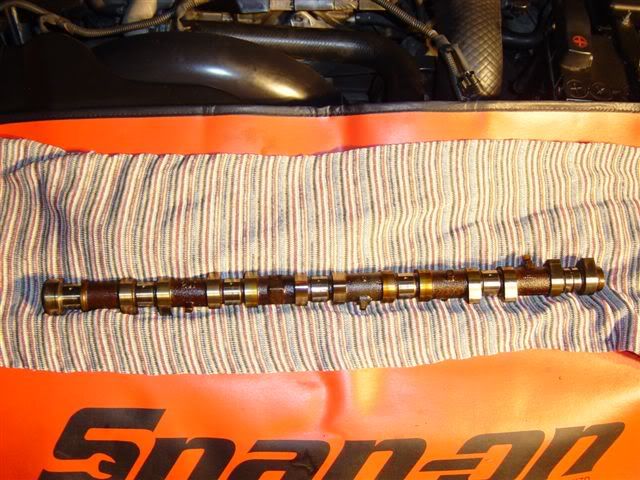
I couldn't find any particular marking on each cam, so I labelled them as I removed them:-
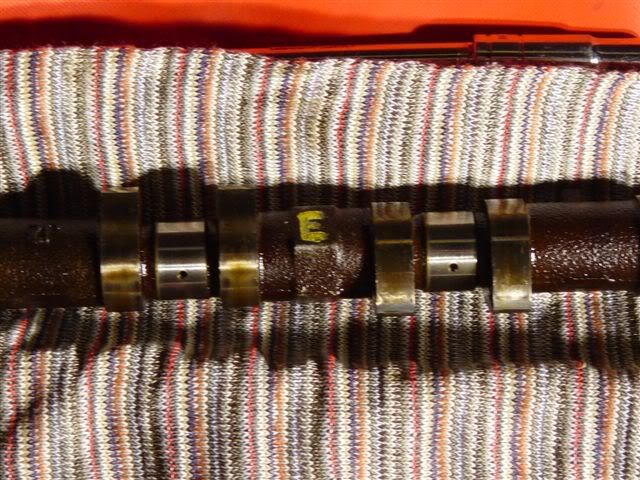
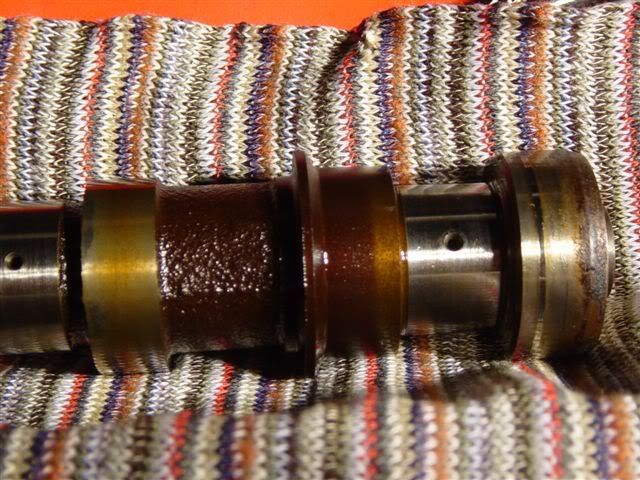
But don't worry too much as only the exhaust cam has this larger diameter part to it:-
And here's what it will look like with no cams:-