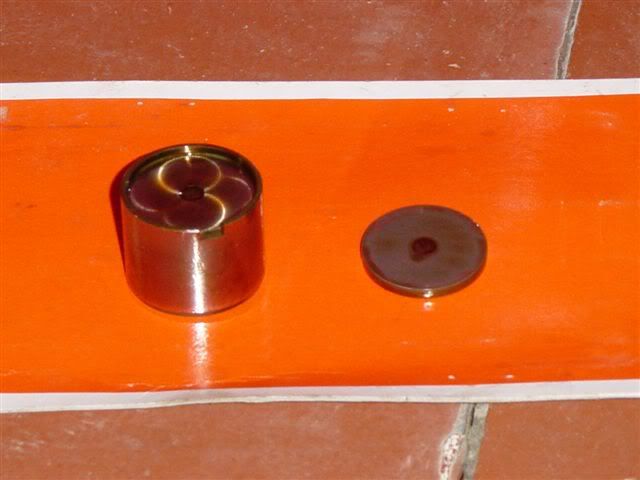
So you'll now be pretty close to removing the buckets and shims. I
tried to lift them out by hand, but they were covered in oil, so I
couldn't get a good grip. So I resorted to using some large adjustable
pliers and taped over the jaws so as not to scratch the buckets. It was
then easy to pull the buckets out with the shims still sat on top of
them. Here's a couple of pics of them seperated:-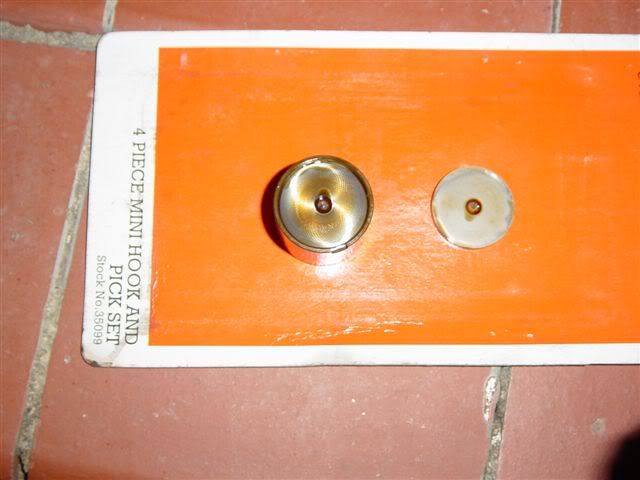
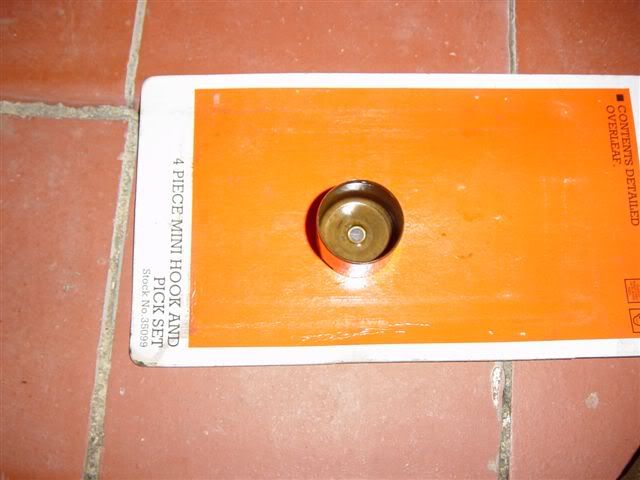
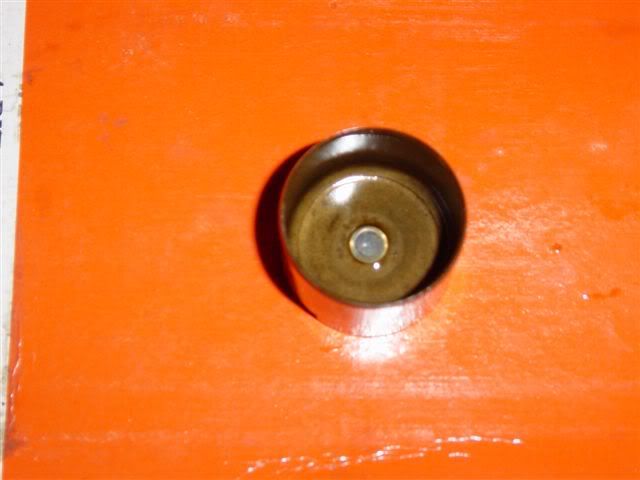
To make sure I didn't get things mixed up, I got an egg box, and used that to keep each valves bucket and shim organised:-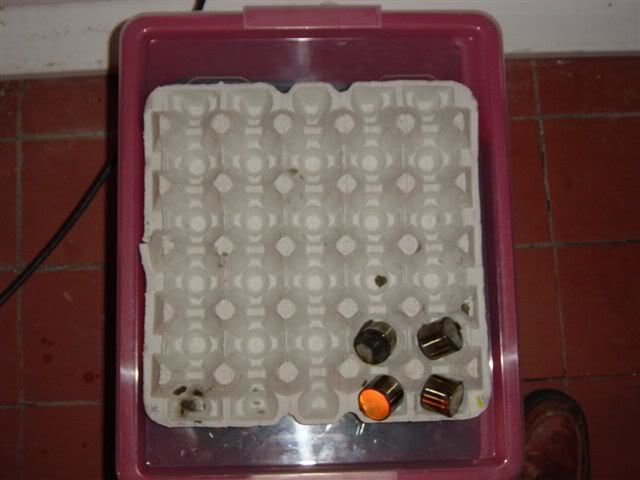
I'm going to do 1 cylinder at a time to help prevent any possible mix up.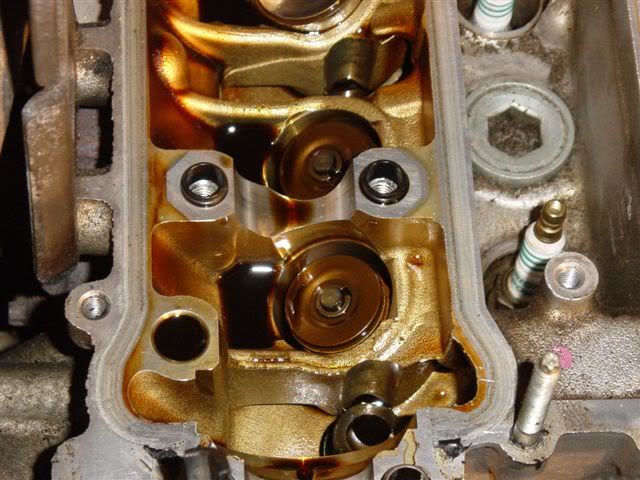
Here you can see the valve retainer (The round disc) and the valve locks (the bits in the centre of the retainer)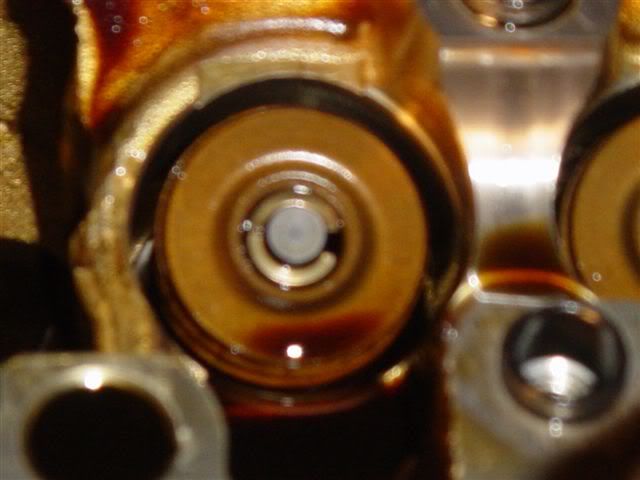
Now the problem is if you remove the valve locks and the retainer now,
the valve will drop into the combustion chamber, and you'll need to
take the head off to get it back. I'm choosing, if you've not guessed
already, to use as someone eloquently put it "the rope trick".
To do this what you need to do is set the cylinder you're working on to
somewhere round about bottom dead centre. It doesn't have to be too
precise.
To do this it's easiest if you remove the spark plug, if you haven't
done it already when setting up the timing marks earlier on. (You'll
need a 16mm spark plug socket to remove the spark plugs)
To find approximately bottom dead centre (BDC) I gently put a long
(maybe about 9 inches or more) screw driver down the spark plug hole,
and then turned the crankshaft untill the screwdriver stopped moving
down and started to move back upwards. Here's a pic of it st
approximately BDC:-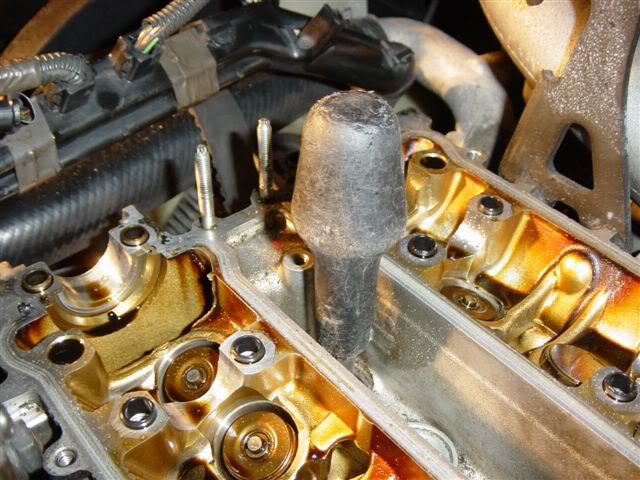
Remove the screwdriver once you're at BDC.
Now tie a knot into the end of the rope you've bought, and then start
to feed it all into the combustion chamber through the spark plug hole.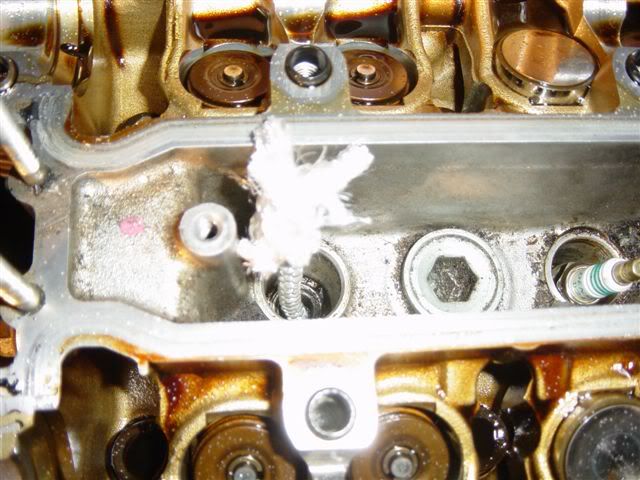
Now turn the crank shaft gently untill it you feel resistance. This is
the rope being compressed between the top of the piston and the bottom
of the head and the valves. This will then stop the valves from
dropping into the combustion chamber when you remove the locks and
retainers. Genius.
So now you'll be ready to remove the locks and retainers. You'll be
using the valve tool to do this. However I found that the diameter was
slightly too large, so I placed a washer onto the end of it (it's got a
strong magnet inside it by the way - this is what "grabs" the valve
locks) Also now's a very good point to take some paper towel and place
it anywhere where any small parts could fall down. In particular the
oilways between the valves.
You then simply place it against the retainer, and give it a medium tap with a hammer:-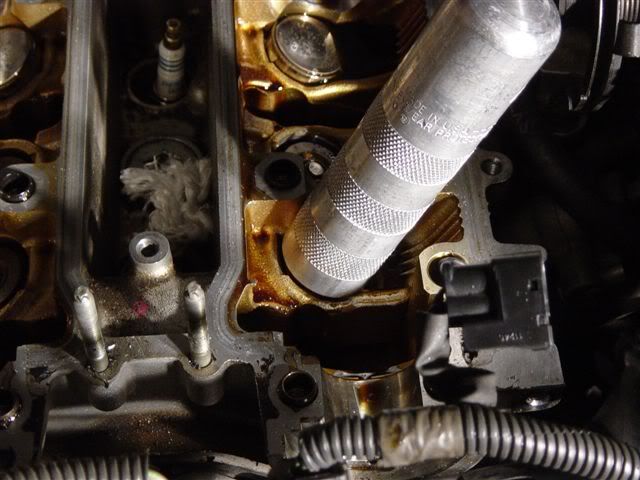
The valve spring compreses, and the retainer moves down the valve with
it. However the valves not moving, which means there's no load on the
valve locks, and the magnet in the tool whips them out the way. When
the spring un-compreses, there's no locks to hold the valve retainer in
place any more, so the retainer becomes free as-well. (And incidentally
get's grabbed by the magent also)
Here's some pics of the locks and retainer:-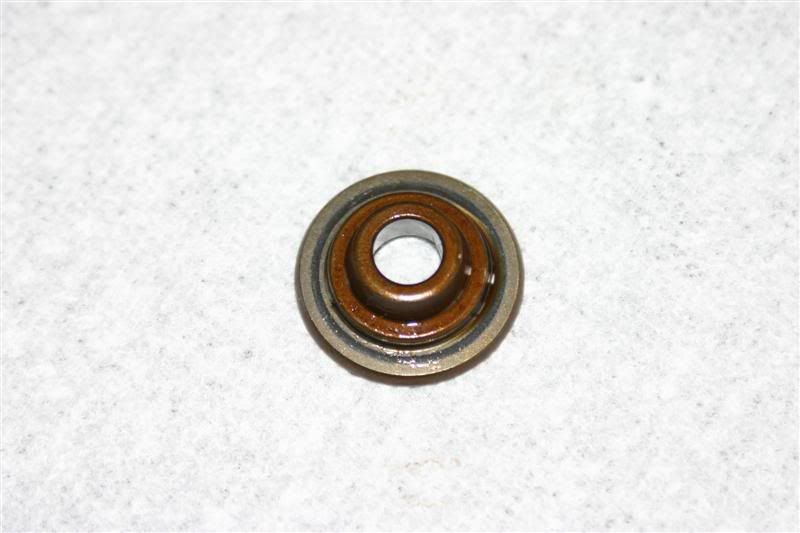
Here's a pic of the valve tool with the locks and the washer stuck to the magenet:-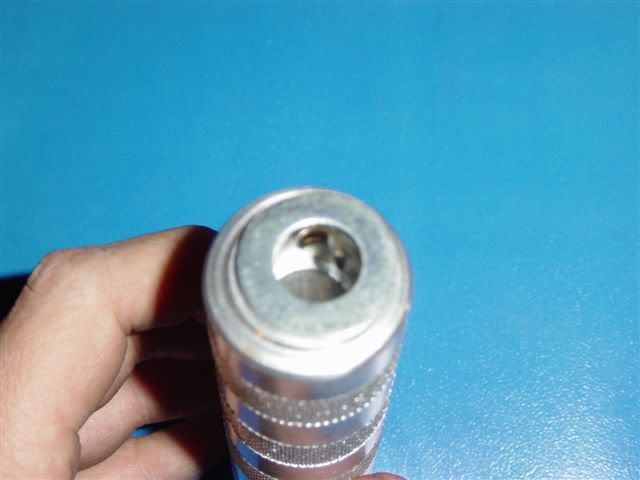
valve locks - yes they are that small!
You can then just lift the valve spring out. I marked it so as I knew which way up it cam out:-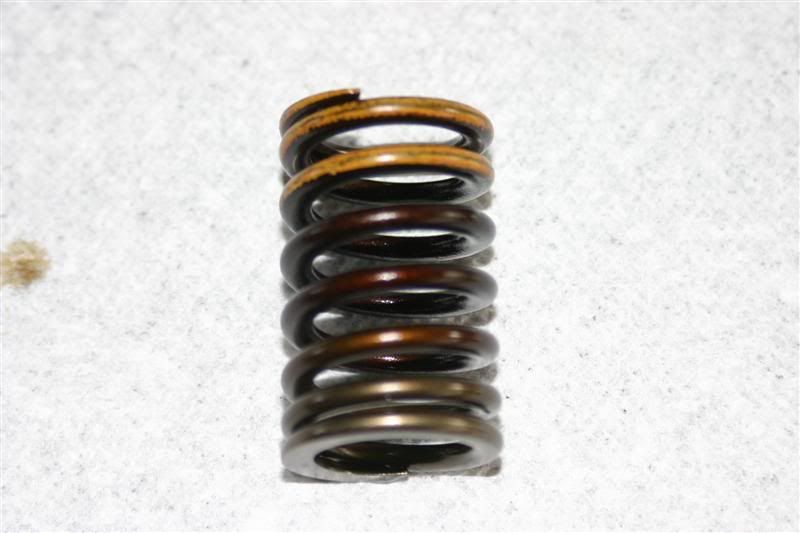
So now it was possible to remove the actual valve seals using the valve
stem seal pliers. The inlet side was quite difficult to pull out, but
after a good pull it finally pried free.
Unfortunately I just had enough time to remove 1 to take a pic for you,
sorry about the quality, I'll take some better ones tomorrow when I do
the others and get a couple of shots of what they look like before
they're removed.
Seal in pliers:-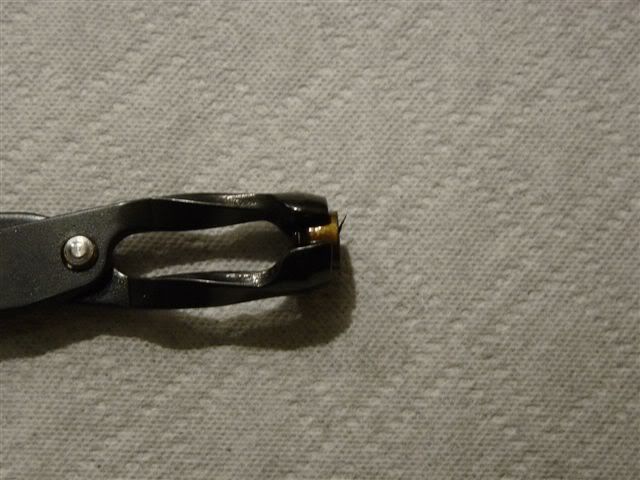

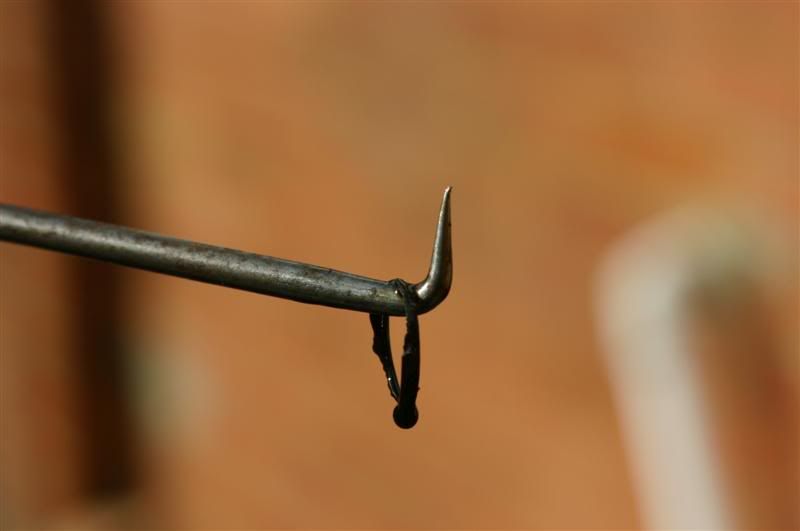
The seal will quite possibly split as you remove it. This usually means
it leaves a small rubber ring around the valve stem, you'll need to
fish this out:-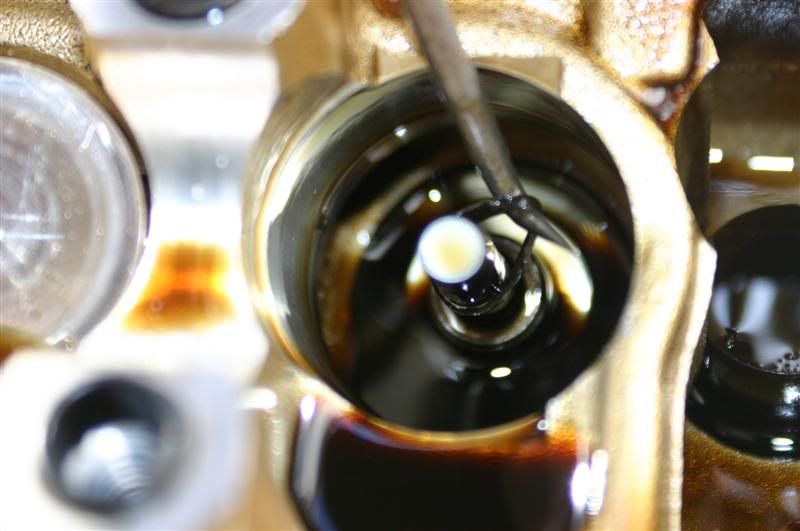
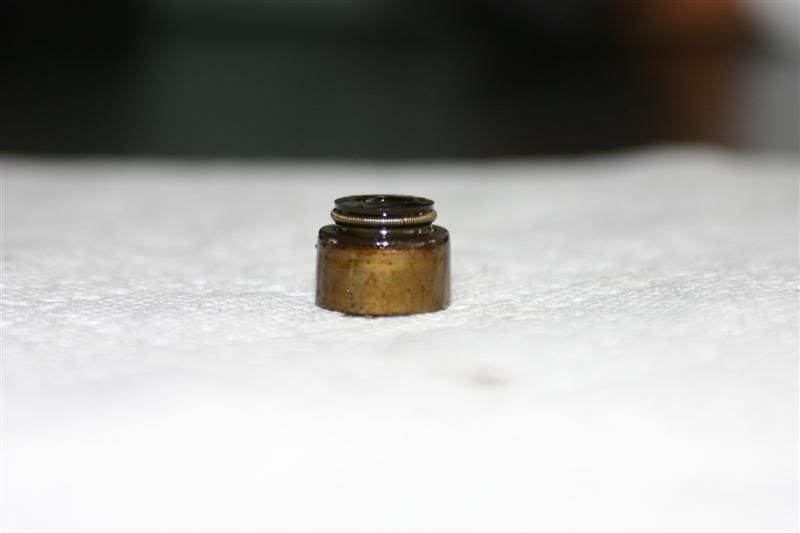
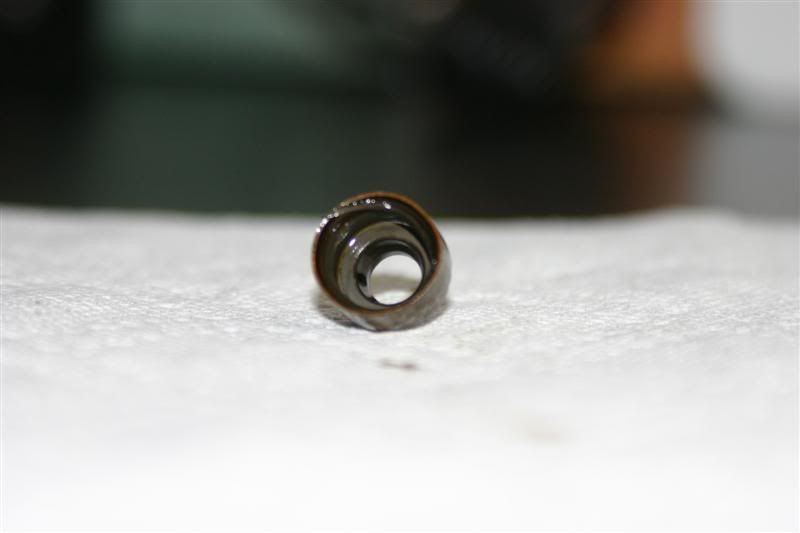
If you look into the bucket or lifter bore now, it should look something like this:-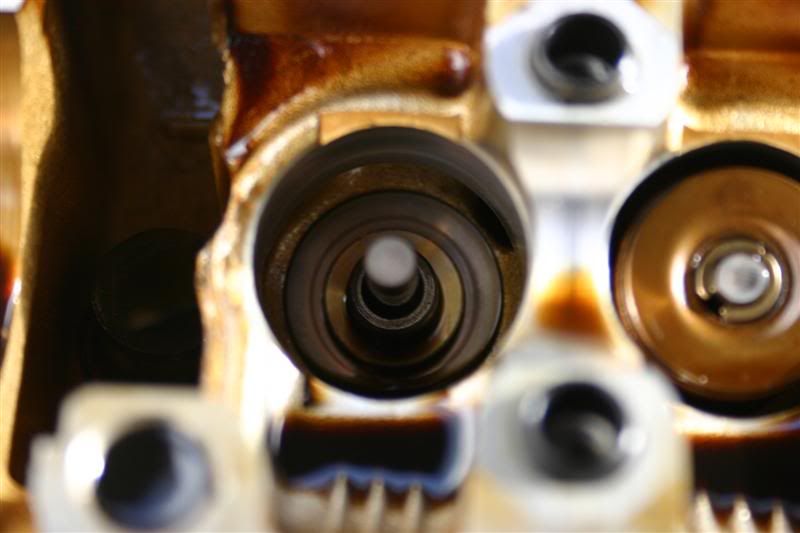
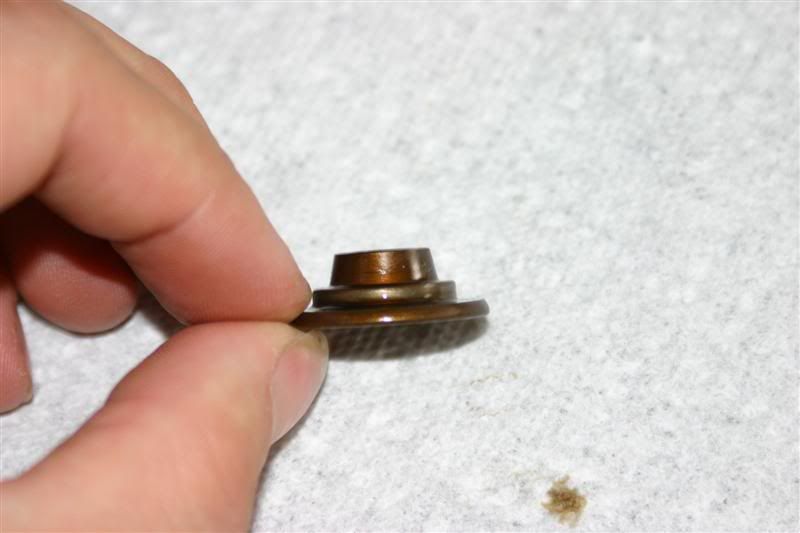
So now you'll be ready to fit the new seal. Make sure you fit the
correct one. They are different inlet to exhaust. The inlet ones have a
bronze finish to the outside of the seal, whereas the exhaust one has a
silver/grey finish.
I dipped the seal into clean engine oil (assembly lube would be better)
and then positioned it over the tip of the valve stem. Make sure it
goes on nice and square:-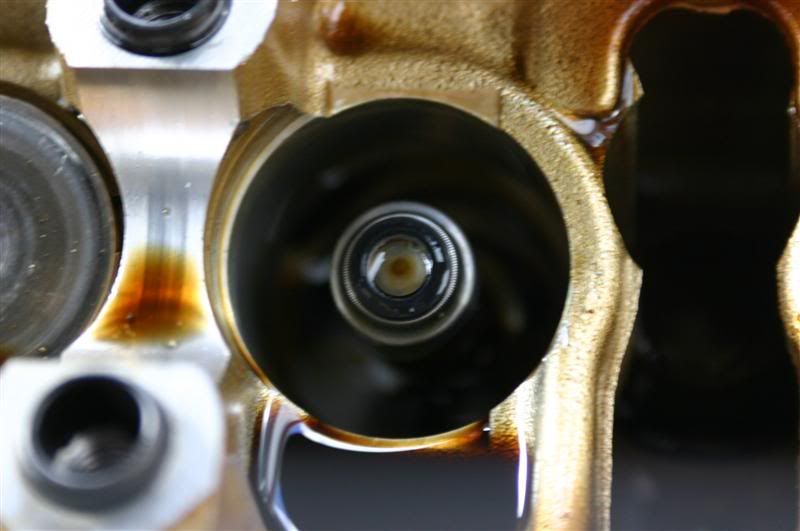
I then used the valve seal tool to push the seal down the valve stem.
When it gets to the bottom it should double click into place. If you've
loaded it with lots of oil/lube it will more than likely "squelch".
Give it a gentle tug with the pliers to make sure it's locked into
place.
Now it's worth making sure that there's no play in the valve. Take the
stem and see if it moves upwards or downwards. If there's more than a
couple of mm of play, it means the rope has been compacted down by the
lock/retainer removal process. To fix, try moving the crankshaft
towards TDC again. If this doesn't work you'll need someone to hold the
valve in place whilst you first of all move the piston by rotating the
crankshaft back from TDC. Then pull say about 9" of rope out of the spark plug
hole. Then re-insert the rope, but using something about the size of a
knitting needle, try to push it in the direction of the valve you are
working on. Whilst doing this the person holding the valve should not
let go. If they do, it will more than likely mean having to remove the
head to get the valve back. With the rope back in position rotate the
crankshaft back to TDC untill you feel the piston hitting the rope
again. Hopefully the rope should be under the valve head now, and the
valve will not move. If it does try this again untill it doesn't.
(After doing all 24 valves I never had to try it again!)
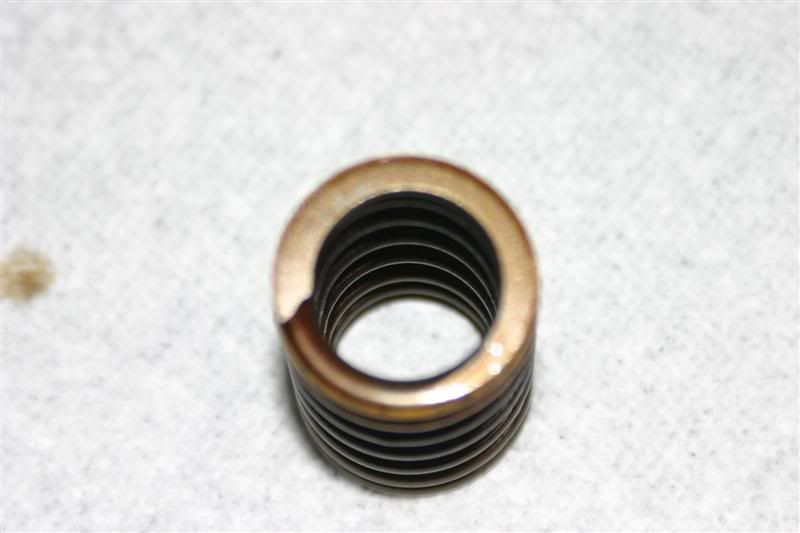
Next take the valve spring. Give it a check over to make sure it's
dust/dirt free. If not give it a clean over with a paper towel. Fit it
back over the valve stem. Make sure it's seated correctly at the
bottom:-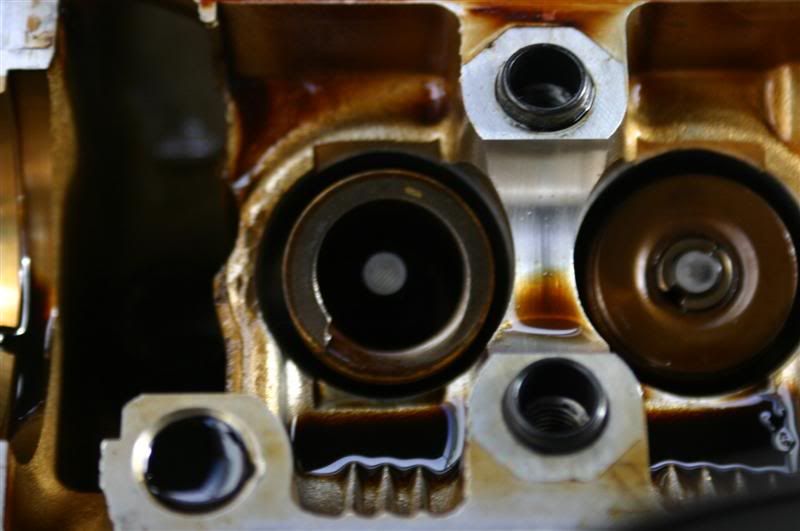
Next place the retainer over the spring. Again make sure it's seated square:-
Place the valve locks into the hole in the valve retainer. To re-insert
the locks I found I could semi insert them by pushing on them with my
thumbs. This helped to locate them:-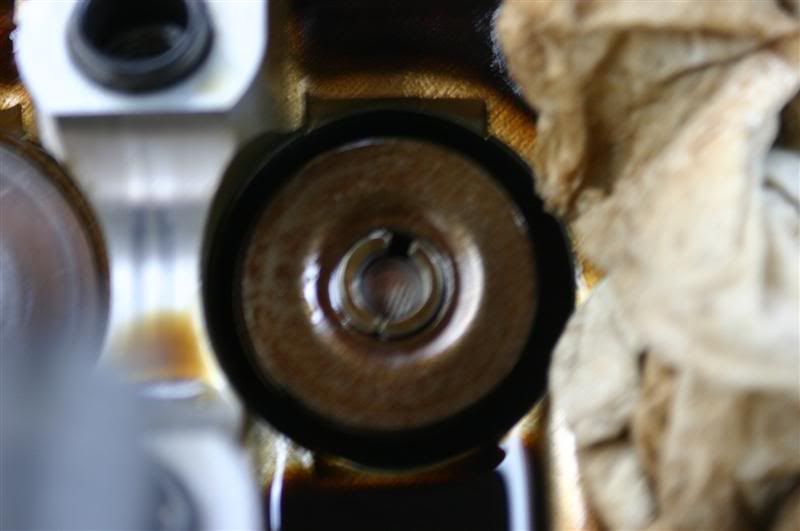
Then using the valve tool, I placed the tip between the locks, squared
the tool up to the retainer and gave it all a good push down the axis
of the valve. 50% of the time it worked straight away and the locks
clicked into place. I used a kind of pumping up and down motion. After
3-4 "pumps" I checked to make sure the retaner was locked in. Sometimes
1 of the locks would drop in and the other wouldn't. Like this:-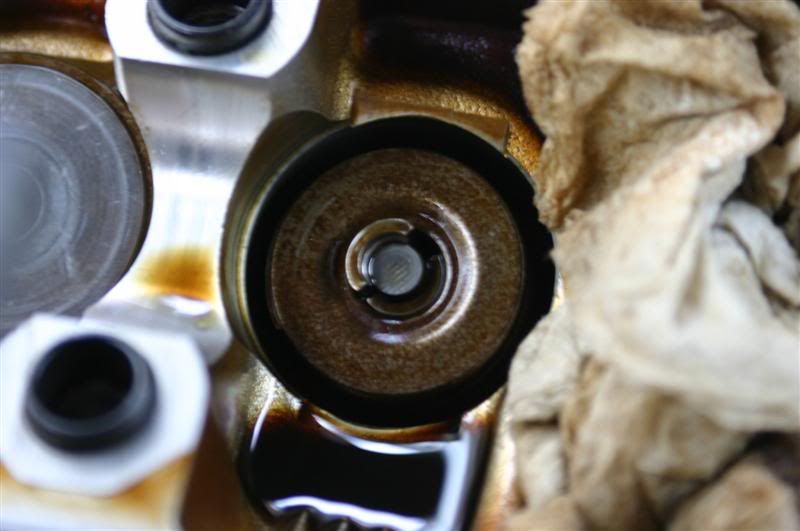
If it does this you need to remove them again, and try to fit them again untill they both drop in evenly.
To make sure they are fitted correctly, push down on the retainer
untill the spring compresses a little. If fitted correctly the retainer
and locks will stay in place. If they move at all, remove the locks
using the valve tool, and re-fit them.
It's now time to re-fit the bucket. Again make sure it's clean. It
needs to drop into the bore squarely. It should be an easy fit, and
won't need much pressure at all to push it down. If you need to force
it, it's not sitting square, so lift it back out and try again.
Then onto the next one......
Right then, where did I get to...
Ahh so you should now have the valve locks in place for the first valve and it should look something like this:-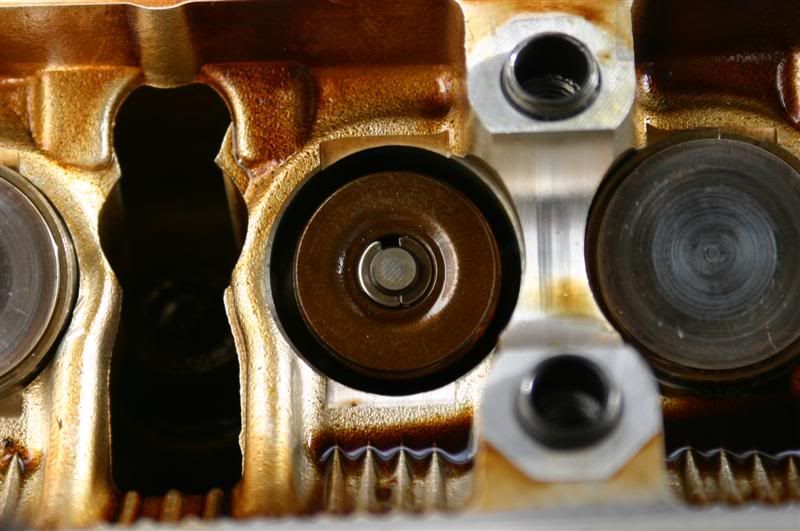
So now you need to repeat the procedure for the remaining 23 valves.
As you're going along I stongly advise that you place some paper towel
either side of the valve you're working on to stop the small valve
locks dropping into the depth's of the engine.
Also as you go along you may find you run into some problems with things getting in the way like engine hooks:-
It's only two bolts to undo each one, and it'll make the job much easier. Engine hook removed:-
Another item that can get into the way is the VSV for the intake air
control valve (1 bolt and two hoses) and also the intake air conrtol
valve actuator:-
Which has two phillips head screws. Be careful when undoing these as they're prone to rounding off:-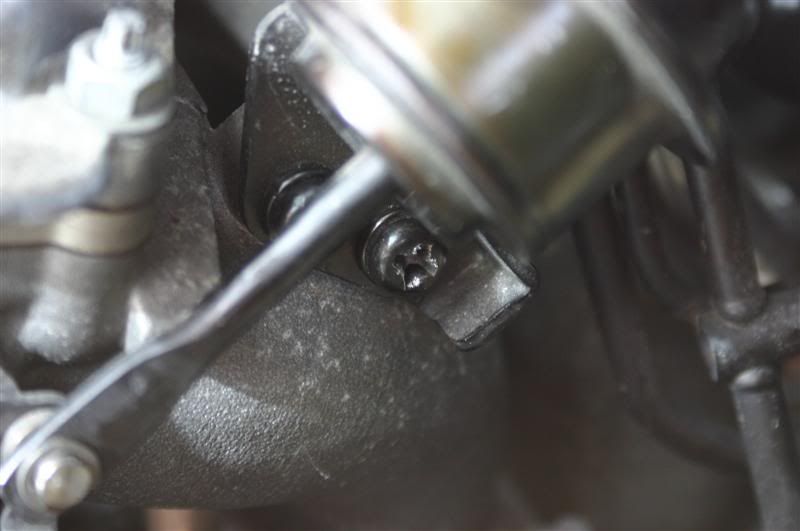
So once you've done all 24 valves it's time to start putting the whole
lot back together again. But before you do, it's the ideal opportunity
to take some tiem to make sure everything is in shape. Give each valve
a good shove to make sure the valve locks are in place. Check that you
can rotate each bucket in it's place albout the axis of the valve stem.
It should move fairly easily. If not take the bucket and shim off and
try re-fitting it. I had one that for some reason was a little stiff. I
removed and then re-fitted it and it was a lot better. VERY IMPORTANTLY
Make sure everything is clean, and that you've accounted for all nuts
bolts and tools. You don't want to leave anything in there that
shouldn't be there!
OK so re-assembly should be fairly easy now that you've got this far.
First of all re-fit the camsshafts. You need to apply a some engine oil
to the thrust face of each camshaft. (This is the face that pushes up
against the bearing caps along the axis of the shaft)
You need to install them in a vertain position. There's a pin on the
end (knock pin) on the end of each camshaft to help do this.
Install them to start with, witht the inlet cam, with the knock pin at
the 3 oclock position (These pics were taken after I'd fitted the no.1
bearing caps so ignore them):-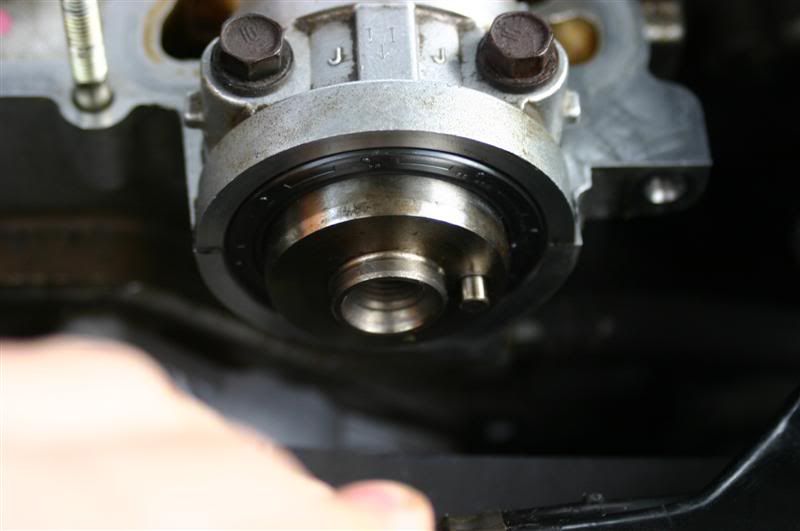
and the exhaust cam with the knock pin at the 11 oclock position:-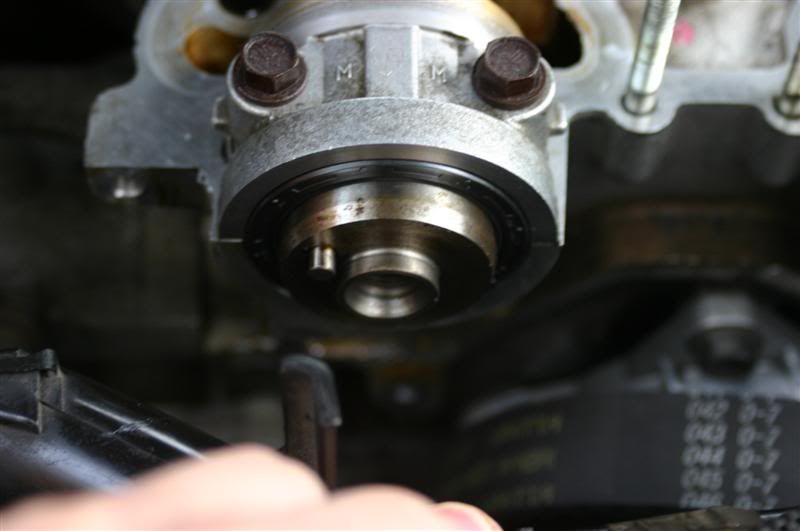
Now fit the no.3 and no.7 bearing caps, and tighten the bolts untill the caps are snug against the head:-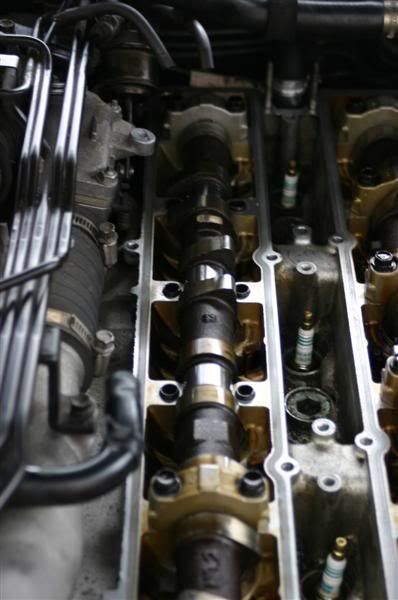
Now fit the oil seals to the end of the camshafts. Apply a small amount
of light grease to the inside of the seal to help the seal slide into
place:-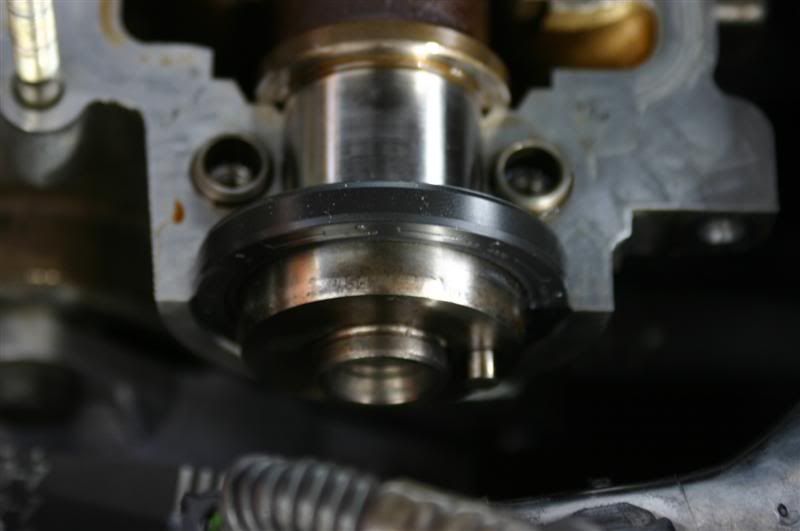
Next fit the number 1 bearing caps. Put some of the sealant onto the
mating face of the bearing/cylinder head. After taking this pic I added
a little more than this as I didn't feel it would be enough:-
To give you some idea, when I tightened the bearing cap, this amount squelched out from the mating face:-
Now fit and tighten to 20Nm (14ft/lb) the remaining bearing caps in the following order:-
5-1-3-4-2-6-7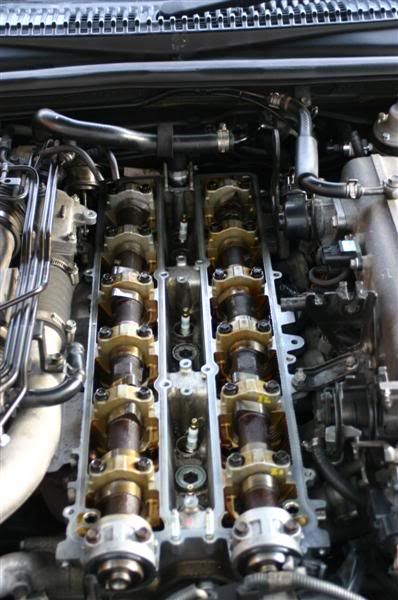
Now here's the trick bit.
You now need to align the knock pins to the 12 oclock position. Use the
hexagon section half way down the camshaft and and adjustable spanner
to turn the camshafts clockwise untill they're at the 12 oclock
poisiton:-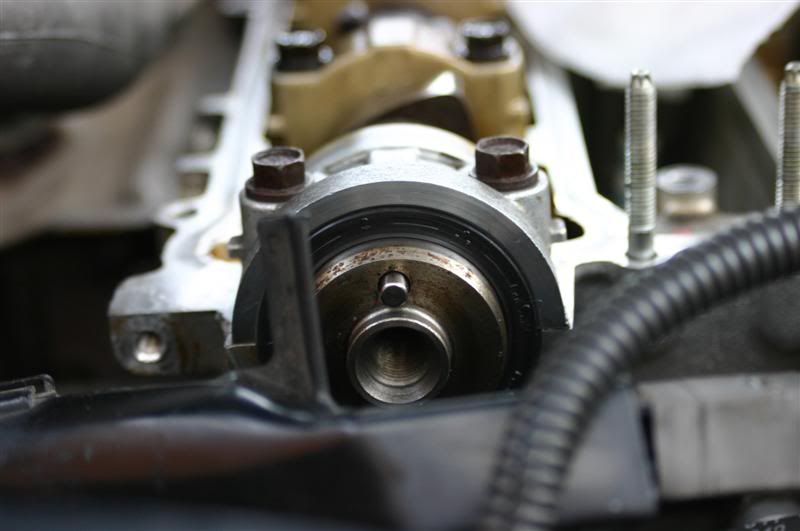
Now undo and then re-torque to 20Nm the following bearing caps bolts:-
Inlet: 1-2-5
Exhaust: 1-2-6.
Now rotate the camshafts again clockwise to the 4oclock position:-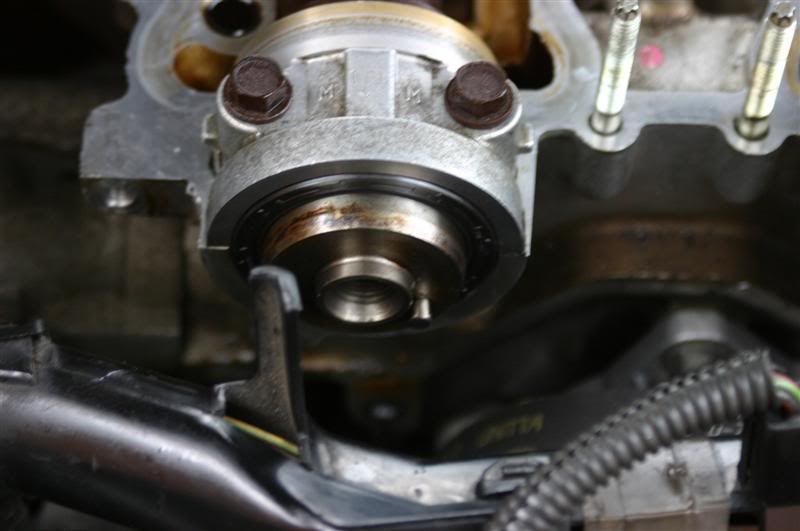
No undo and then retorque to 20Nm the following bearing cap bolts:-
Inlet: 4-6
Exhaust 4-7
Now rotate again, clockwise, to the 8 oclock position:-
Undo and then re-torque to 20Nm bearing caps:-
Inlet 3-7
Exhaust: 3-5.
If at any point you find you can't move the camshaft around, it
probably means you've got a bucket/shim that is stickling in place. You
need to remove the camshaft using the same order of bearing cap removal
as you did when removing the cams the first time around. Check all the
buckets are moving freely and then go back to the camshaft installation
and repeat the installation procedure.
Now re-check the valve shim clearances. I found mine were a little
tighter than before but still within the same tolerances as when
stripping the cams out.
So hopefully that will be the camshafts fitted.
Next fit the no.4 timing belt cover, make sure the wiring loom is
behind the cover when you fit it, it's too tight to lift it over once
the cover's fitted. Trust me! Make sure all 4 bolts that you removed
get put back. (They should be torques to 8.8Nm but I defie anyone to
get in there with a torque driver!):-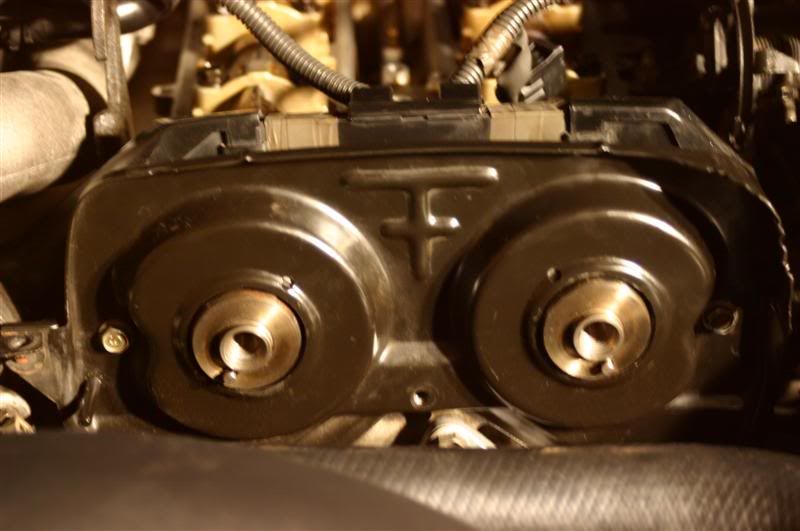
Now fit the camshaft gears. Why not put them back on in the order they
came off? To help fit them use a spanner at the hexagon section (or
mole grips in my case!) to hold the camshaft in place. Use a cloth to
stop the spanner from "dinking" the head. They need to be tightened to
79Nm (59ftlb)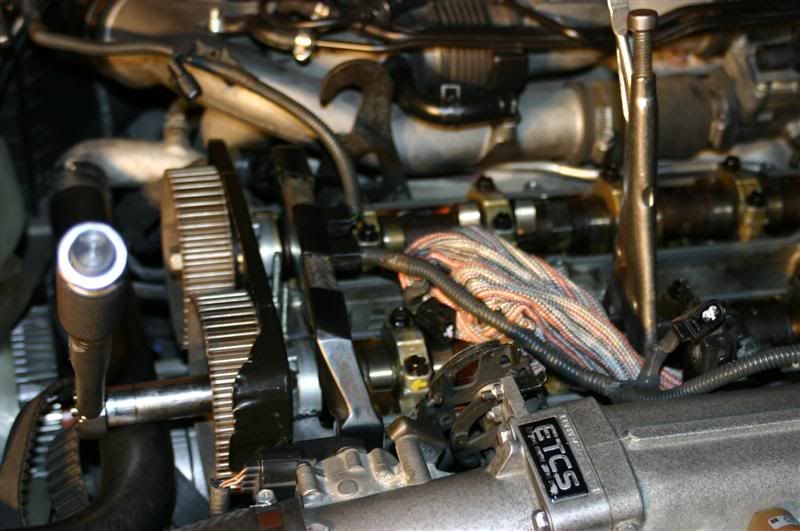
Now's a good time to set-up the timing.
What you need to do is to align the camgears with the timing marks on the no.4 timing belt cover:-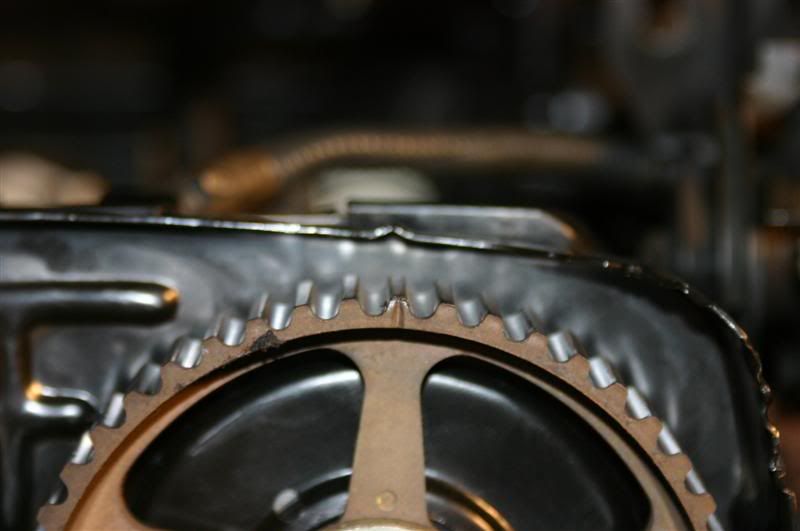
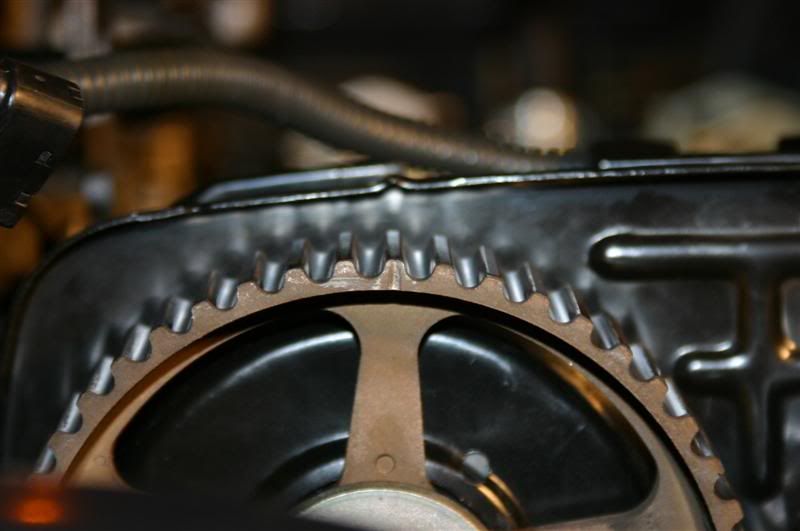
You then need to set the crank-shaft pulley to the 0 timing mark, with the no.1 cylinder at top dead centre.
To do this gently place the long screw driver into the plug hole of the
no.1 cylinder, then turn the cranksshaft untill the timing mark lines
up with the 0. NOW be careful, there's two timing marks on the pulley.
(As I found out after a lot of head scratching later!) if you're
turning the crankshaft clockwise it's the second timing mark that you
want to use.
You can just make out the yellow timing mark on this shot (It's really difficult to get a good shot of this!)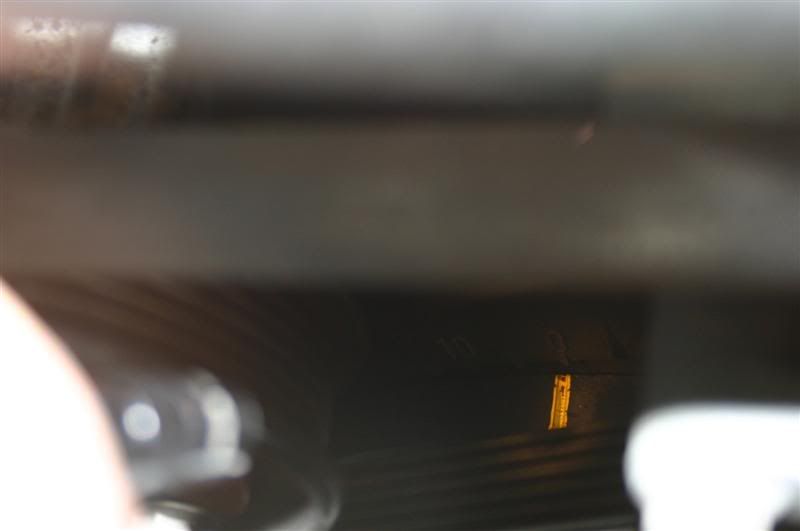
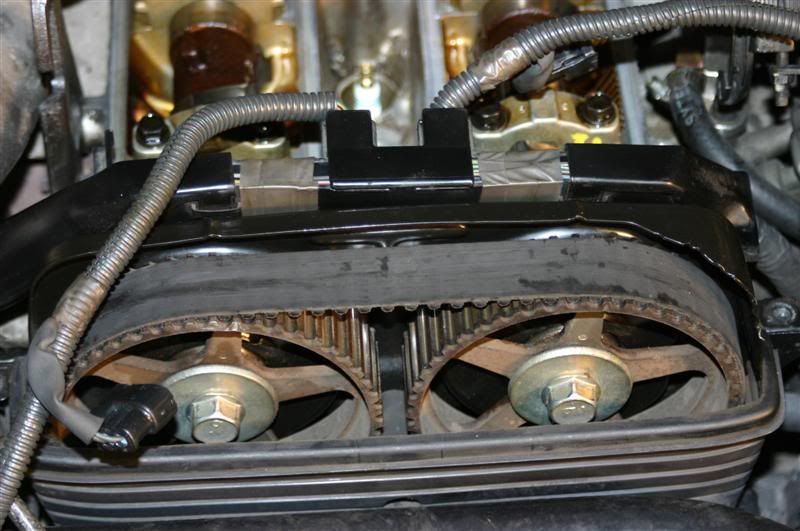
Now fit the cambelt over the camgears. To do this I fitted the belt to
the inlet side first and then onto the exhaust camgear. This keeps the
cambelt nice and tight and stops your timing from slipping when you put
the tensioner on which is the next step.
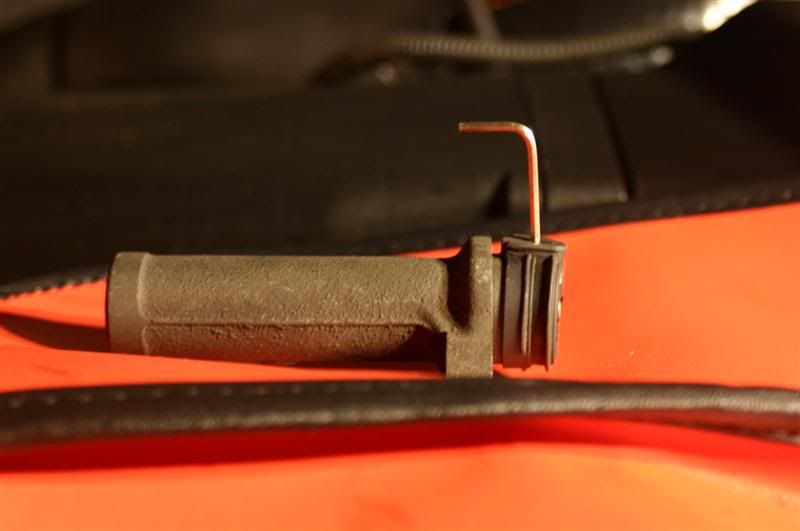
To fit the tensioner, you need to place remove the rubber dust boot
from the end, then place it in a vice. You then need to clamp the vice
up untill the hole in spigot in the middle lines up with the hole on
the ring around the outside. Then stick a 1.5mm or equivalent allen key
into both holes like this:-
Then refit the dust boot:
Next fit the tensioner with the allen key in place. I found it easiest
to lift the tensioner into place using a socket with and extension
fitted to the bolt that fits into the tensioner that is closest to the
front of the car when the tensioner is fitted. It's a bit difficult to
explain, but after 20 mins of trying to fit the damned thing I found
this way to be easiest. Unfortunately I couldn't get any shots of this
(I couldn't focus that close!)
Once the tensioner is fitted, using a pair of pliers reach up and pull the allen key out of it's place.
Now go and check the timing again. Hopefully it should still be spot
on. If not remove the tensioner again, and the timing belt from the
camgears and try again untill it's timed perfectly. Once done remove
the big screwdriver from no.1 cylinder.
Next re-fit the no2 timing belt cover using the 3 bolts and a 5mm allen key:-
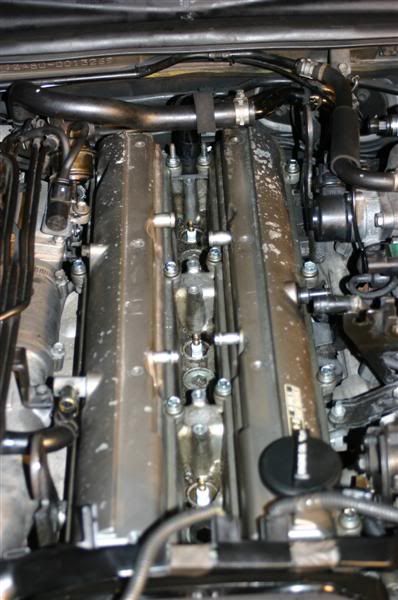
With that done you can now go ahead and fit the cam-covers.
Once again use the sealant where the cam cover goes over the no.1
bearing caps. Make sure you remember to place the washers under the
nuts bolts and tighten them to 5.4Nm
Next fit the spark plugs, and then the coil packs. Make sure they go back into the same position and in the same orientation as they came out.
Re connect the 6 plugs to the coil packs, and also the 2 VSV's that connect to the exhaust side of the loom.
Next re-fit the two breather pipes accross the centre of the cam covers and the two pipes on the sides.
Now's the time to refit the idle air control valve pipe. make sure all
the tubes are fully on. (I found it easiest to thread it in via the
left hand side, right next to the idle air control valve.
Now refit the spark plug cover and all the bolts again using a 5mm allen key.
Refit the accelerator cable mount and also refit the accelerator cables. Make sure there's a small amount of play on the cable.
So that's it, you're pretty much done. Before you rush in though, make
sure everything is tidy, and that all the electrical connectors and
pipes that you have removed and refitted are correctly seated and
pushed on.
So that's it go ahead and start her up and she should purrr like a smokless kitten!!
If you have any questions/suggestions feel free to pm me or add them to the bottom of this thread.
Best of luck with it!