Passenger Airbag Glovebox
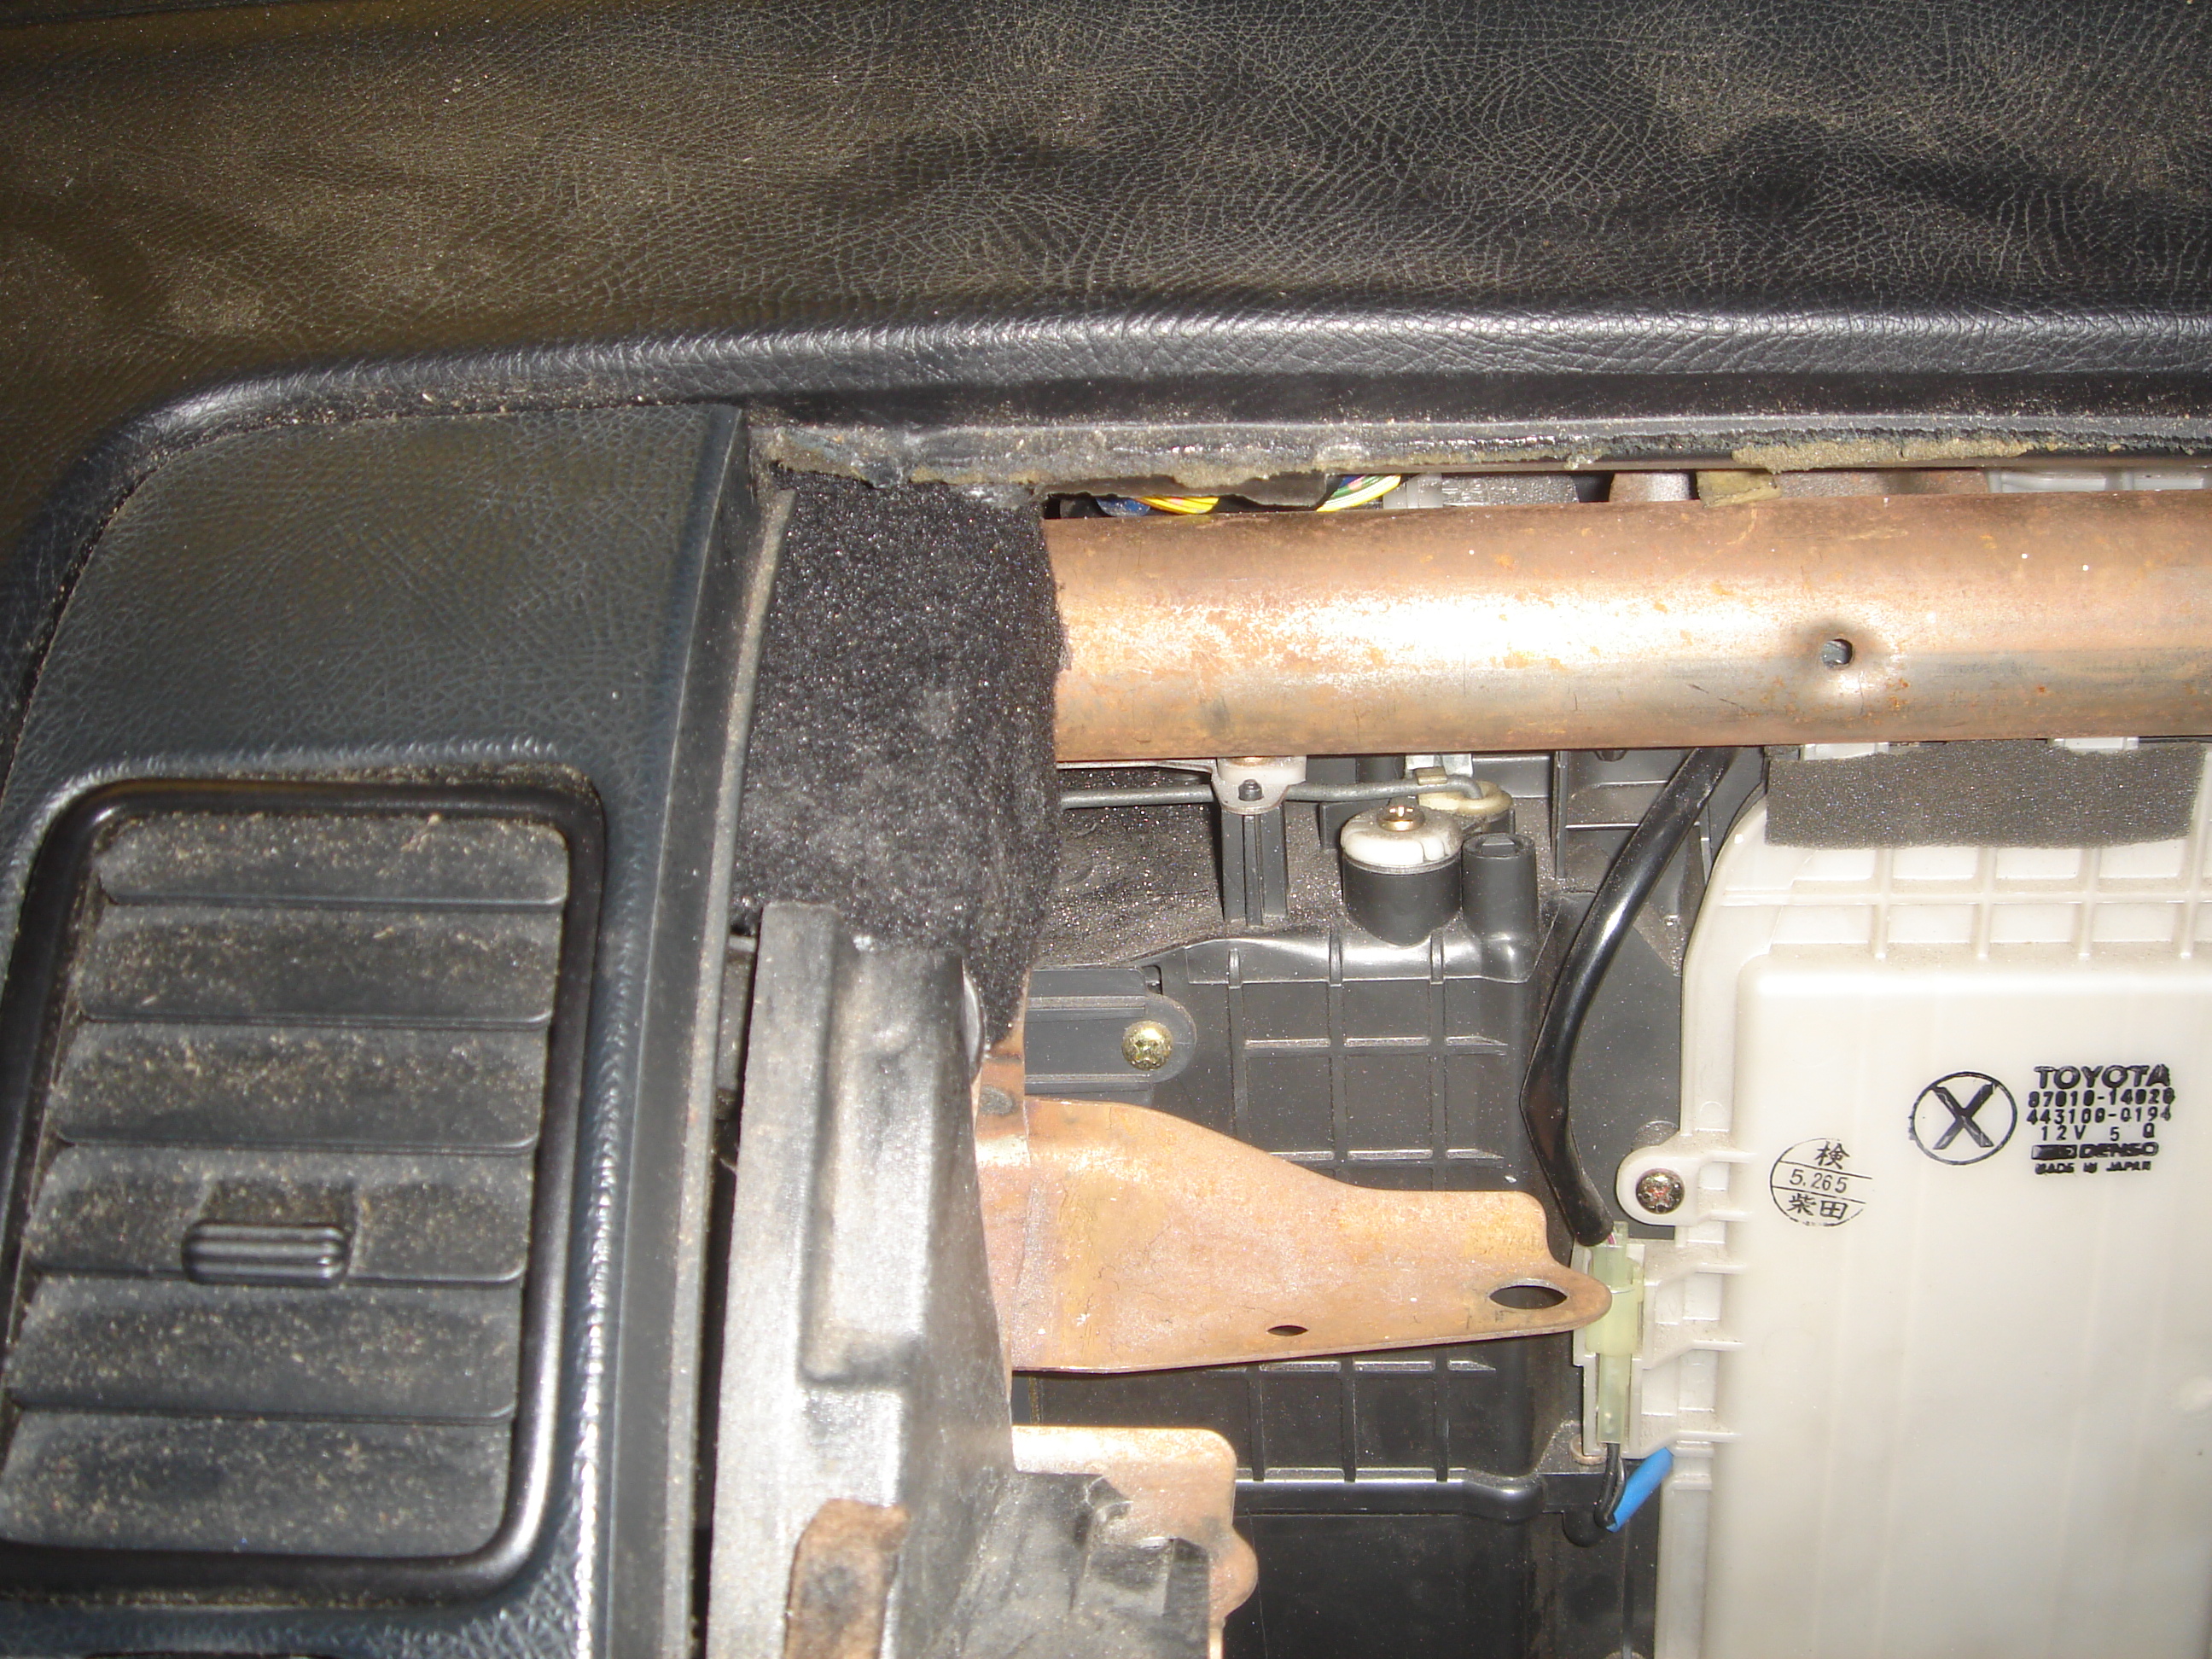
Remove the passenger airbag (2x12mm & 2x10mm bolts) **Also involves removing the glove box**
Now you are going to begin to make a template (I used cardboard)
- Do not make your box the entire length.
- Leave some room for rivets and carpet (about 1/8" on each side)
- Assemble the template to make sure it all fits together before you trace it onto the sheet metal
- "Measure twice, cut once"
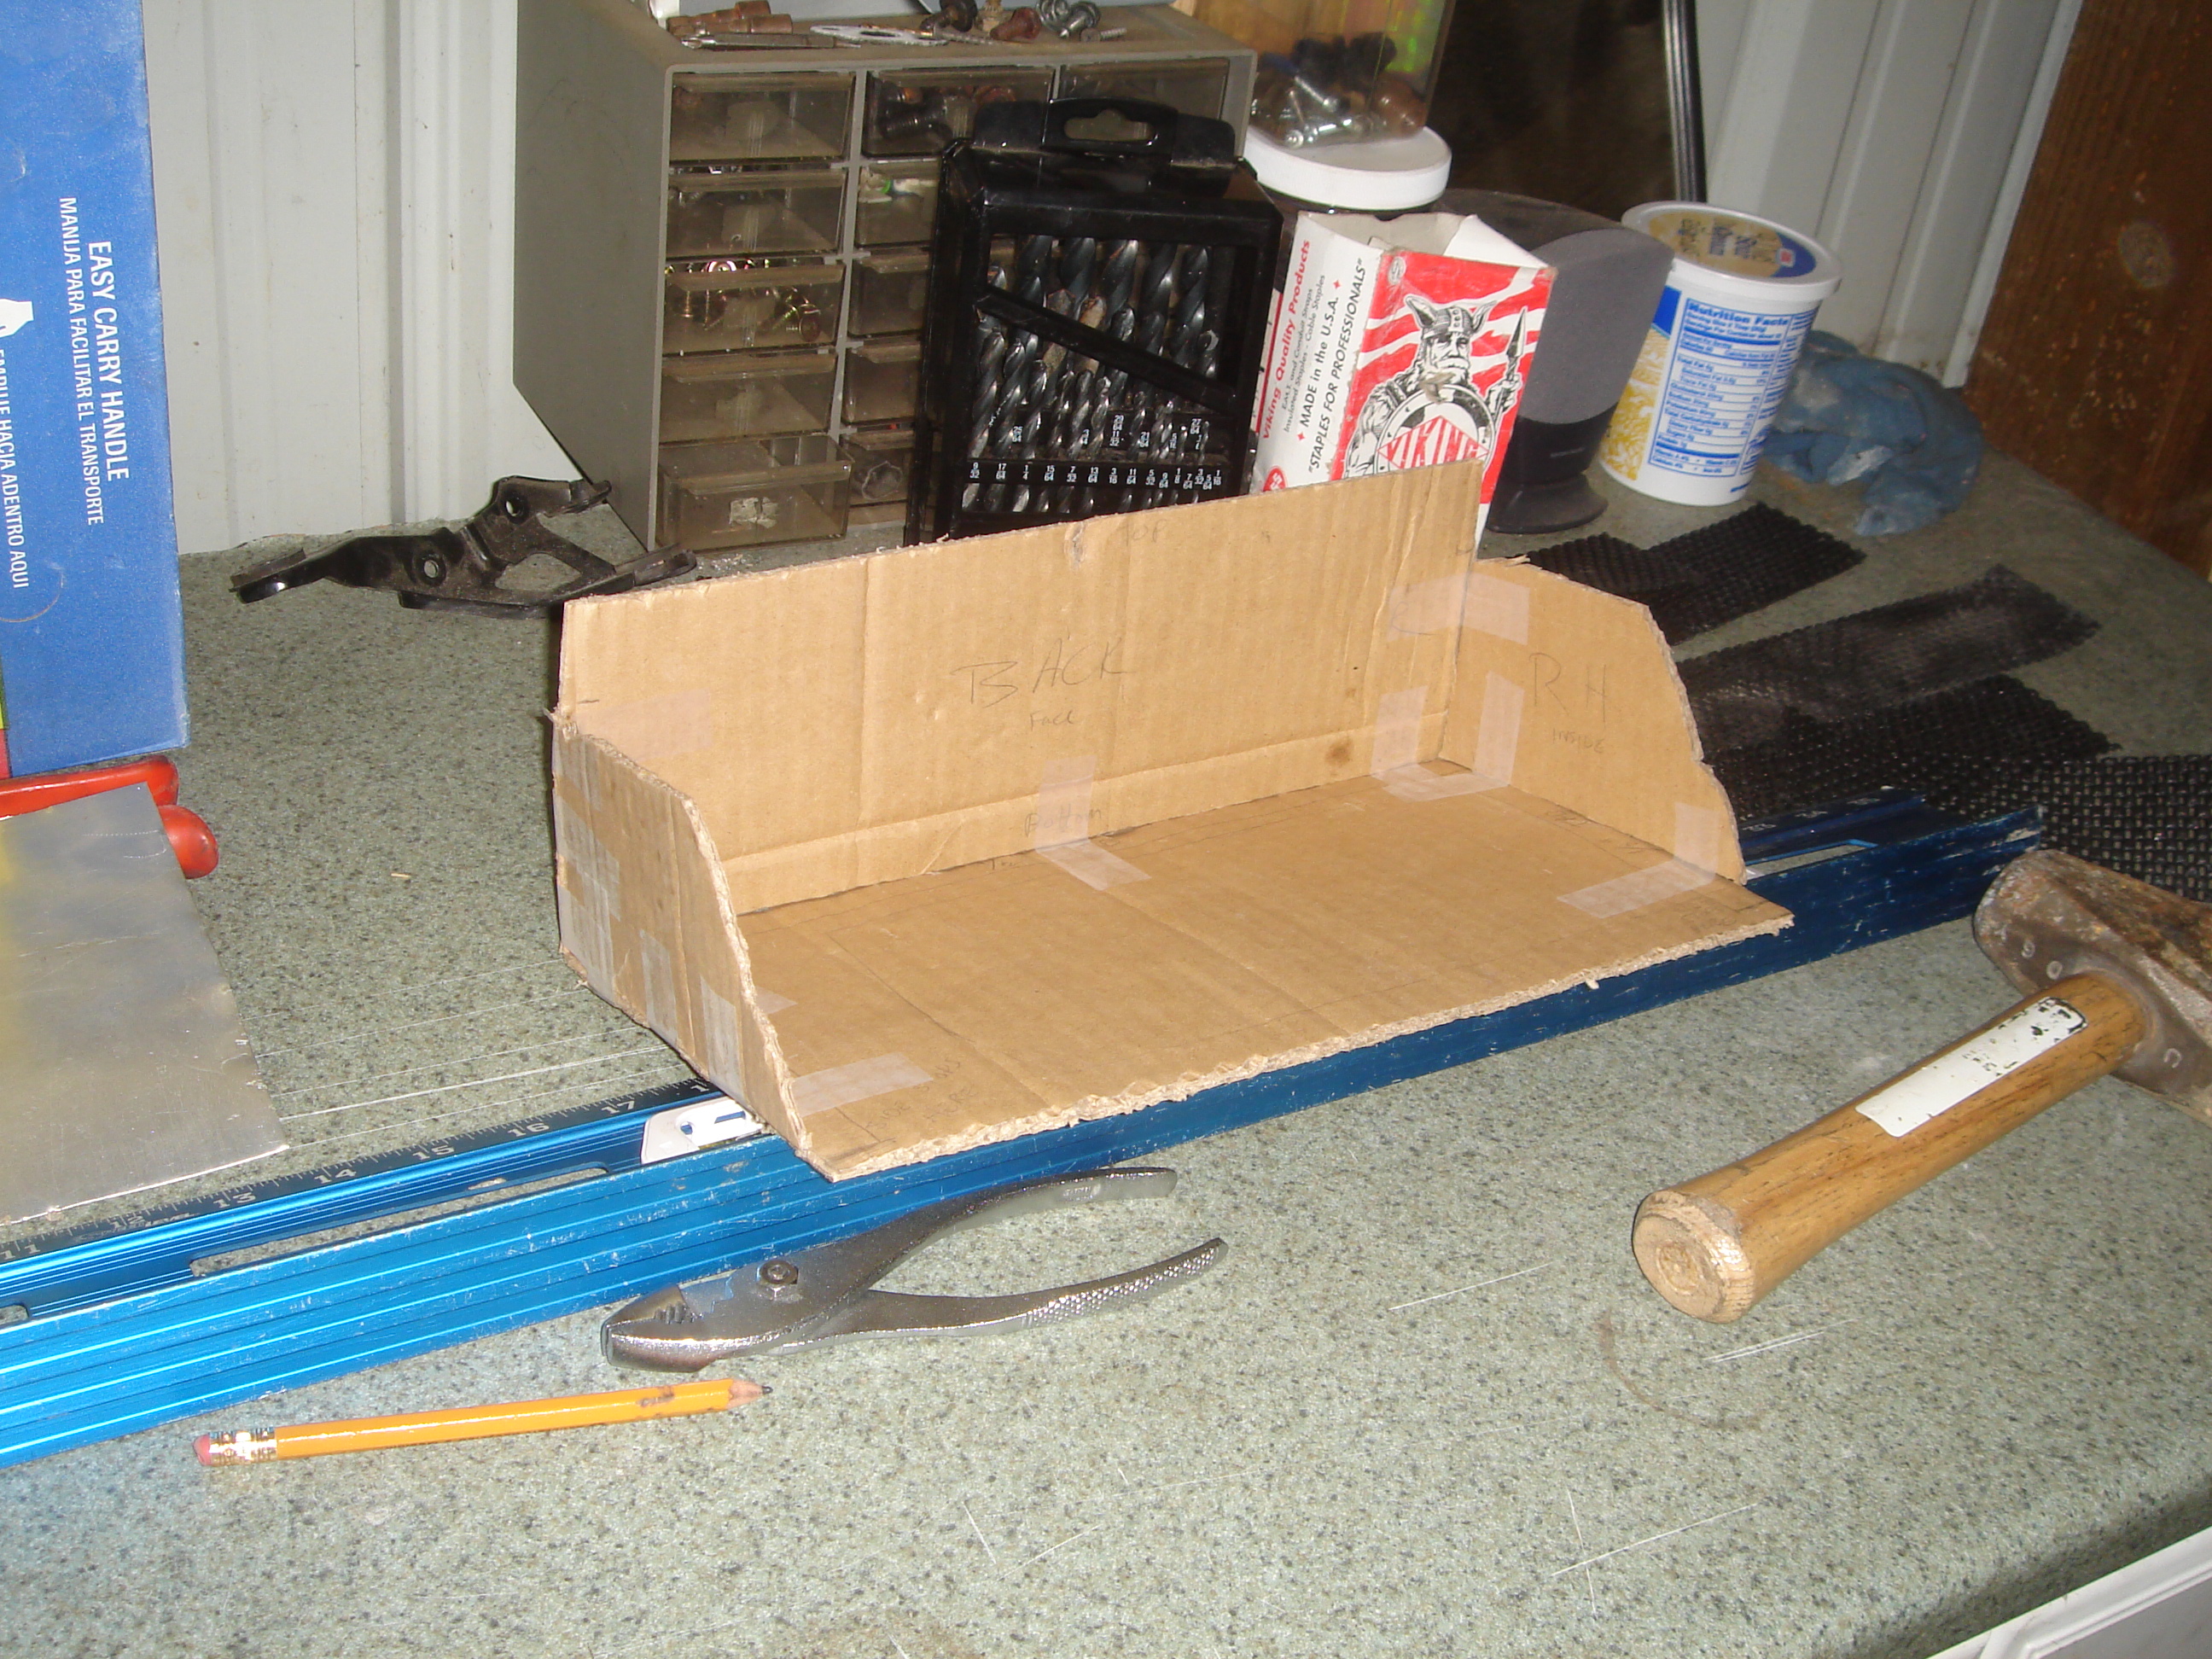
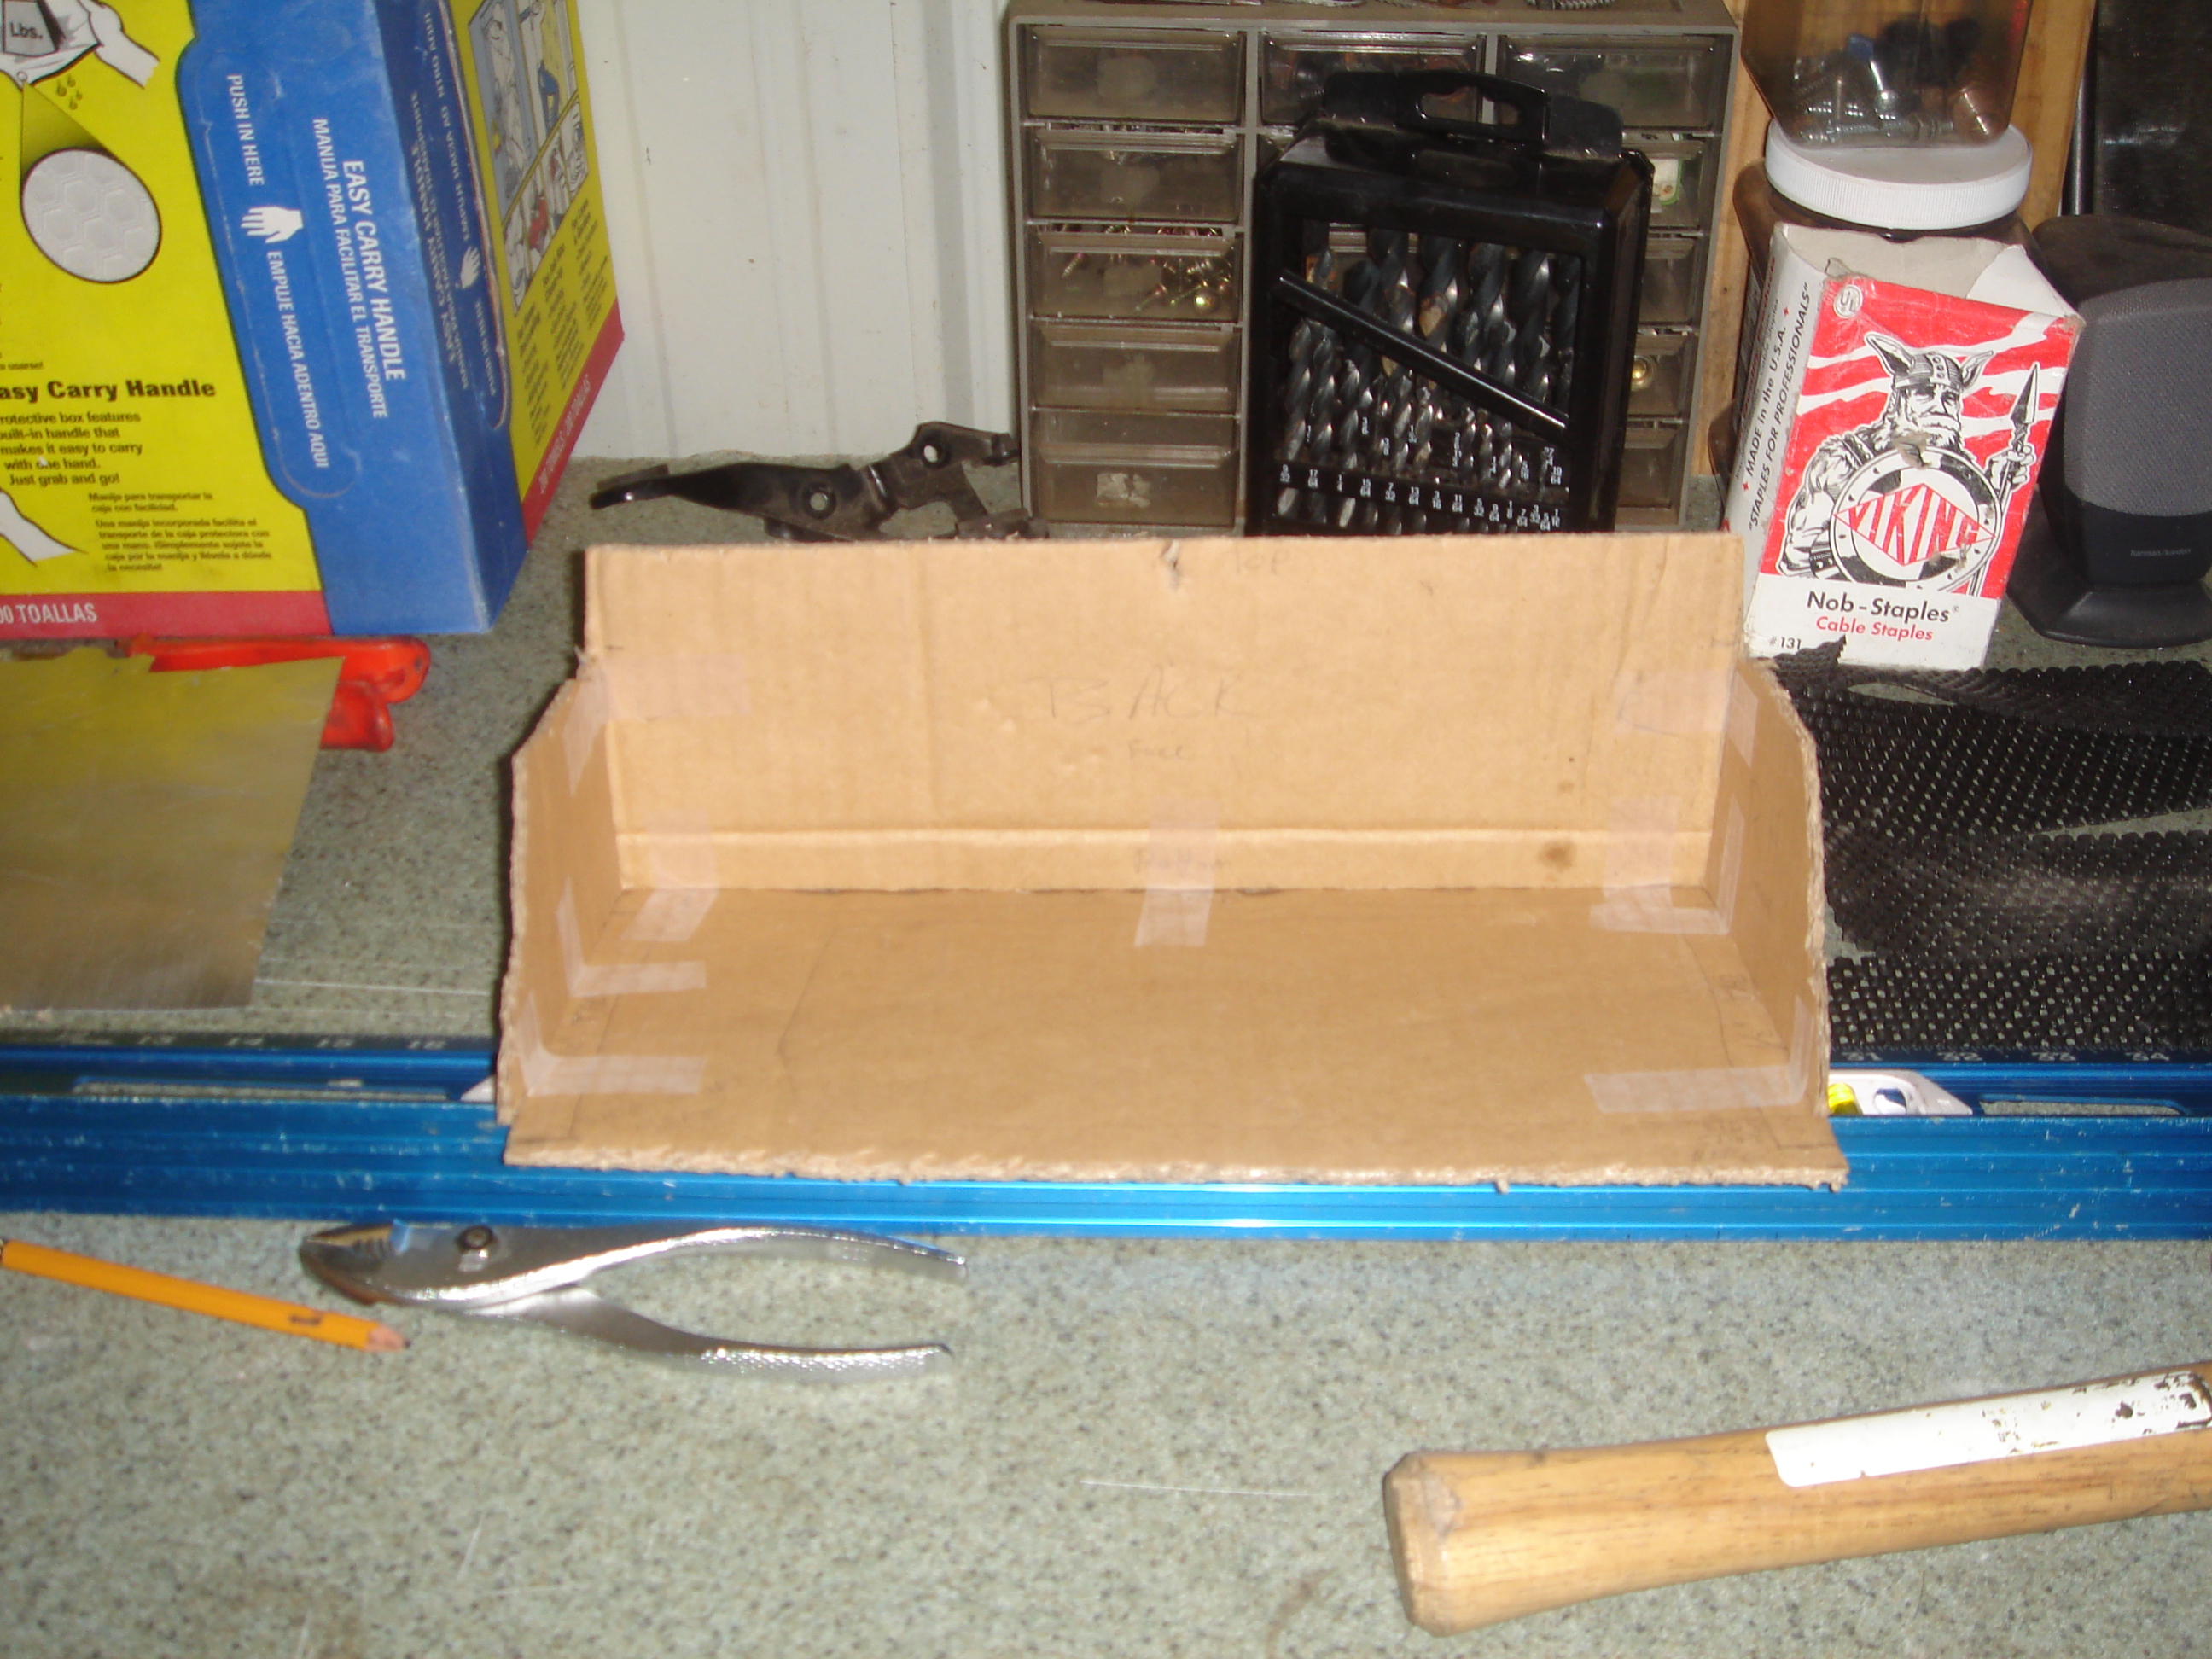
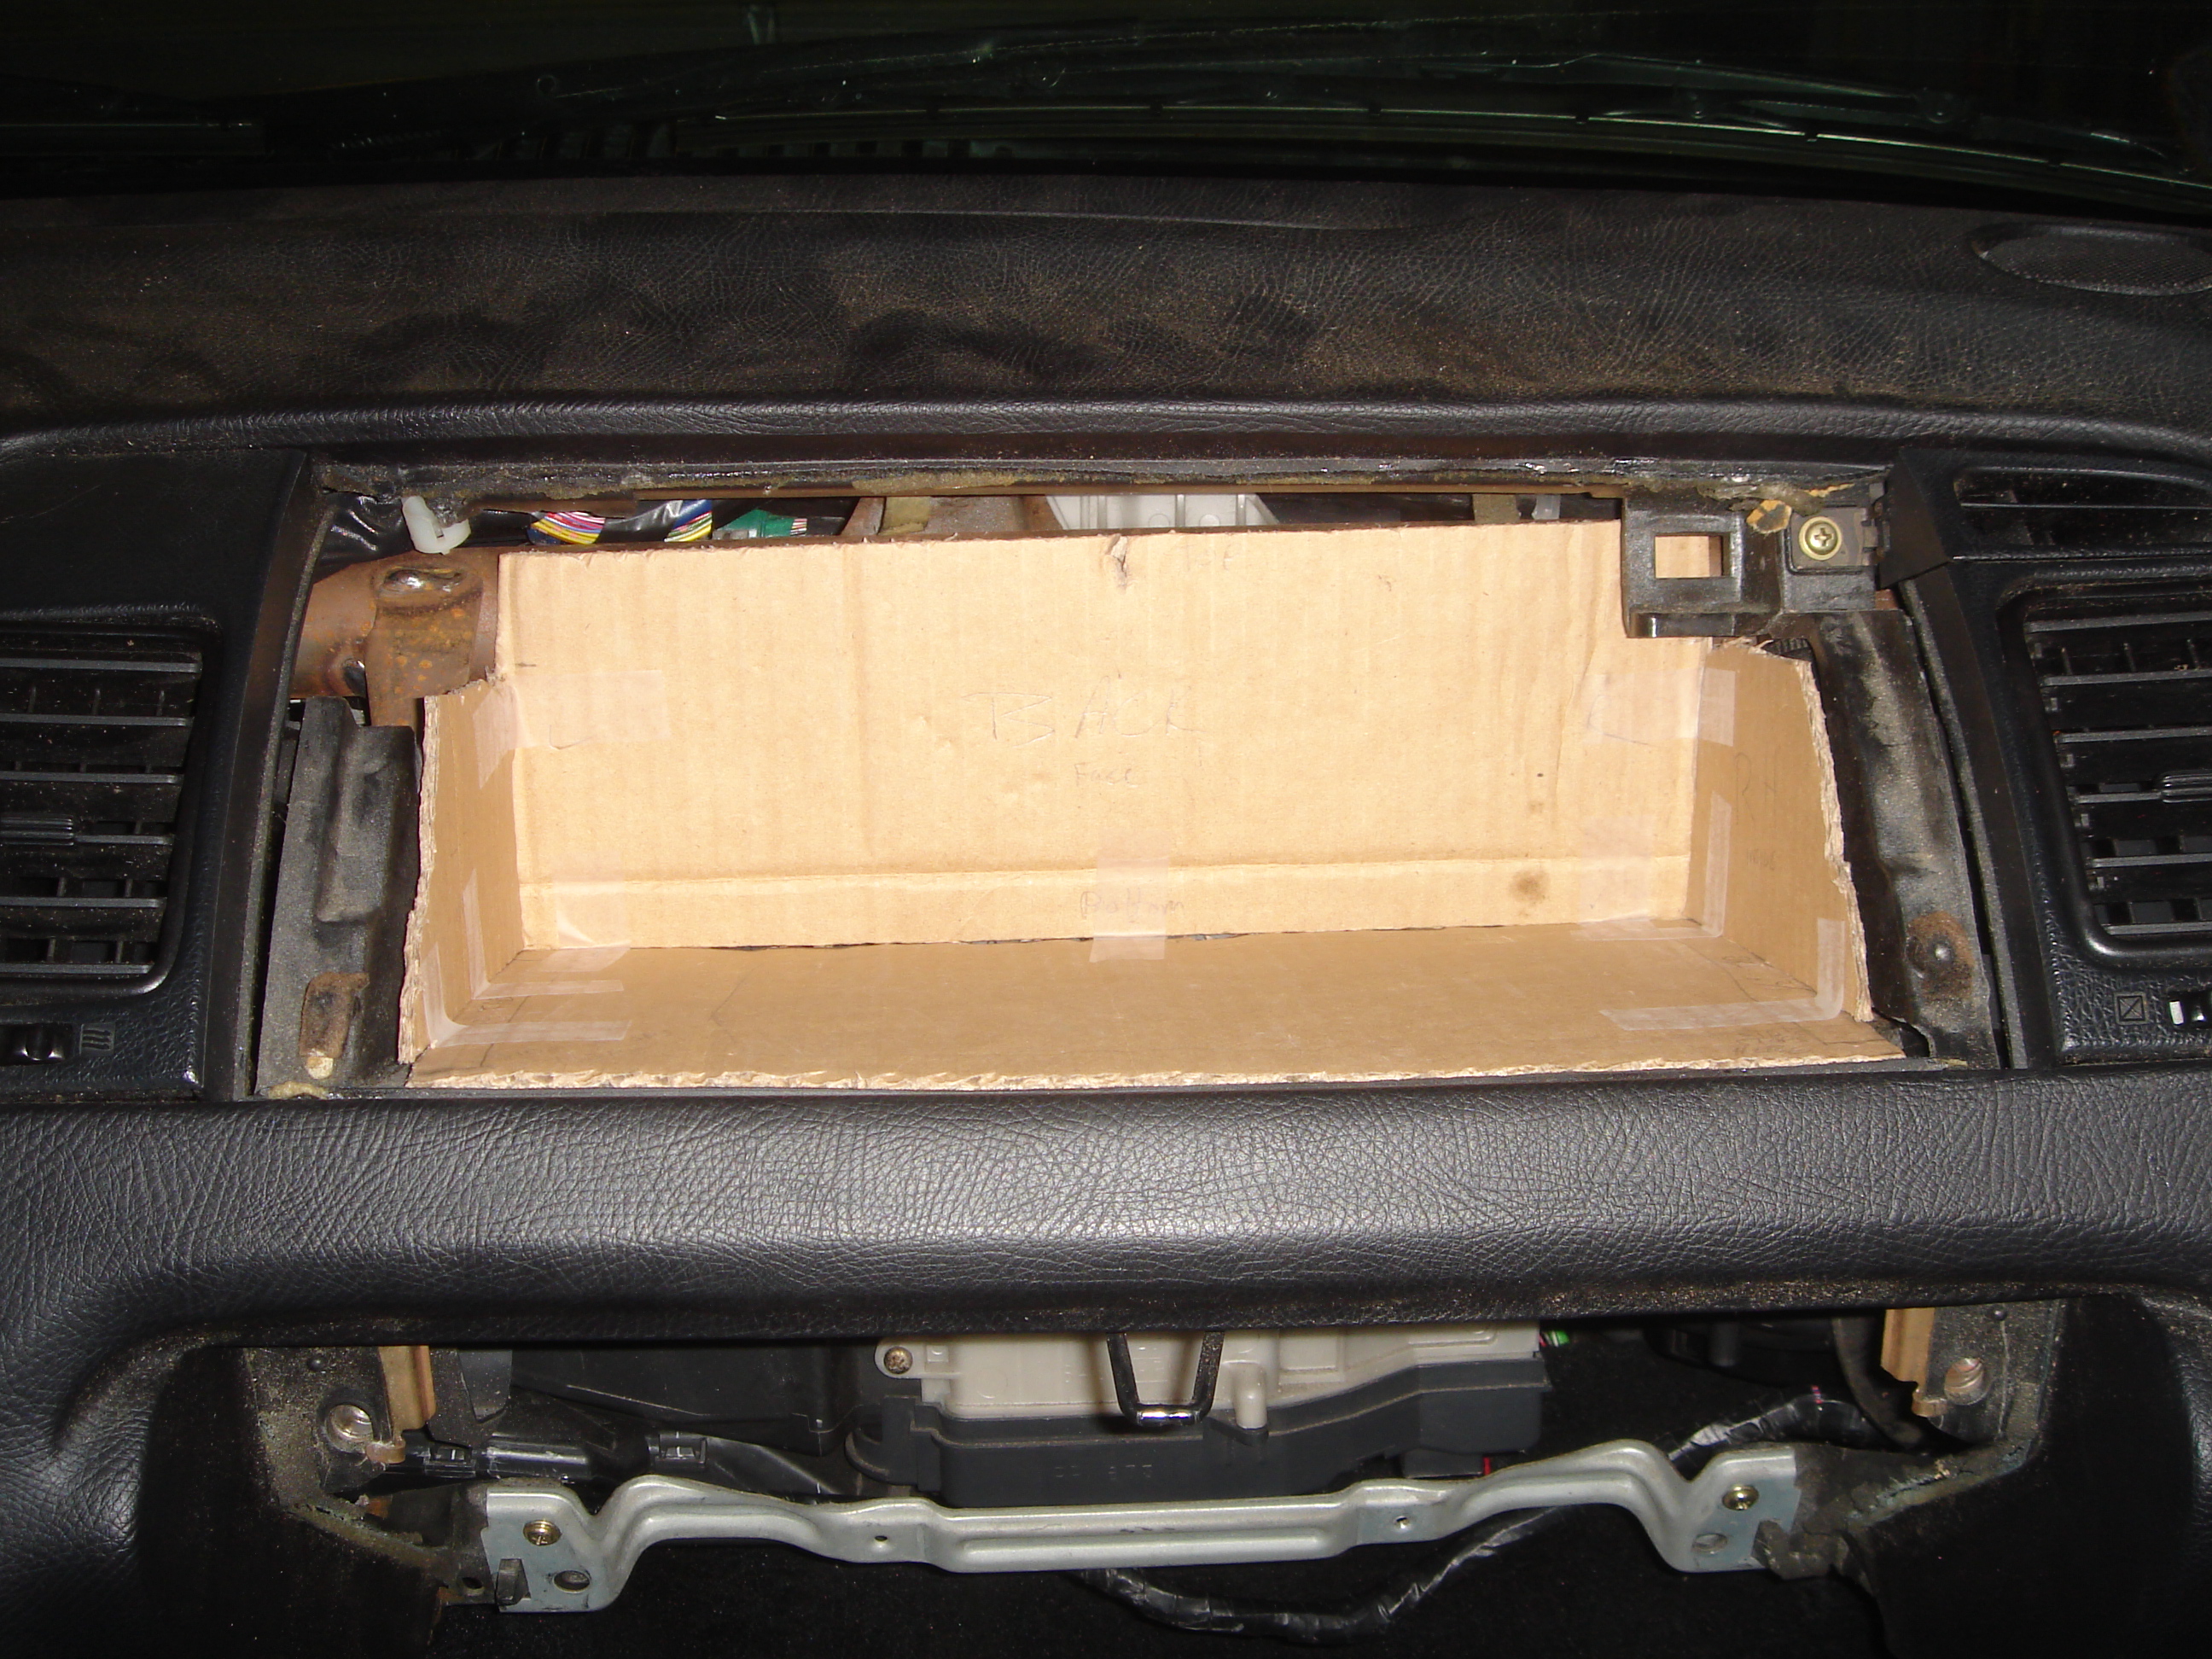
Test fit your template to ensure it fits correctly.
Take your template and lay it down accordingly on the sheetmetal.
Trace your design directly to the sheet metal.
Make sure you add tabs (at least 1/2") on the parts that will need to be over lapped in order to secure the box together.
Once you are satisfied with the measurements you can now start to cut out your design.
If the sheet metal is thin enough you can use a razor knife and something straight to score the metal. Once you bend it a few times it will break. Or you can use sheet metal shears to cut out the design. Your choice.
Now, I used a vice with a straight piece of steel to make a brake (tool used to do metal work on siding). I already marked where the piece had to be bent at, lined it up, and bent it. Moved on to the next area until everything was bent and needed to be riveted together.
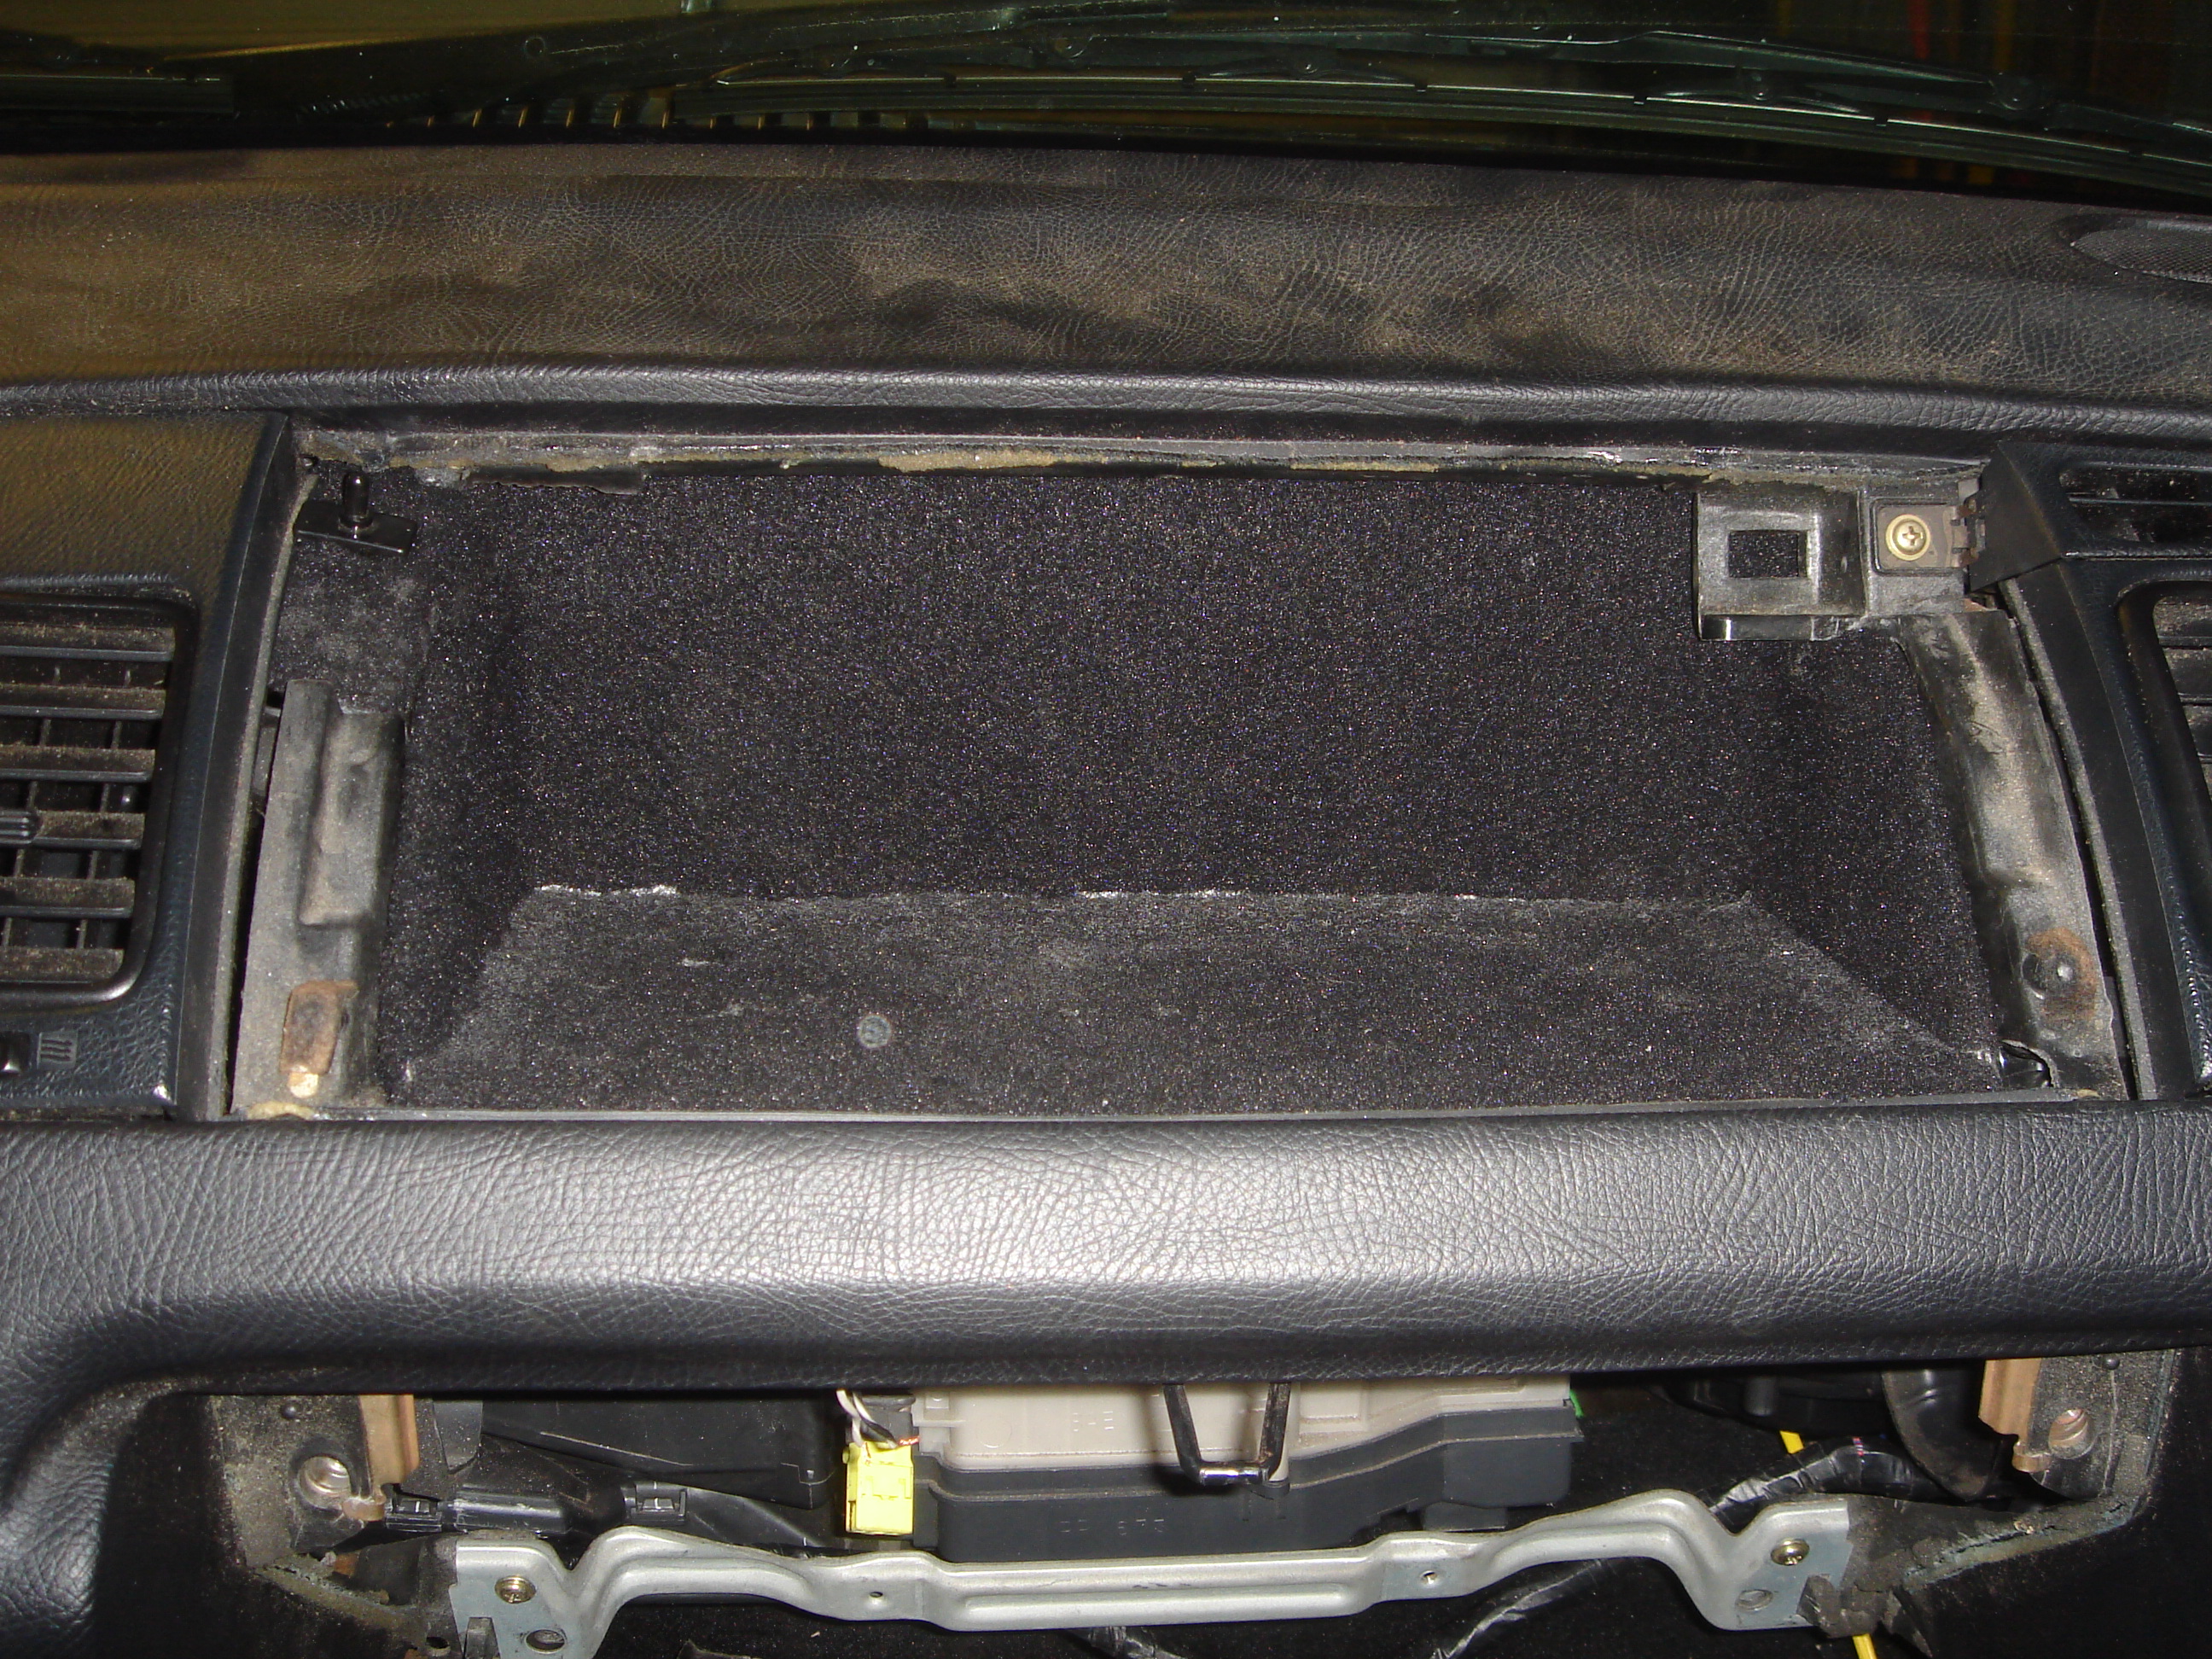
After I riveted everything together I test fitted it to make sure it fits. Luckily I took some good measurement and it fit perfectly.
While it was still in there I took some measurements UNDER it to make a bracket that would allow it to bolt to the frame where the rear 12mm bolts were on the airbag.
My next intention was to make a hinge system so the airbag cover would be able to flip up, but after working on it for a few days and using only primitive tools I abandoned that idea.

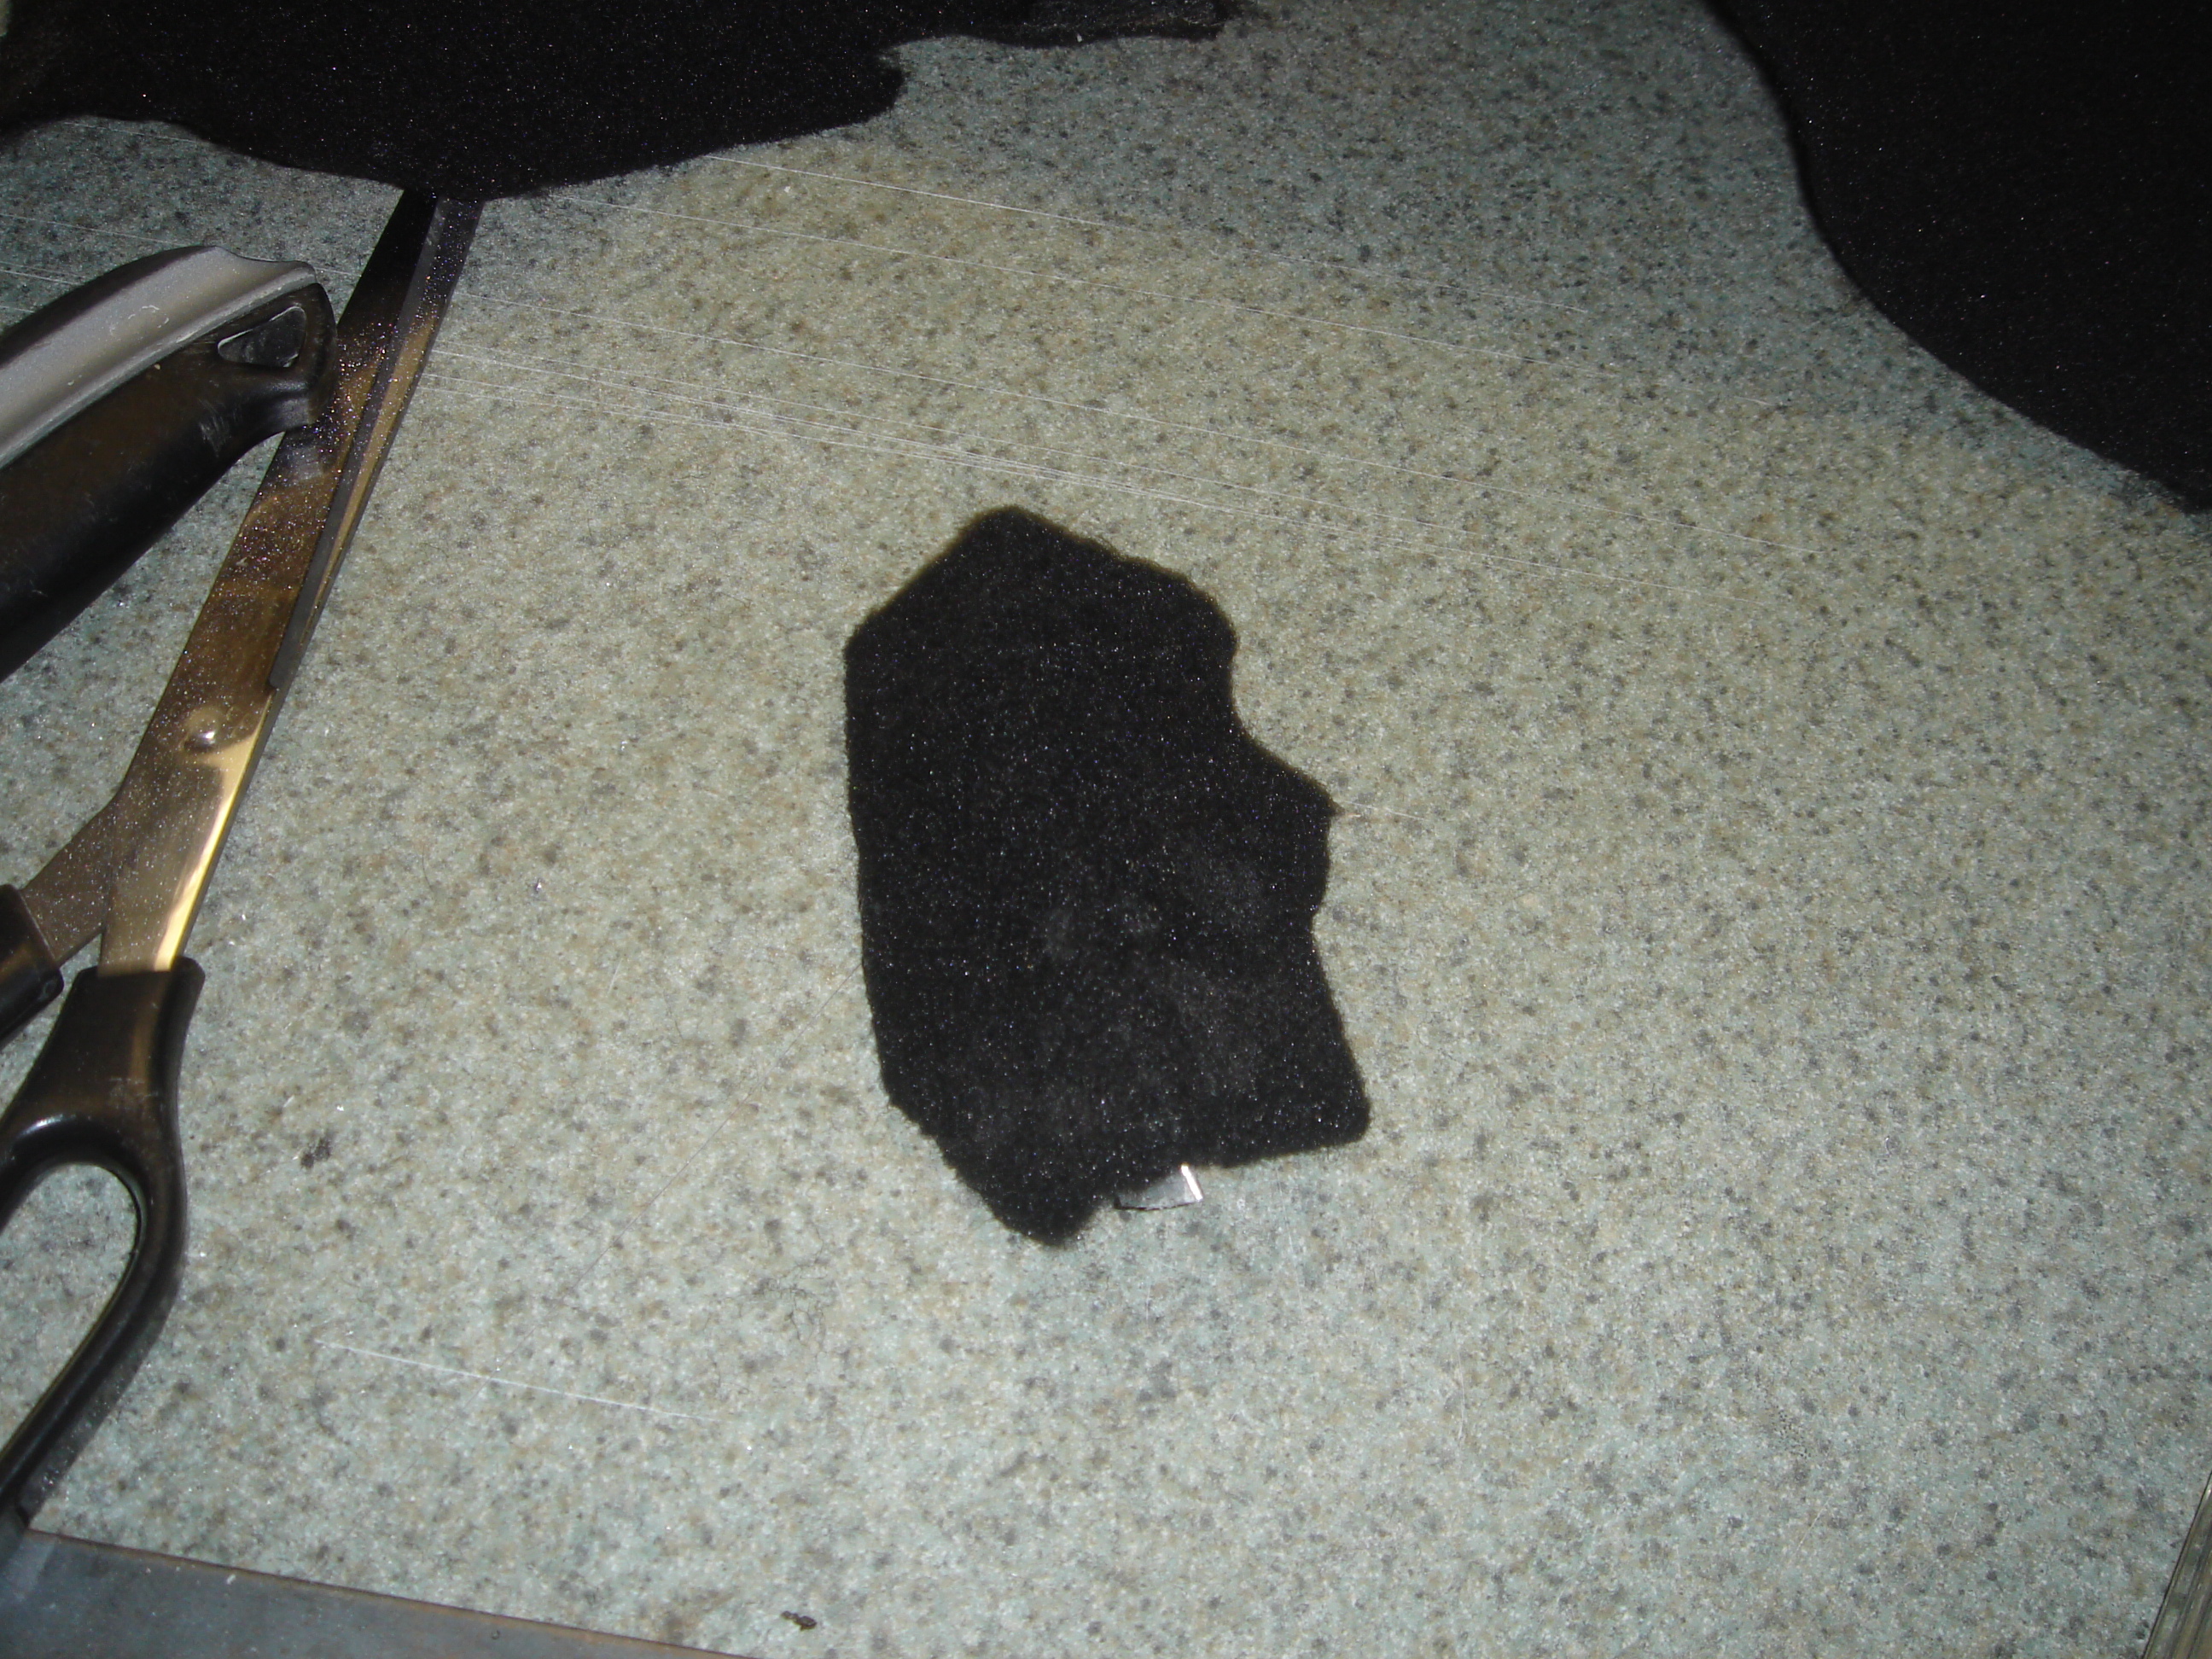
I took it back out and began to carpet it.
Did the bottom first and then the sides as one.
After it was carpeted I test fitted it again and this time, with the carpet wrapped around the edges, it fit nice and snug. Perfect.

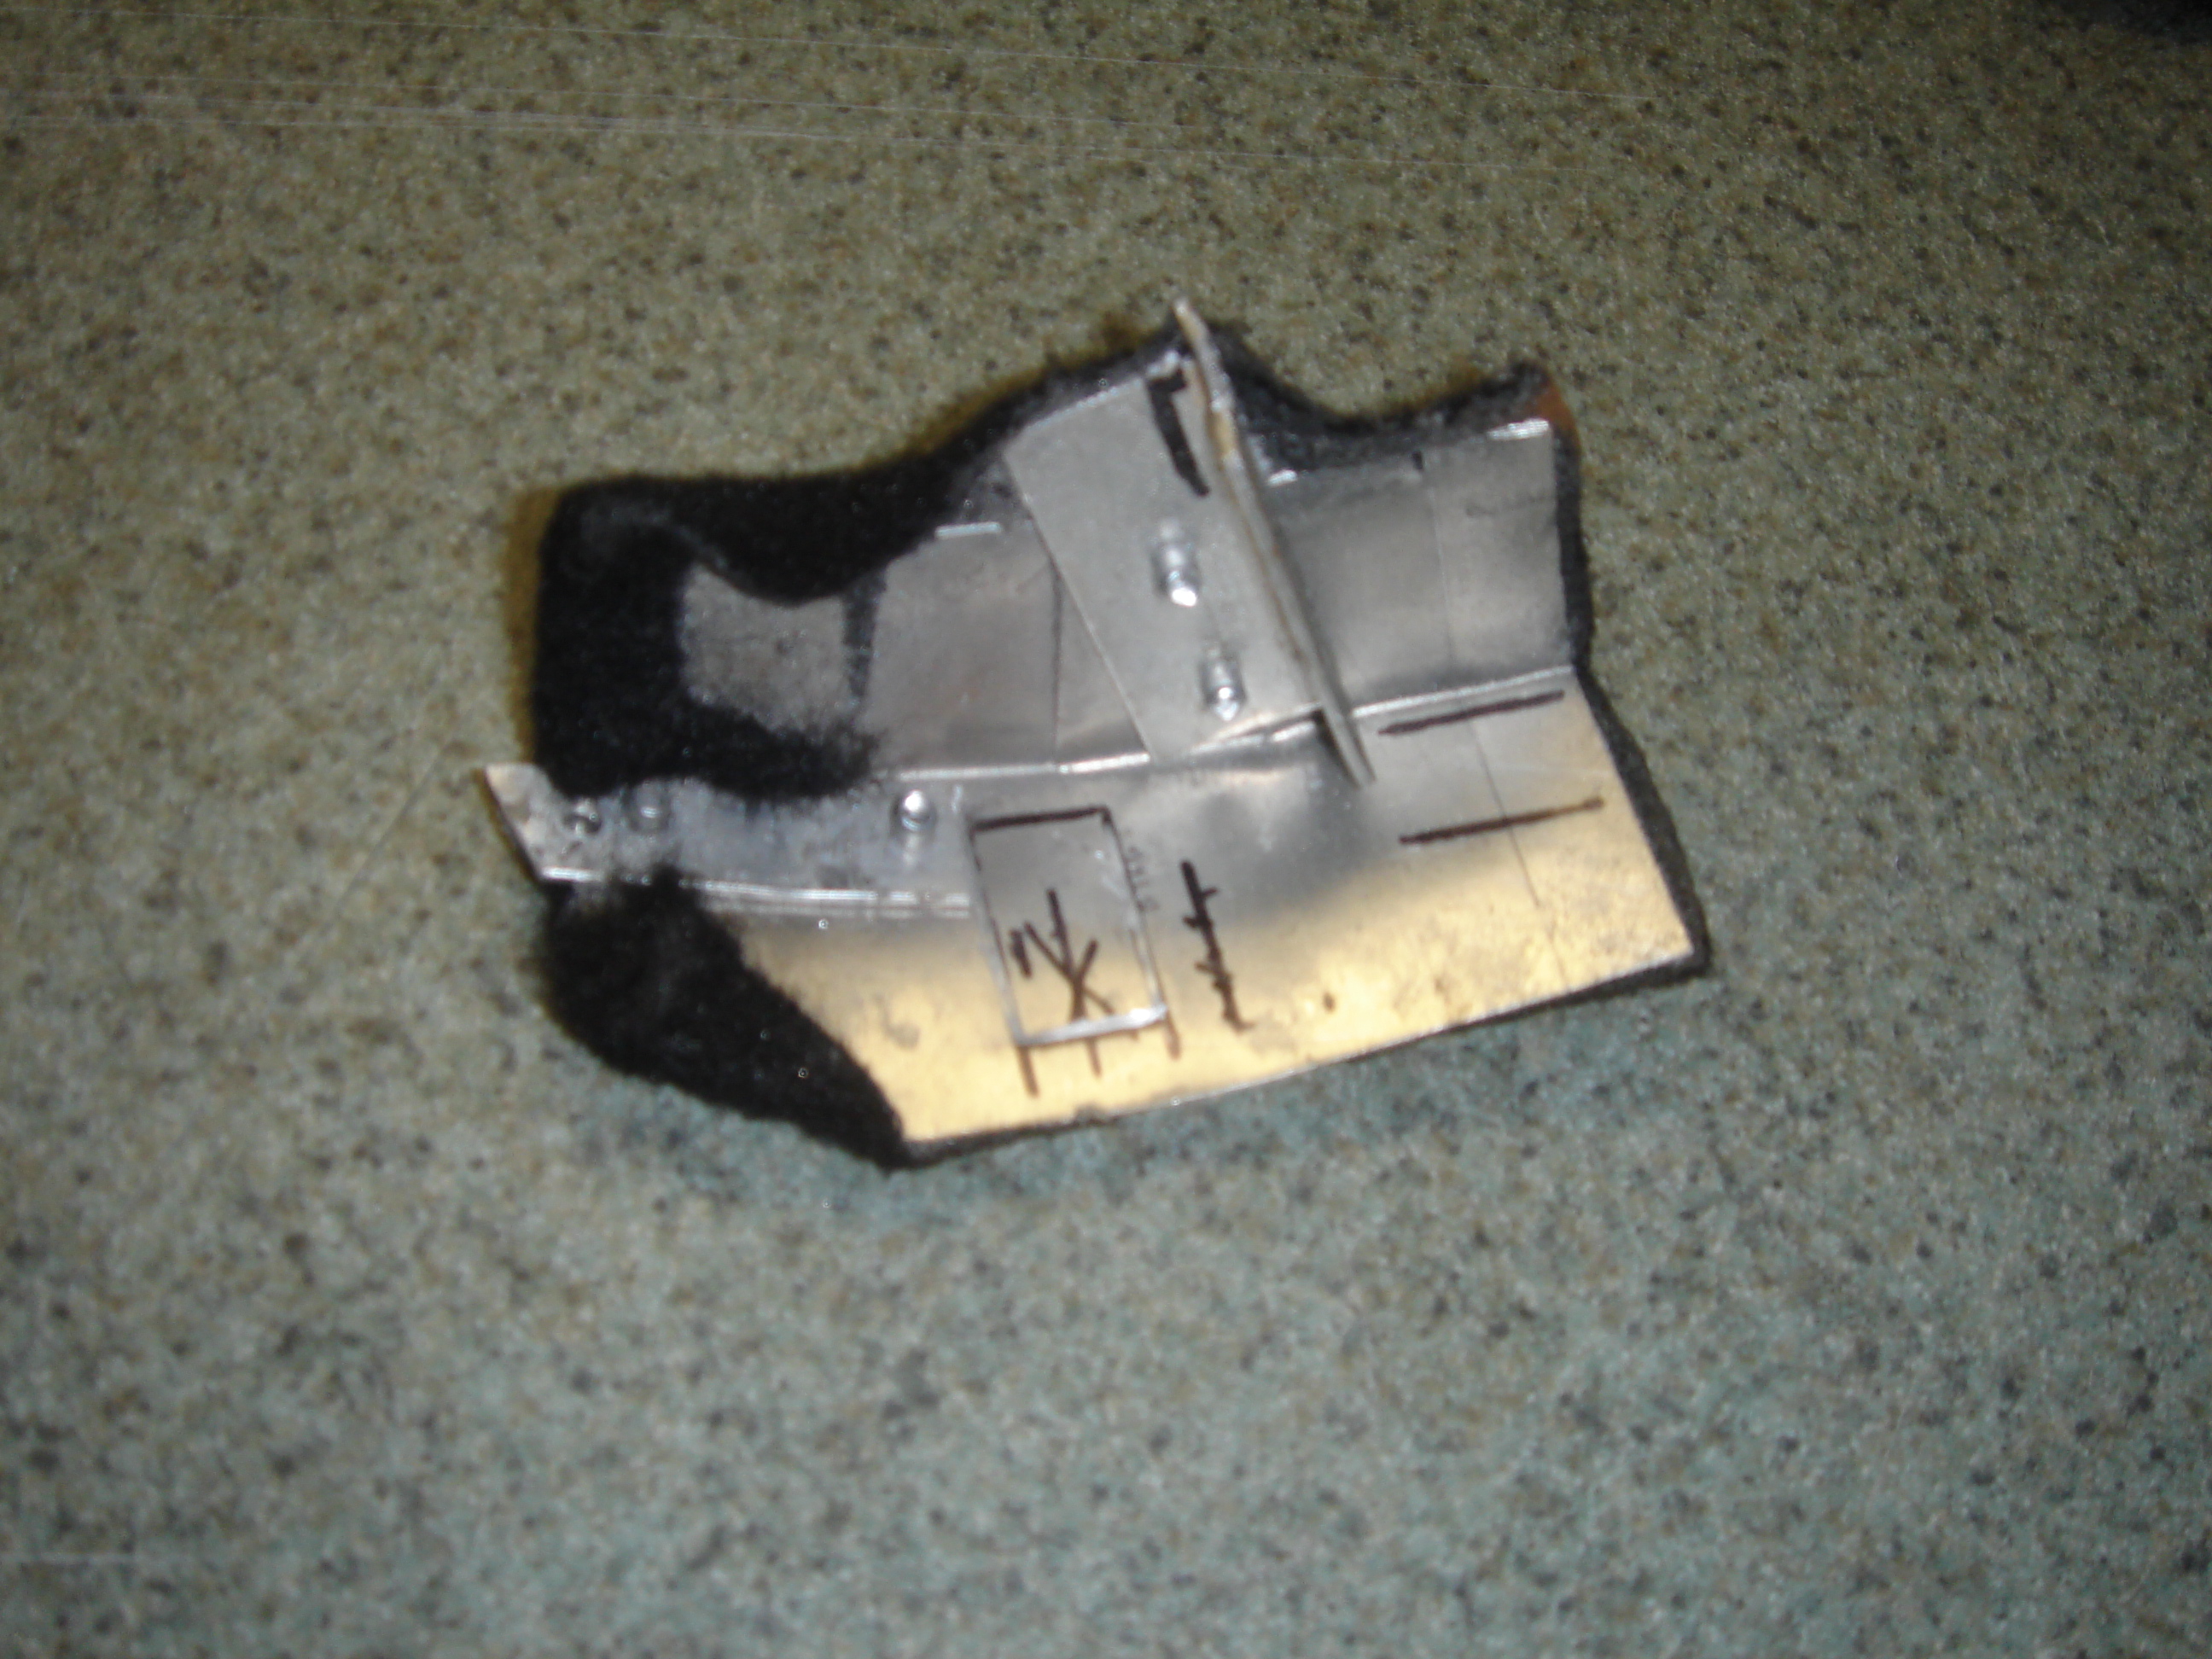
Normally you would be finished here, but since someone has neglected this car before I bought it, the small tab on the top left that allows the airbag cover to slide into was broke. I couldn't allow such a huge hole to be present so I made another piece to fill it. You guessed it, out of sheet metal.
This time I made a template by taking good measurements and putting it directly to a small piece of sheet metal and modifying it until it was exactly how I envisioned it.

Here is the final product.
Put it back in before I installed the new box.
Installed my new box.
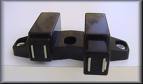
Now I took some more measurements and installed some push to open things from kitchen cabinets. Similar to this one on the right.
After those were installed I put the airbag cover back on. Finished!!
It looks just as it did when it came from factory.
You can either stop there or go and do some other cool things like:
- ADD LIGHTING
- MAKE A BRACKET FOR GAUGES (update if I try)
- ADD A TV
- or anything you can think of

If you are stopping than all you have to do is put the lower glove box back in and call it a day.