Convert Your USDM Clock to EURO Style
- Thanks to Zawelch for this write up
I finally got around to making the write up for converting your stock
USDM digital clock to that super cool series II clock. If someone wants
to sticky this that would be cool.
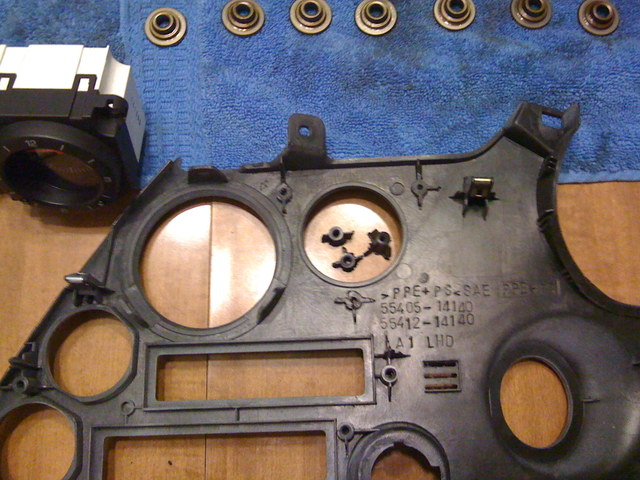
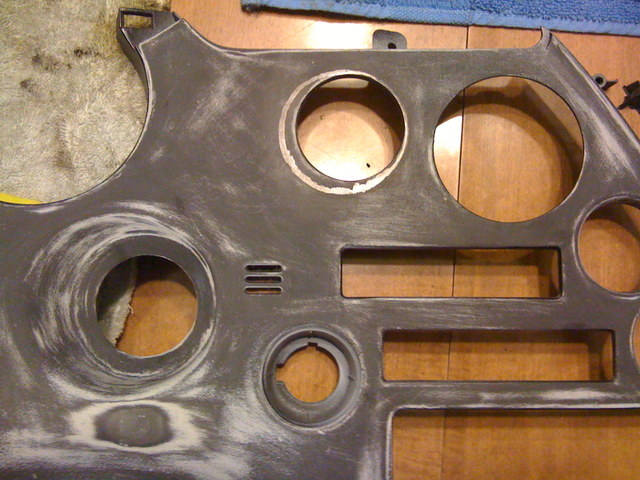
Visual differences between the two clocks
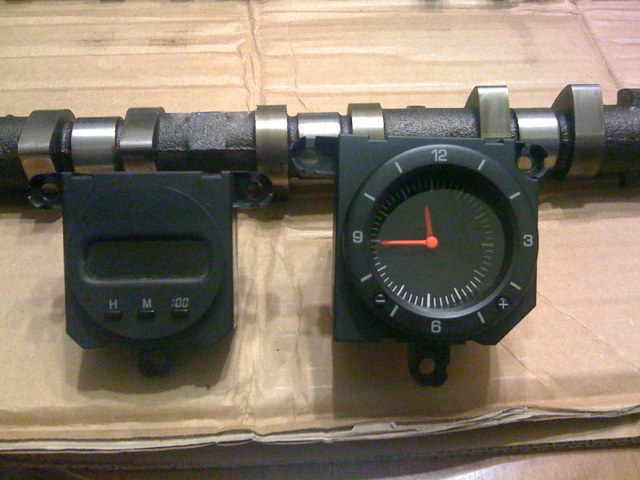
As you can see the series II clock is a tad bit bigger than your stock series I clock.
(sorry that my dash panel is all colored funny, I was sanding out all the deep scratches and geting it ready to be repainted)
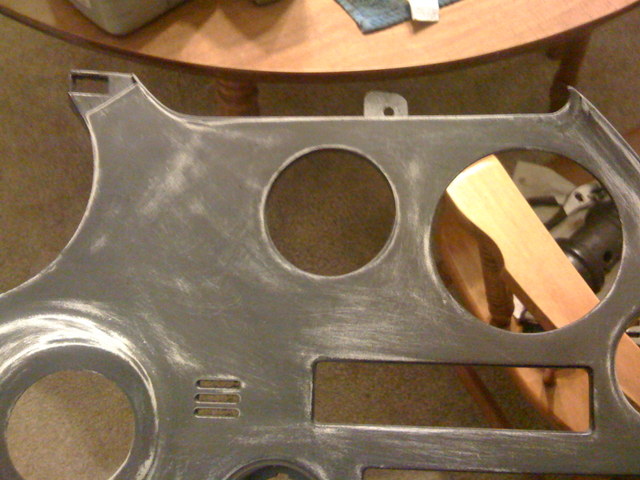
You will notice that the two mounts for the clock at the top line up
perfectly and the one at the bottom isn't low enough. It doesn't matter
that they line up because you have to take all those out and relocate
them cause your air vent won't clip back in if you cut your hole for
those top brakets.
Cut out all the brakets with a small saw or dremel and save them, that's how you're going to mount your clock later.
Now you need a pattern to cut the properly shaped hole for your clock.
I traced a circle around mine with a marker. I taped my clock so I didn't get marker marks on the clock.
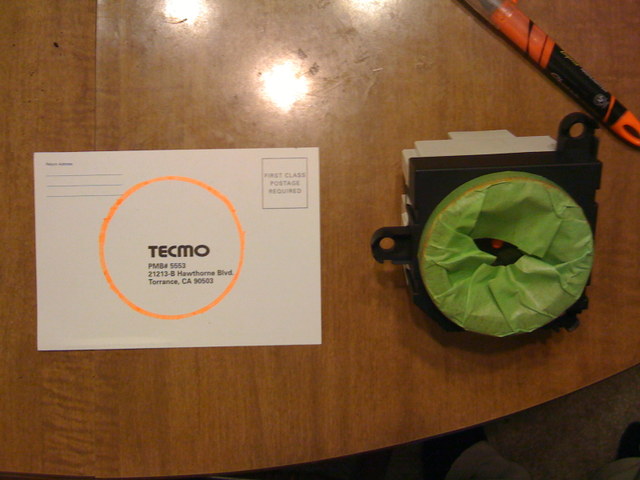
Now cut out the circle you just traced and do a test fit around the series II clock.
If it fit like you want it too, it's now time to trace your circle onto
your dash. I would suggest using part of the edge of your previous
clock so there is less cutting and you want to make you hole go away
from your vent so there is no clearance issue. I would also suggest
that you do a test fit of the vent in the dash and line the new clock
up next to it.

Now that you have the circle traced onto your dash, begin enlarging the
hole by sanding it by hand (I don't suggest this method), using a hole
saw that is the right size (heard this was an ok way to do this), or
use a dremel and sand it out (my method). Make sure you try and test
fit the clock as you go, cause you can always sand out more of your
dash so it will fit better but it's a real pain in the *ss to try and
fill in parts that you want back.
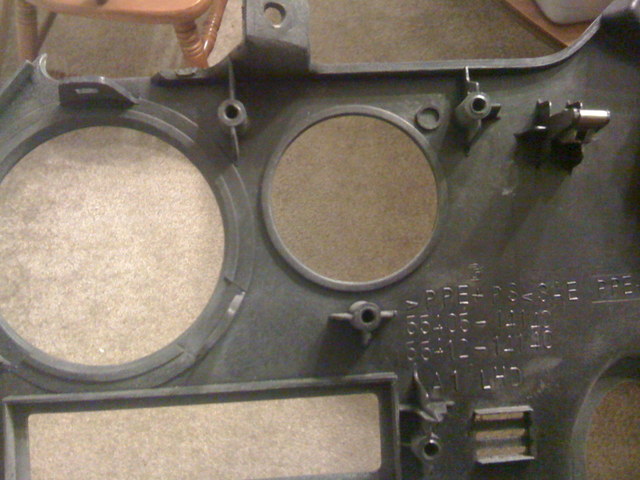
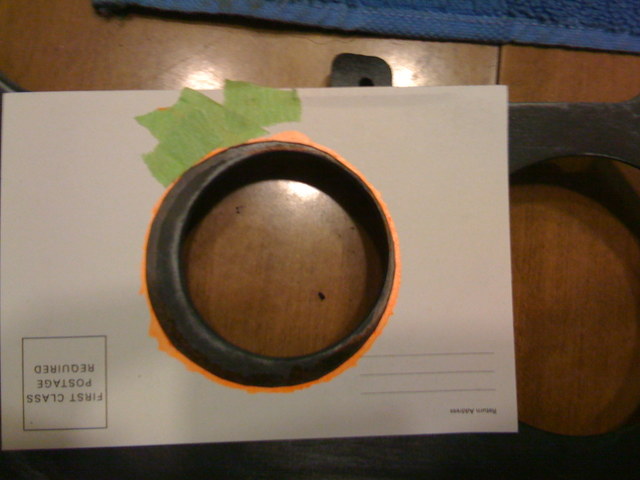
Your hole should look like this when you are done.
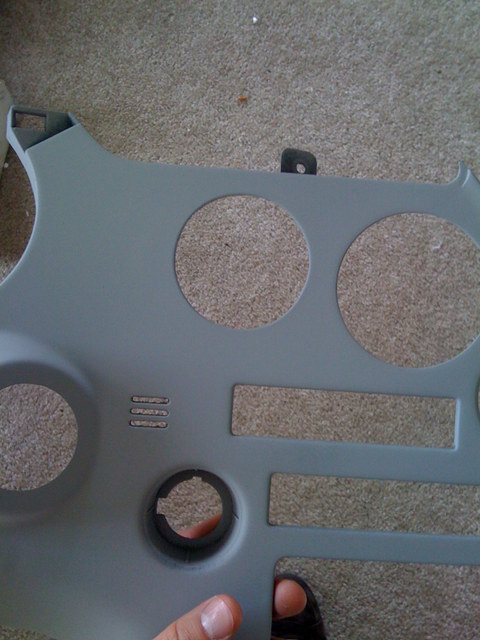
(after I finished the hole and brakets I primered it again)
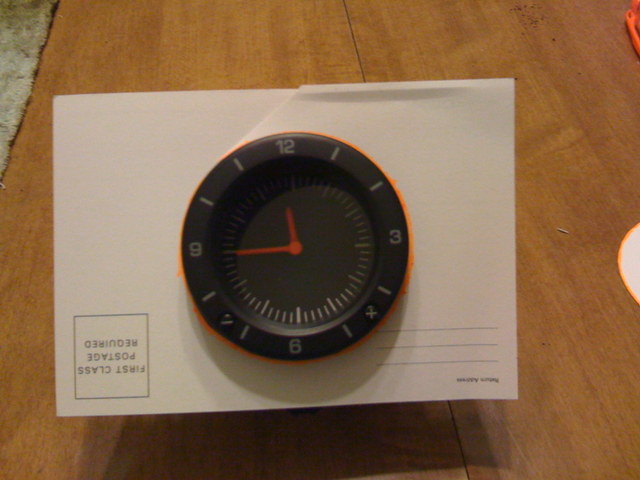
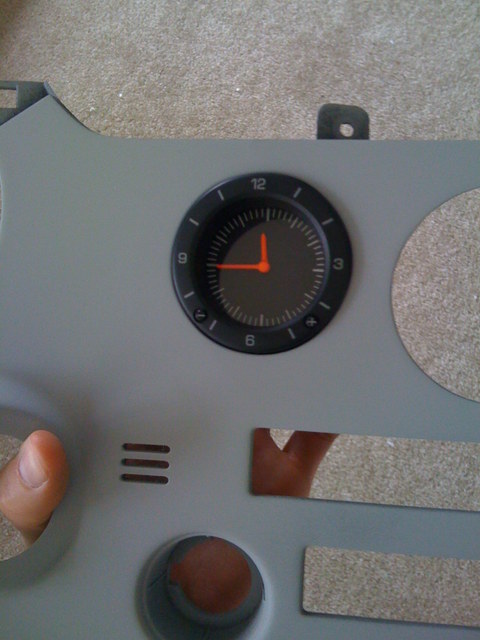
And this is the kind of fitment you should be able to get.
Now it's time to epoxy the brakets back in. I screwed the brakets into
the clock and set the clock in the hole and just poured the epoxy
around it and made sure it didn't get on the clock.
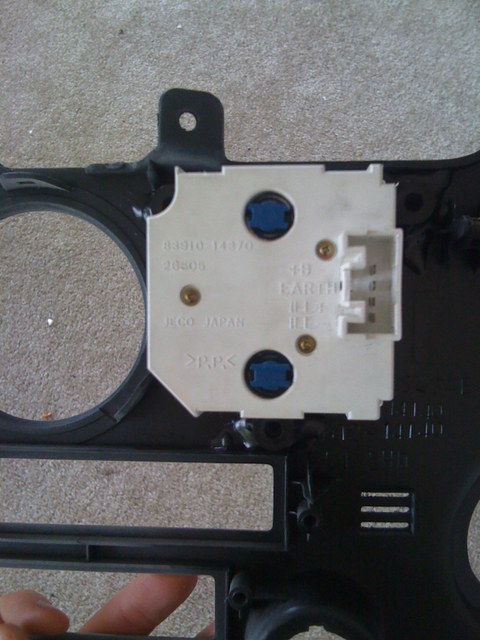
With the clock off the brakets, it should look something like this.
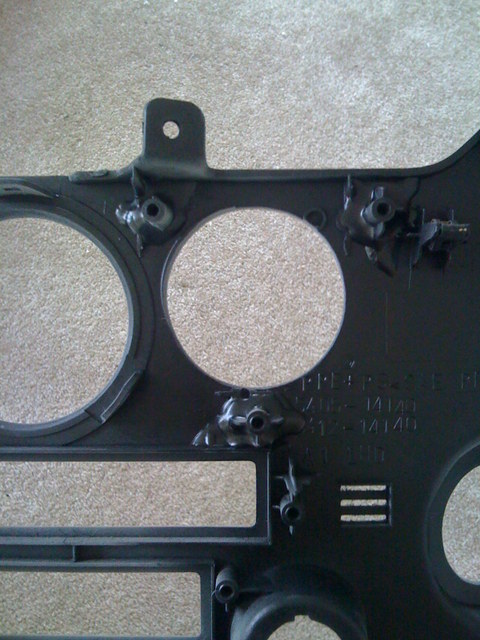
(I painted over the epoxy cause the type I used had a funny sticky feeling)
Now that the clock it fitted, put your dash back together and enjoy your work!
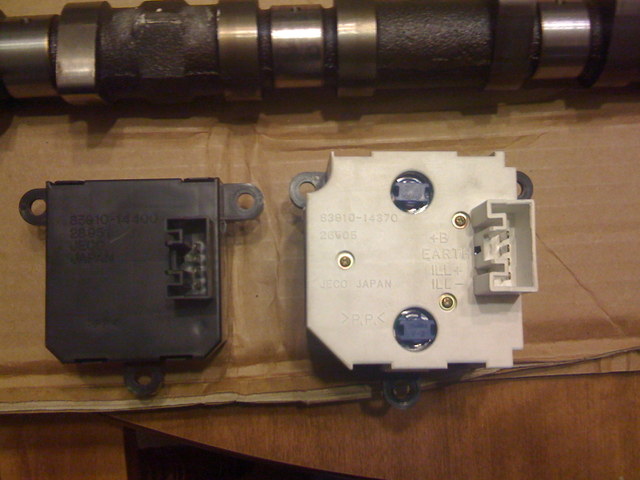
P.S. You DO NOT have to
swap around any wires or change any connectors to get the series II
clock to work! It plugs into your original connector.