- Thanks to Rich (fetish) for the write up/ pictures!!
NOTE: This will only work for the fibreglass versions of this lip.
Its not complicated, it will keep you busy for a full weekend and it
will cost you under $50 (excluding painting) for the fibreglass, and
body filler that you need.
Big thanks to my mate Gary who put up with a substandard dust mask and
helped me with alot of the sanding. That brings me to an important
point. This will create alot of dust. Get yourself a good mask! I
recommend a 3M mask with interchangeable filters for around $100.
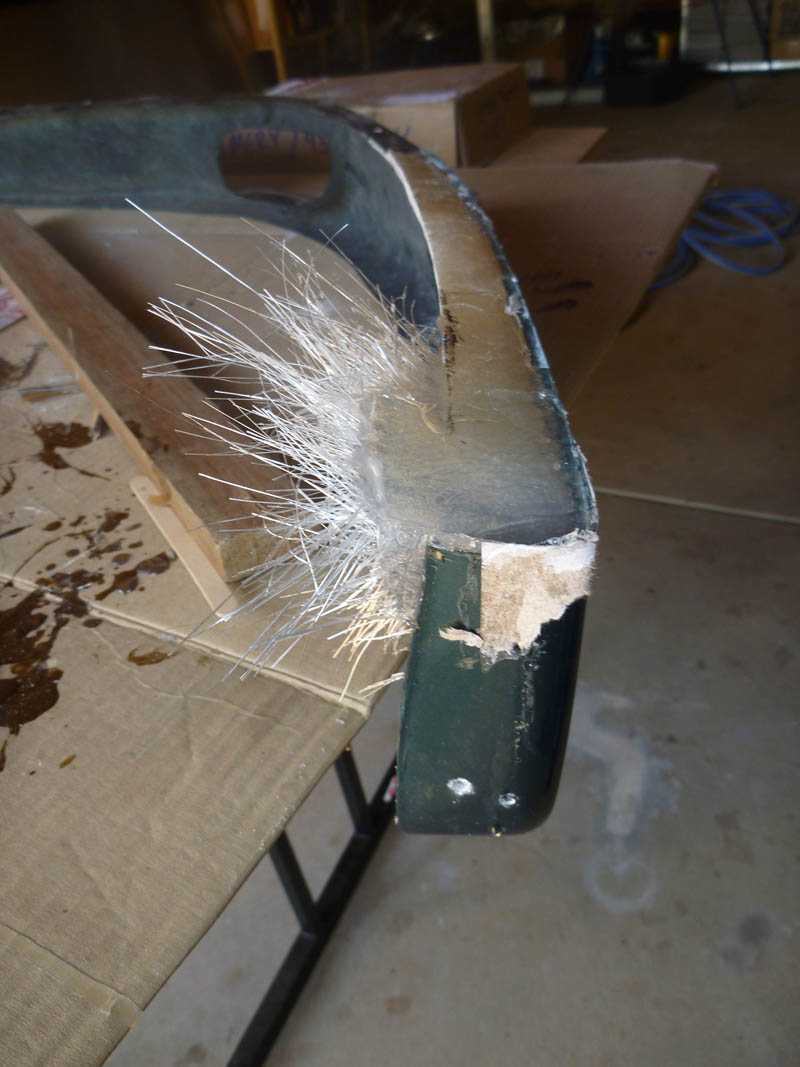
Step 1:
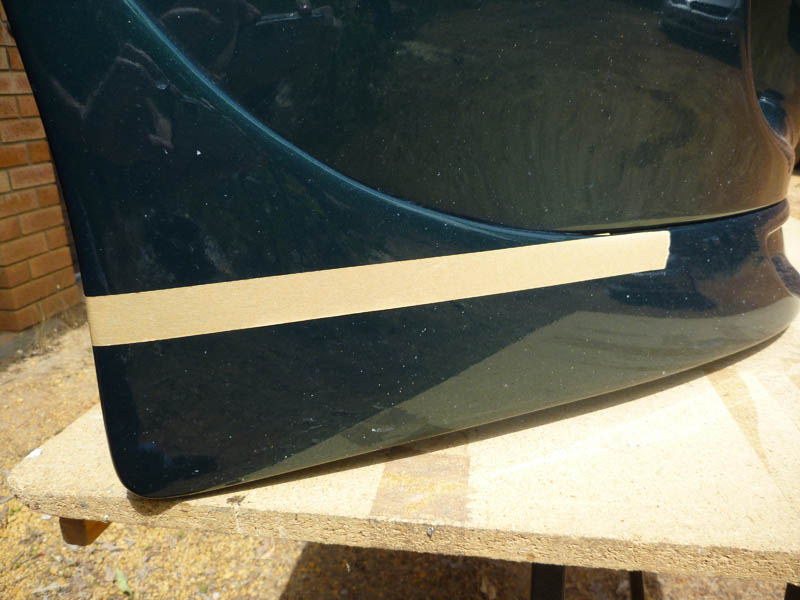
Using tape mark the sections you want to remove. You want to come down
a few millimetres lower than the very top edge of the lip. This is so
you can create a curved edge. You should be cutting in line with the
top of the vertical edge before it curves over at the top.
this is now the point of no return. Repeat on the other side.
Step 2:
If you have a look at the bottom edge of your bumper to where the sides
of the lip will attach you will notice that they bend upwards. To have
a nice snug fit its best to mould the new section over this part of the
bumper. To do this you have to attach the lip exactly where you want it
to sit.
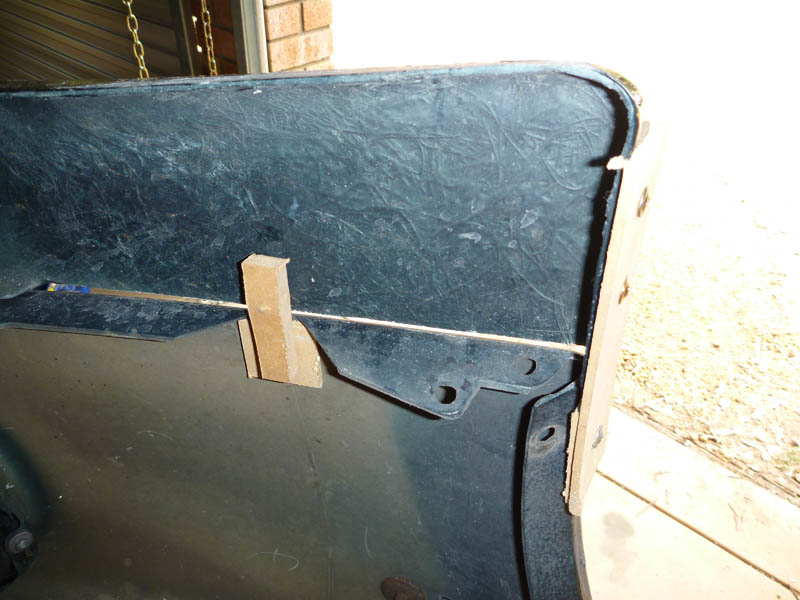
This may freak you out a little but you have to drill a few holes in
the lip in order to get it mounted up to the bumper square. Its easy to
get rid of these holes later. I used various pieces of mdf screwed in
to hold it in place.
Step 3:
Fibreglassing... the itchy part. If you do not know how to fibreglass read my "How to Fibreglass" thread here.
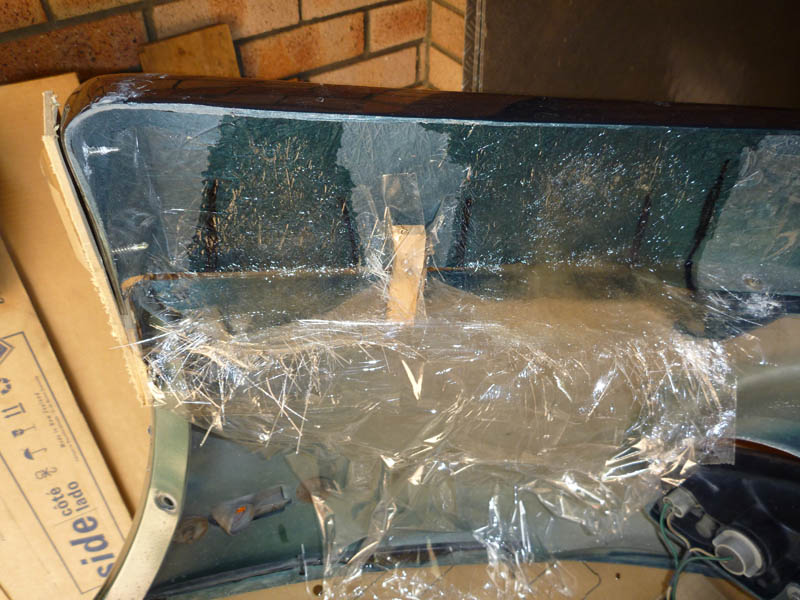
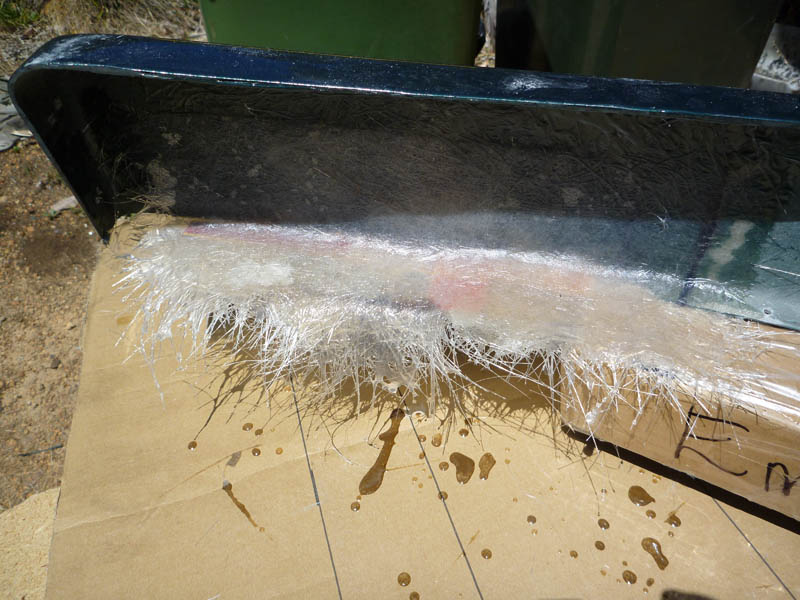
Now for this first part you dont need to go crazy. It doesnt need to be
strong enough to attach the lip to the bumper. All we are doing is
enough to get the shape and the angle needed. Due to the block attached
in the middle to hold the lip in place fibreglassed a couple of pieces
about 2-3 inches wide on each side.
TIP: Use tape to mask off areas that you dont want the fibreglass to stick to i.e. the bumper.
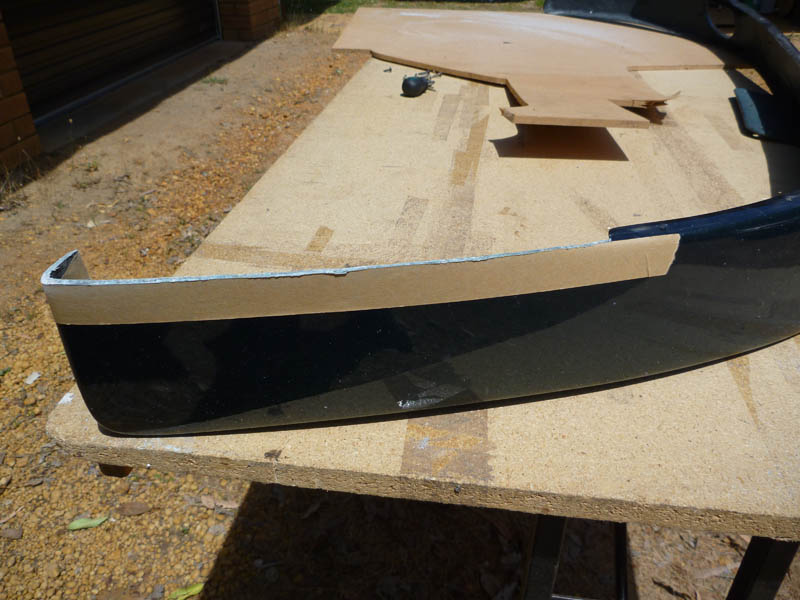
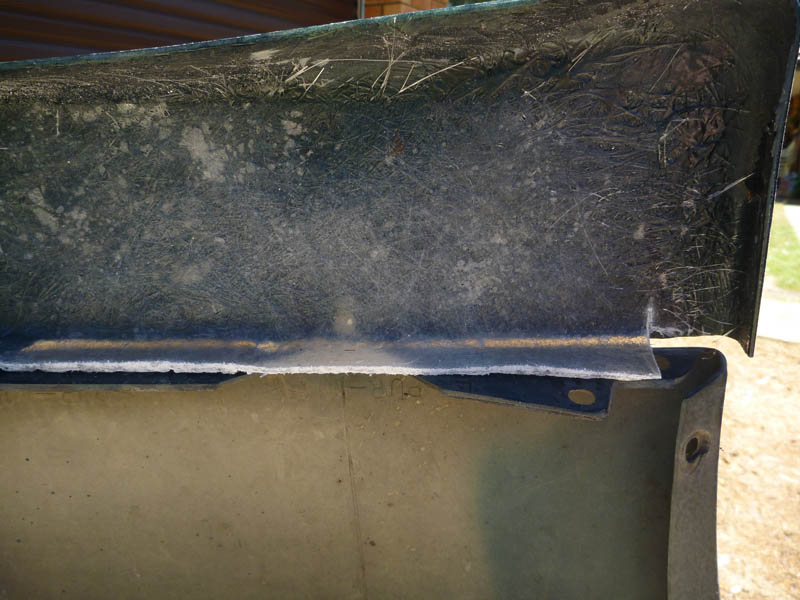
Once its dry remove the lip and pull off all of the tape. You should be left with something that looks like this:
Step 4:
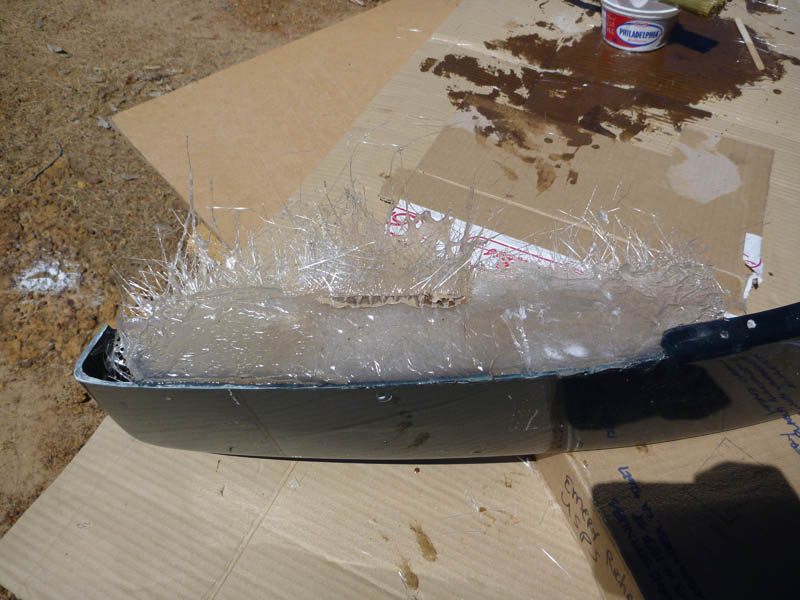
Using a piece of cardboard cut out a piece the shape of the lip and
tape it to the top. This will allow you to fibreglass the middle where
the block was and still retain the correct shape/angle. This time put a
few layers on to get the desired strength.
TIP: Cover the cardboard in tape first so it pulls off easily.
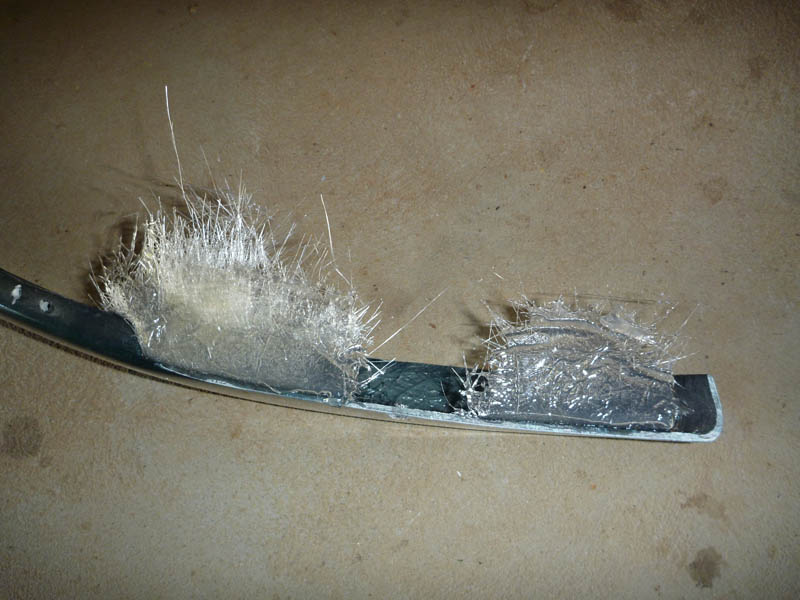
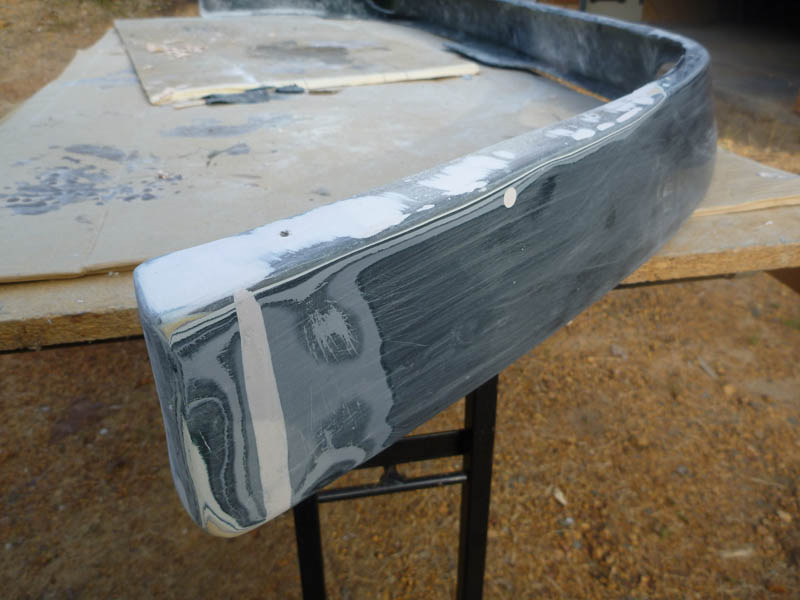
Once its dry pull off the tape and carboard and it should look like this:
Step 5:
Using an airsaw trim off the excess. And check that the lip still fits
snug on the bumper. Check that the new section is thick enough. It
should be 2-3mm thick. If its too thin add a couple more layers before
continuing.
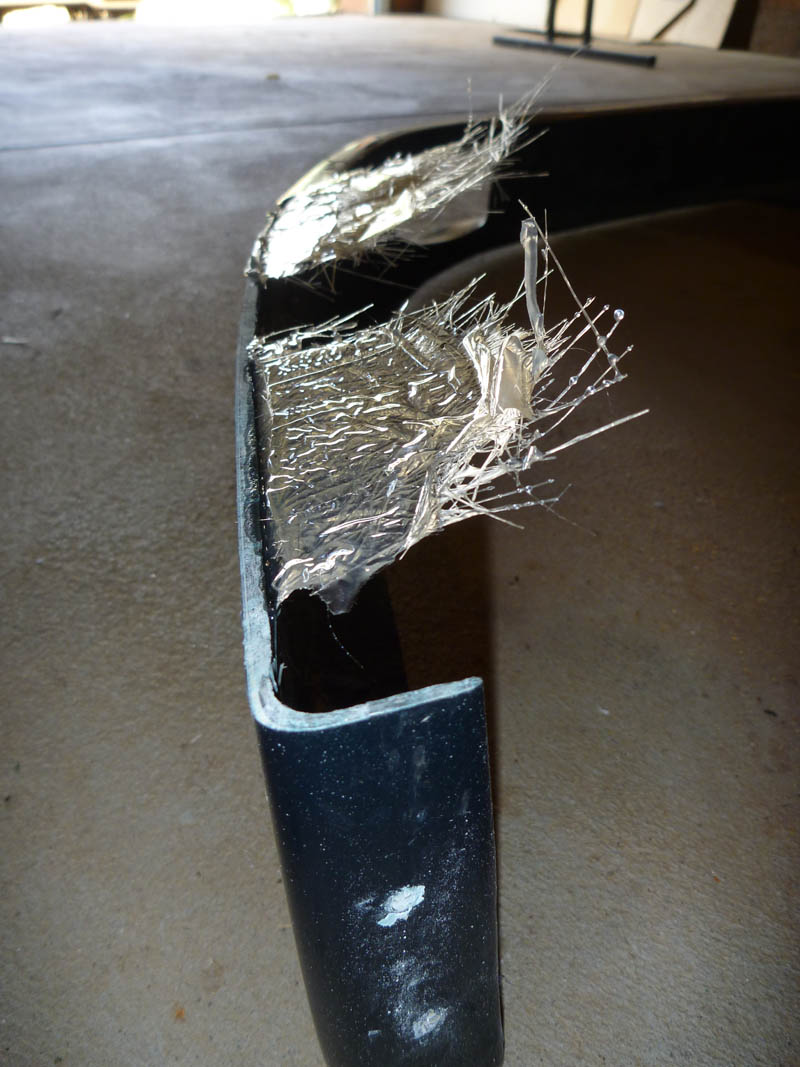
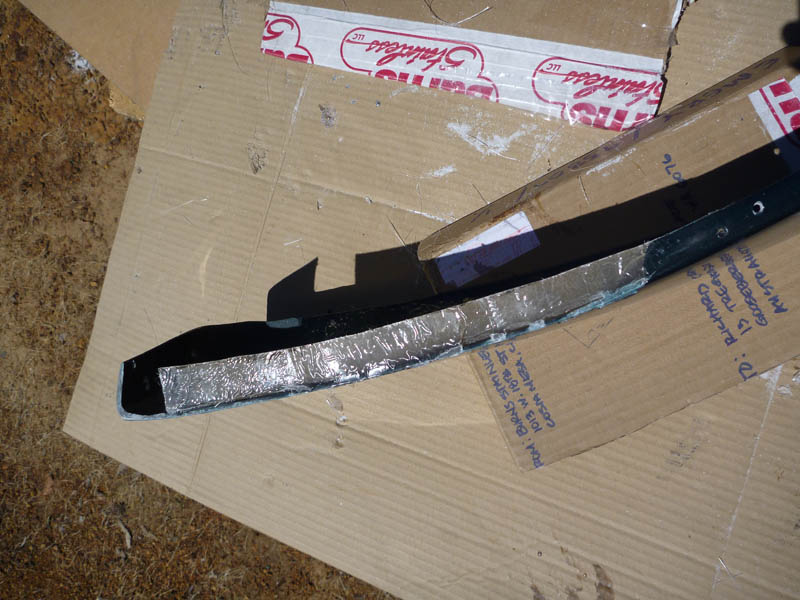
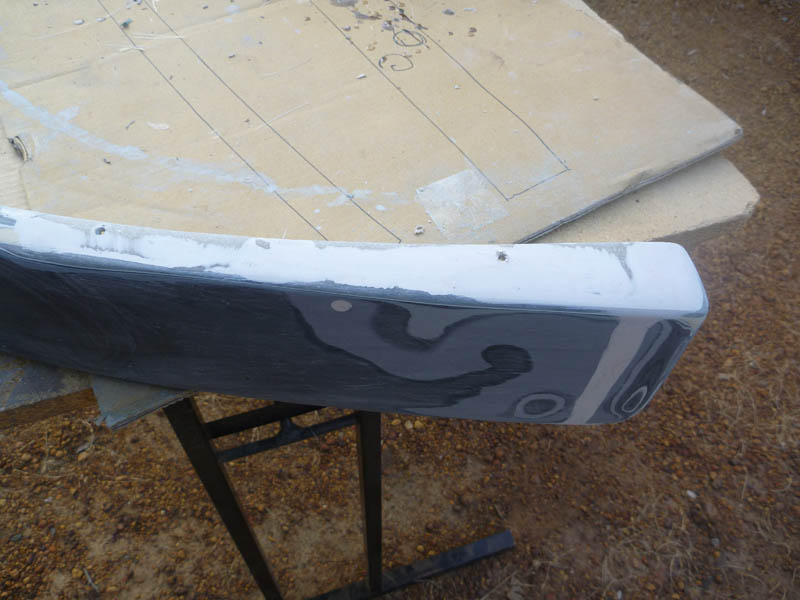
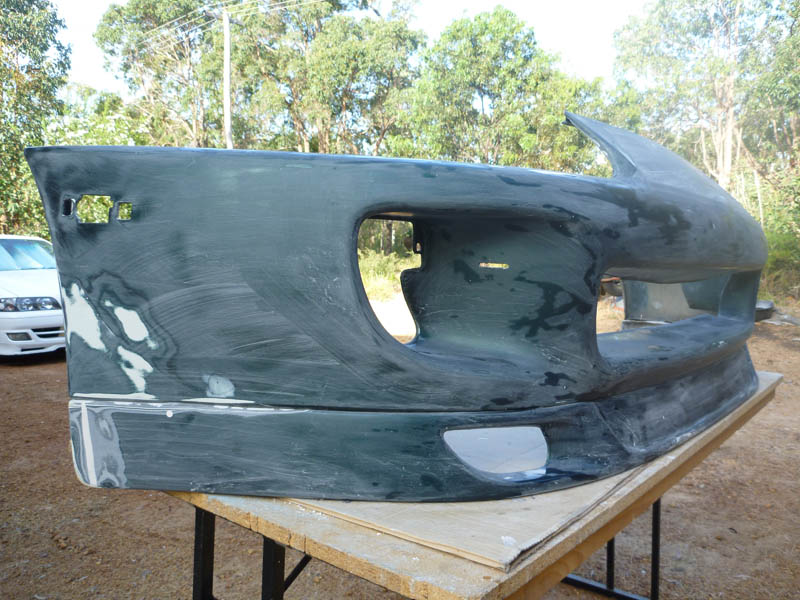
Step 6:
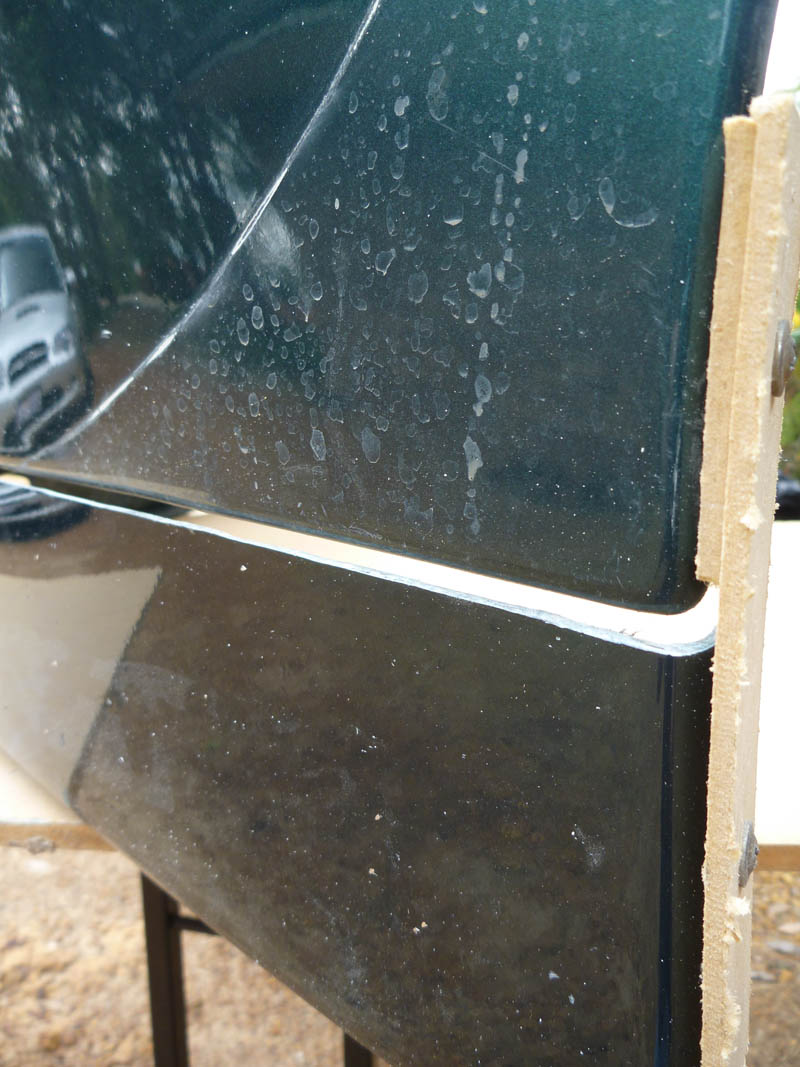
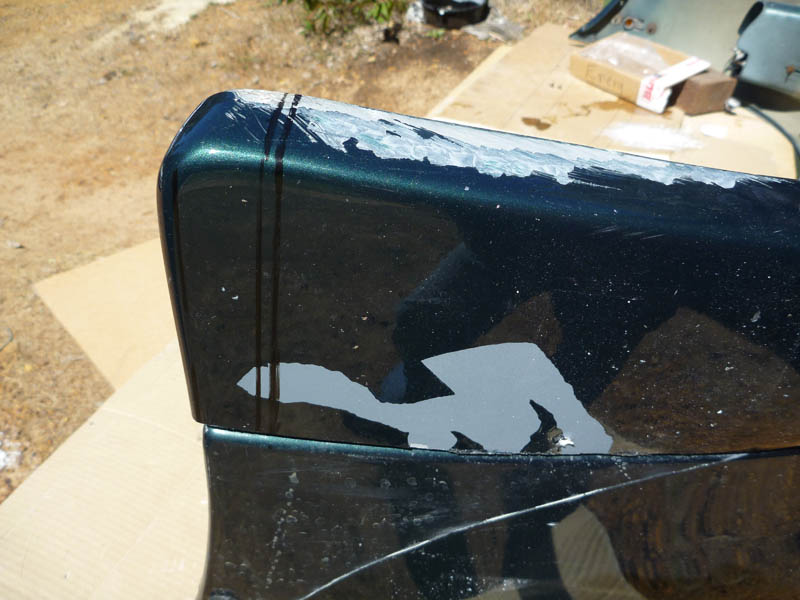
As you can in the photo above the ends of the lip does not line up with
the bumper, it over hangs by about 5mm. There are two ways you can fix
this. 1. you can cut the end off and fibreglass up a new end piece. or
2. you can retain the end piece and just remove a piece out of the
middle. I decided to go with option two. Fibreglassing straight
sections is alot easier than doing curves.
Measure how much you need to bring it in. Come in about an inch from
the end and mark out a piece the same width as what you need to adjust
the end by. Its easier to cut off less than you need and then take a
bit more off than to take too much the first time.
Once you have done that using some more tape, tape the ends in place securely. Make sure that the visable outside part of lip is lined up correctly.
Fibreglass the ends back onto the lip from the inside
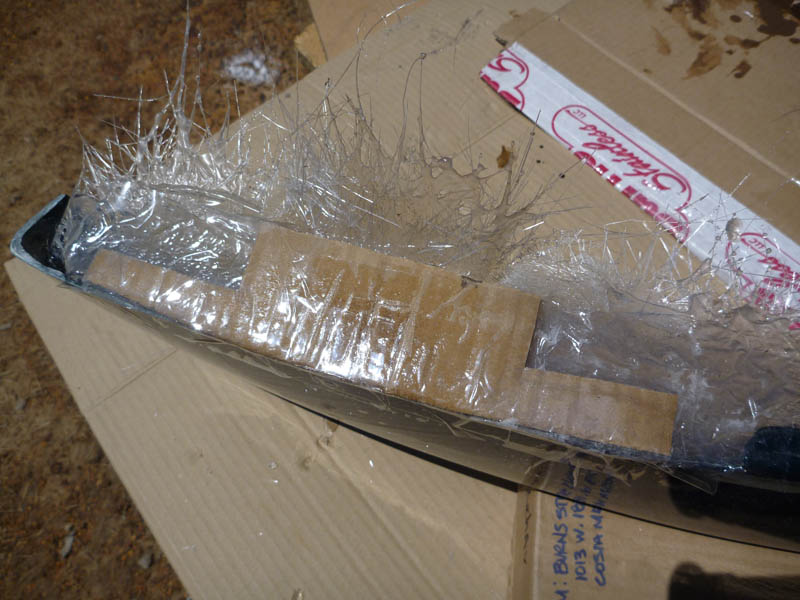
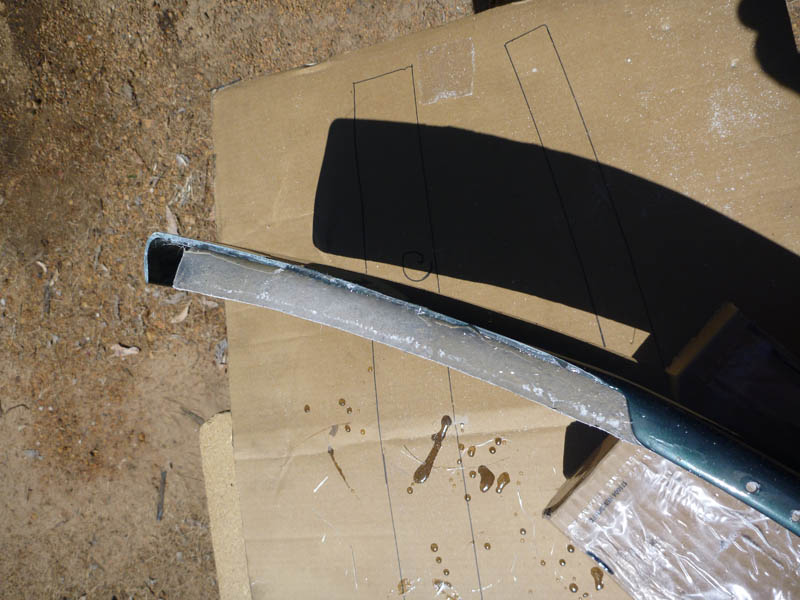
Step 7:
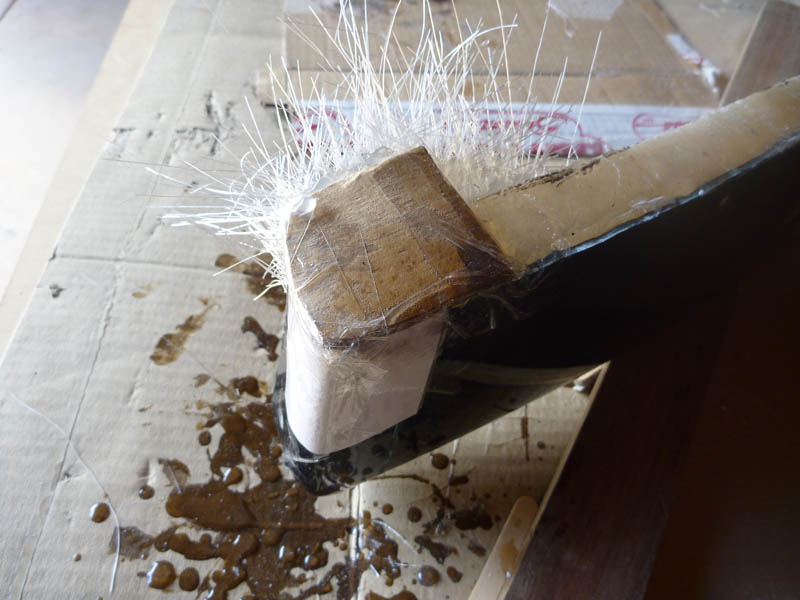
Using some small pieces of carboard and more tape make up a couple of
little pieces for the end to keep the fibreglass in the shape you want.
Once its all dry pull off the carboard and tape and it should look like this
Trim the excess off and you are done with the fibreglassing.
Step 8:
I didnt take any photos of the rest of what I did until I was finished.
I had limited time to get it finished and delivered to the painter so I
couldnt continually stop for photos. Ill explain it as best as I can.
What you want to do now is get it smooth ready for painting. I use standard off the shelf body filler.
The first thing I do using an angle grinder with a grinding disk is to
take off the excess fibreglass. Carefull you dont go too deep otherwise
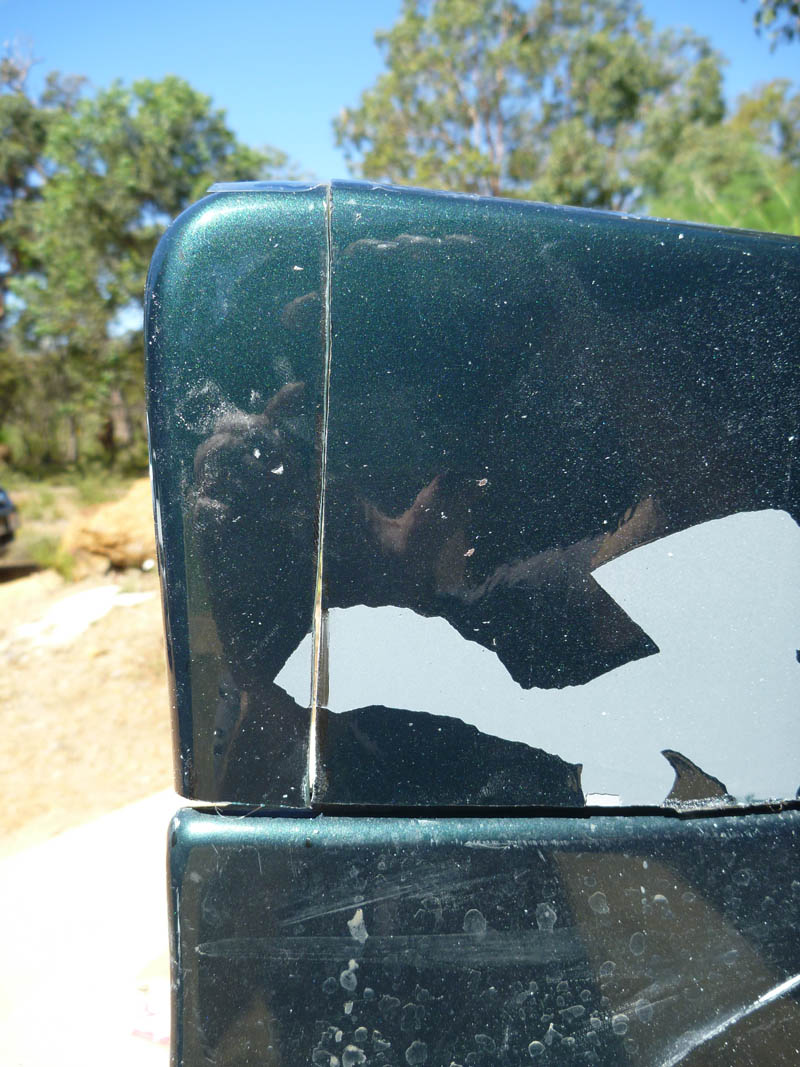
you will have to add more layers on. Where the join is where you
attached the end back on there is what looks like a crack. You cant
fill a small crack like that. You have to open it up a little. Again
carefully using the grinder I cut out a wider space between the two
pieces. Be carefull not to go all the way through.
This is also the time to remove all the screw holes. Using a drill bit
designed for countersinking screw heads (its a triangluar 45 degrees
angled piece) drill into the holes a little to open them up like a
cone. Again this makes it easier to fill them with body filler. The
trick with this stuff is not to try and do it all in one go. You have
to build up your layers.
TIP: put it on smooth, the rougher it is the more you have to sand.
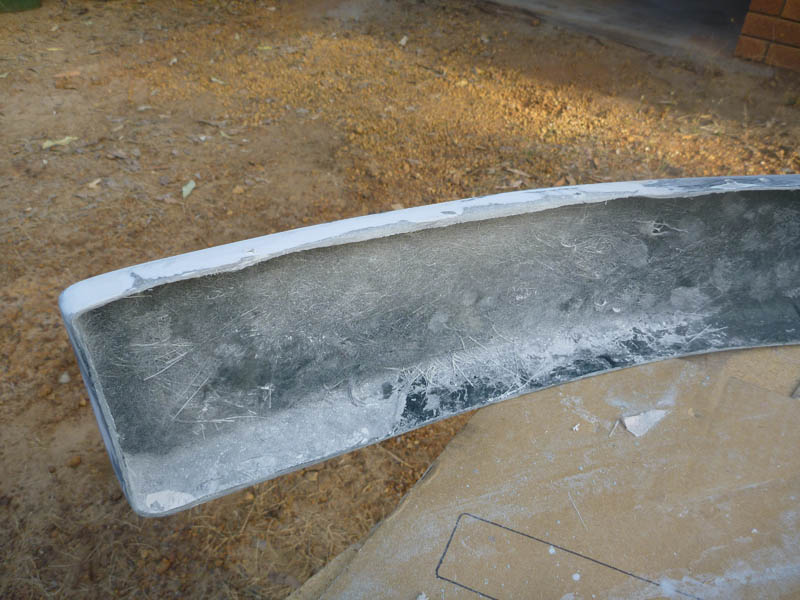
Once it dries sand it down with 80grit. Apply a second layer to the low
patches. This is also a good time to fill any holes from stone chips.
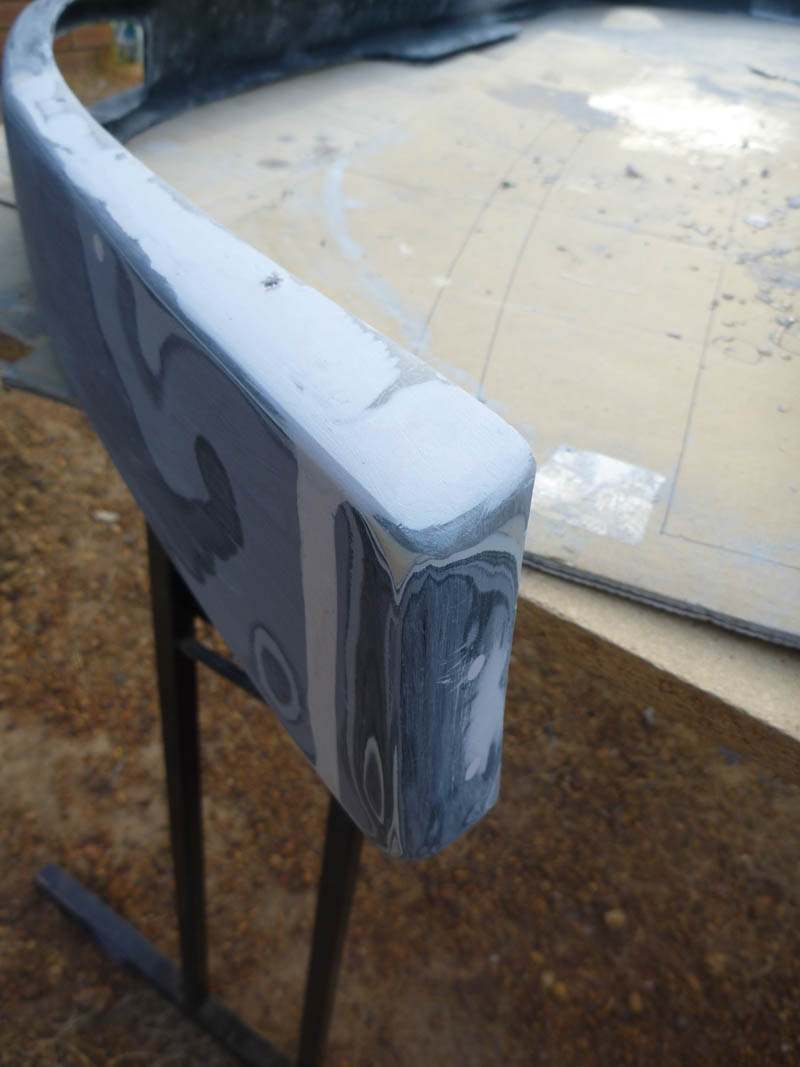
Repeat the process until its flat and level. Round all the edges and
keep sanding working your way down to 180. Thats smooth enough for
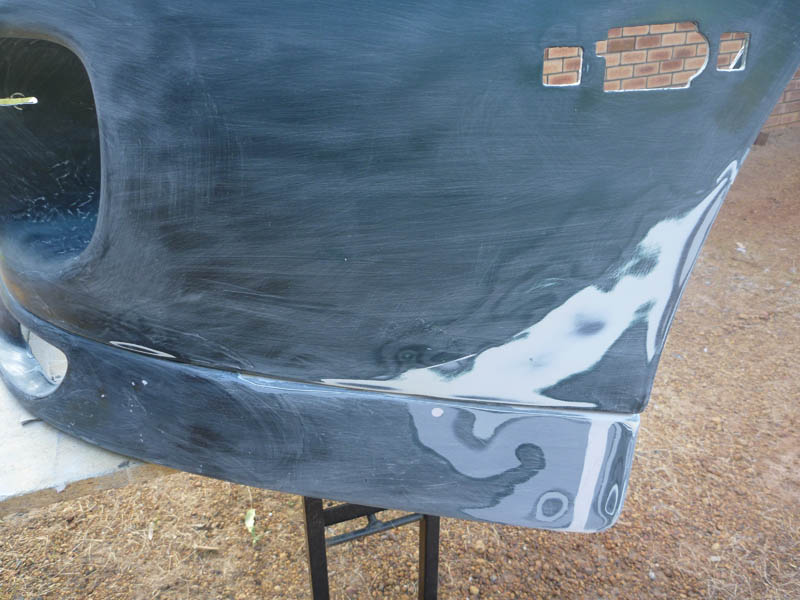
primer.
The finished product should look like this: