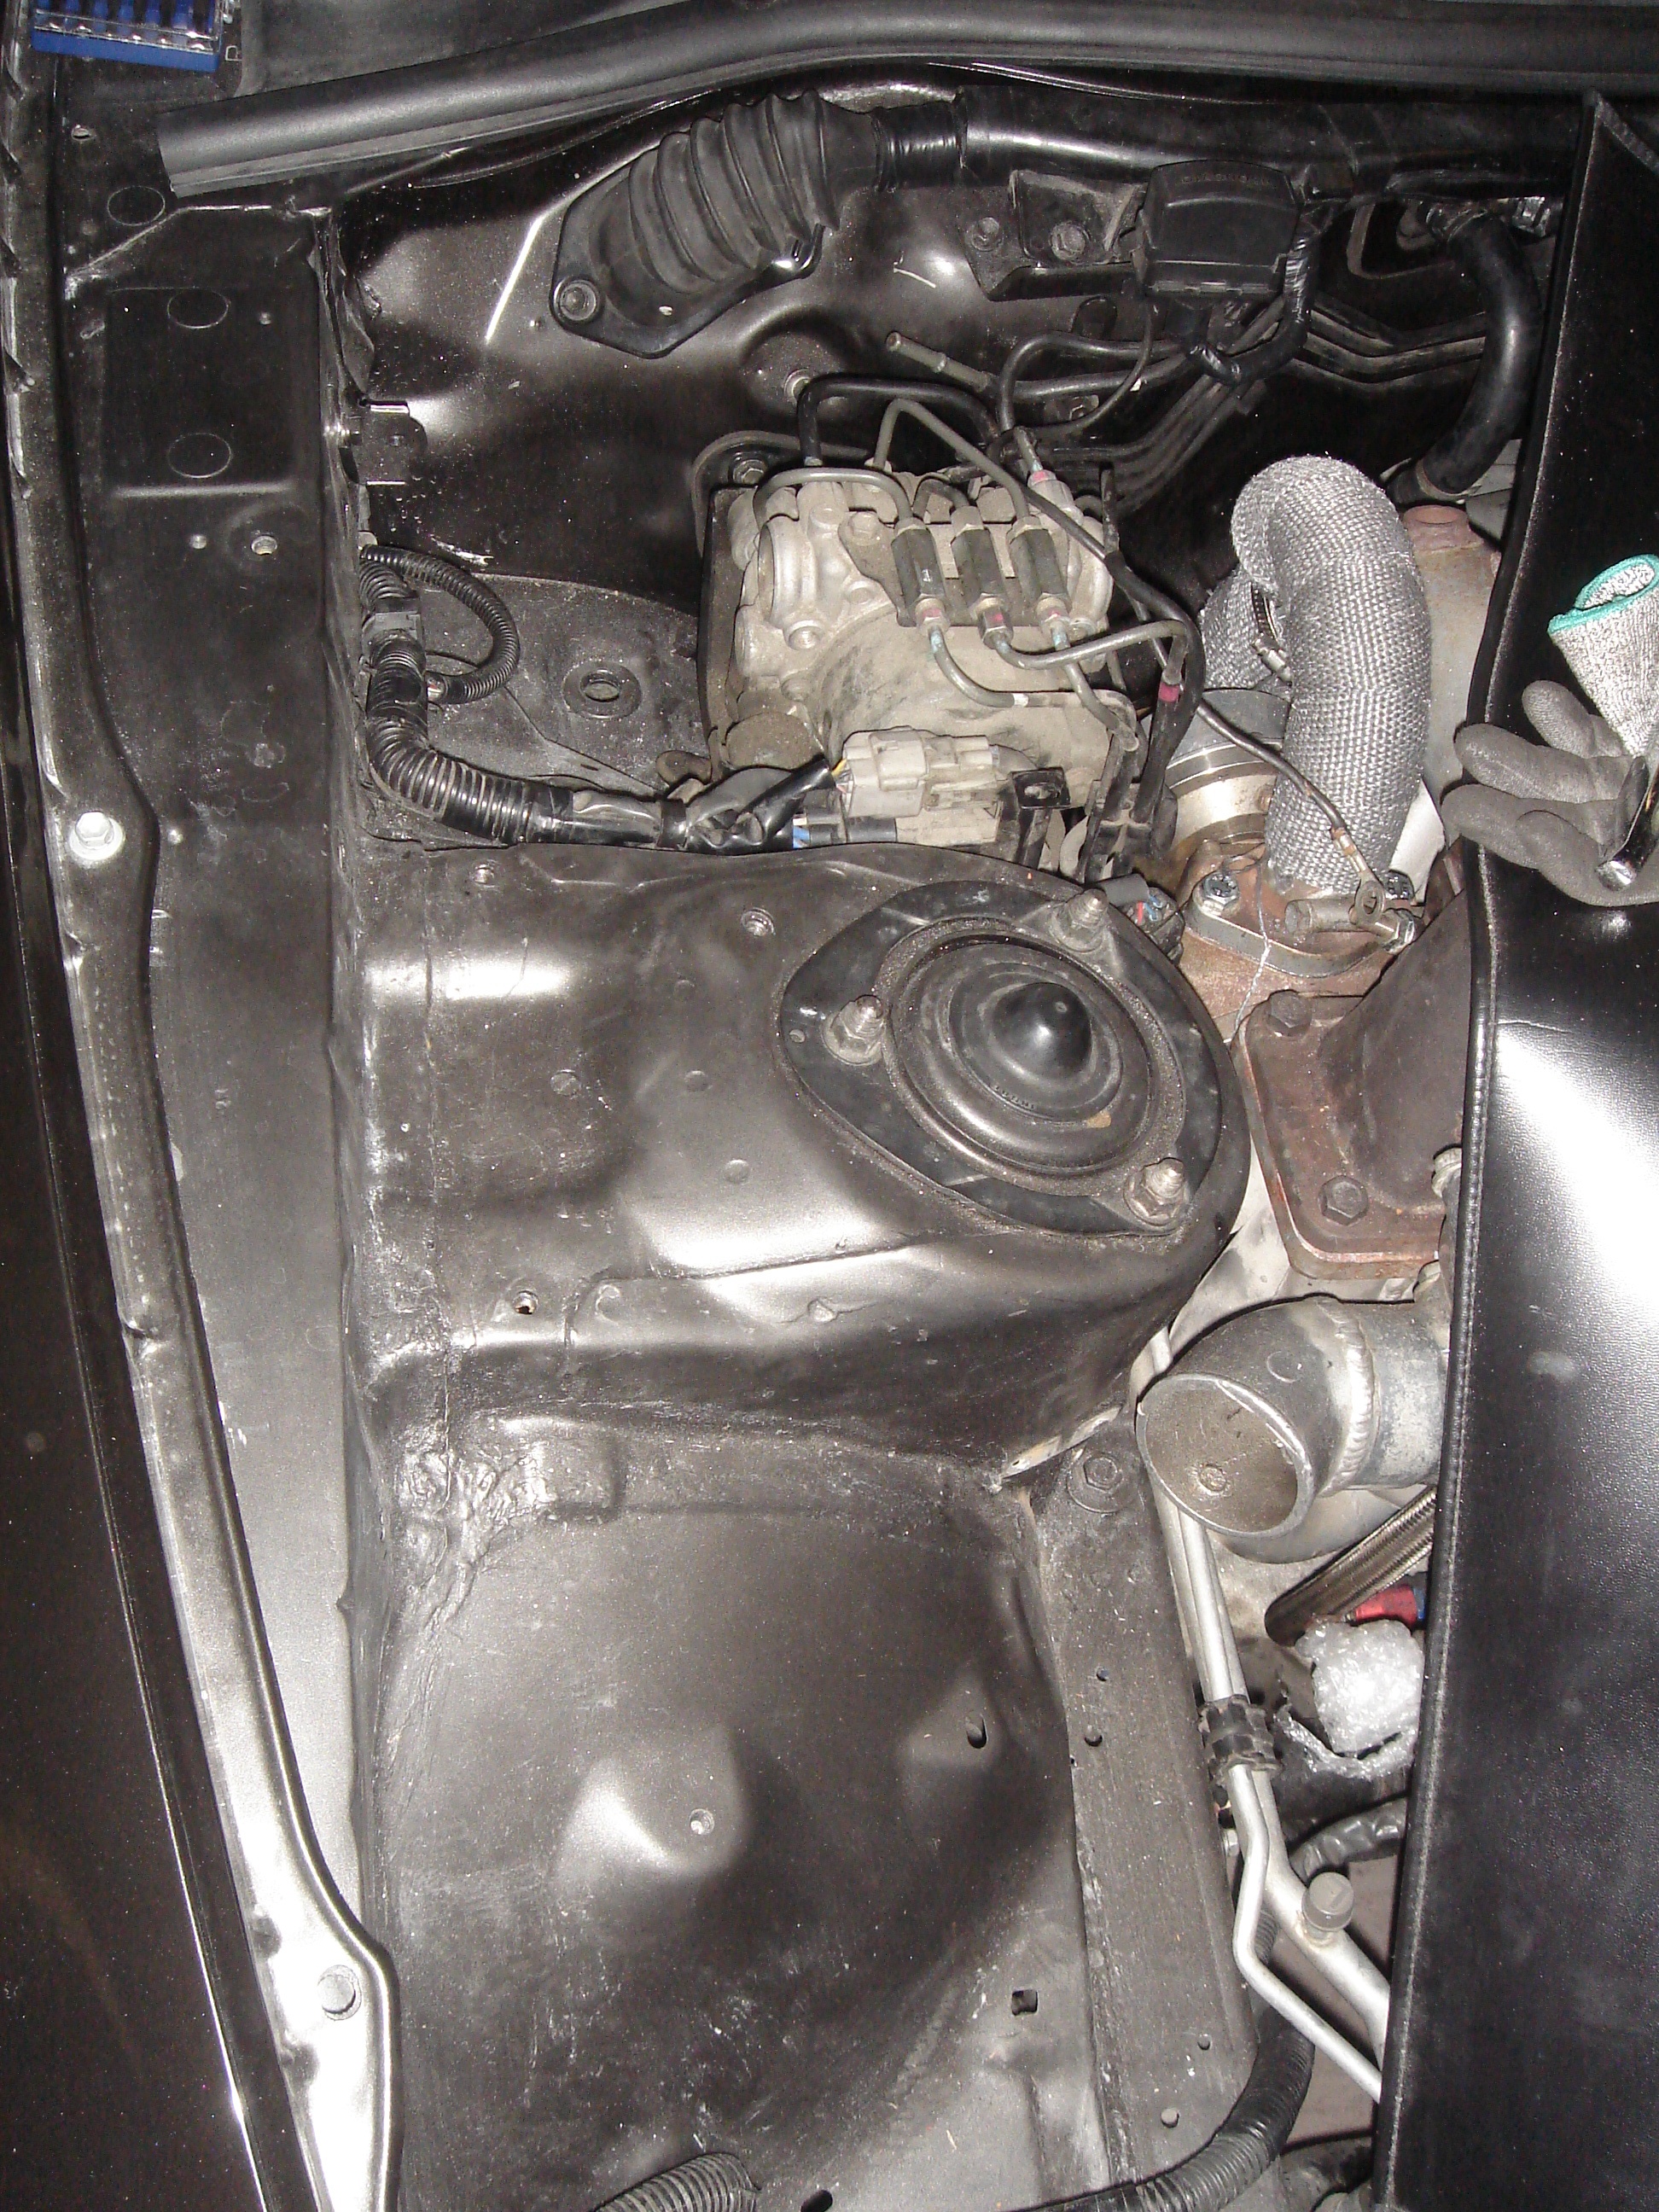
If you are like me, you want your entire car to look amazing. Not just the exterior. Well after removing the TRAC Pump and Actuator I had all of that main wiring still running down the passenger side of the engine bay. It is small and off to the side, but it was an eye sore to me. I just did not like how it was there by itself. So I started thinking of ways to get rid of it and what do you know.
Tools:
- 2 flat head screw drivers (one small headed one and one large headed one)
- Wire ties
- Your Hands
I already had the wheel well cover off. If you do not, now is the time to do so.
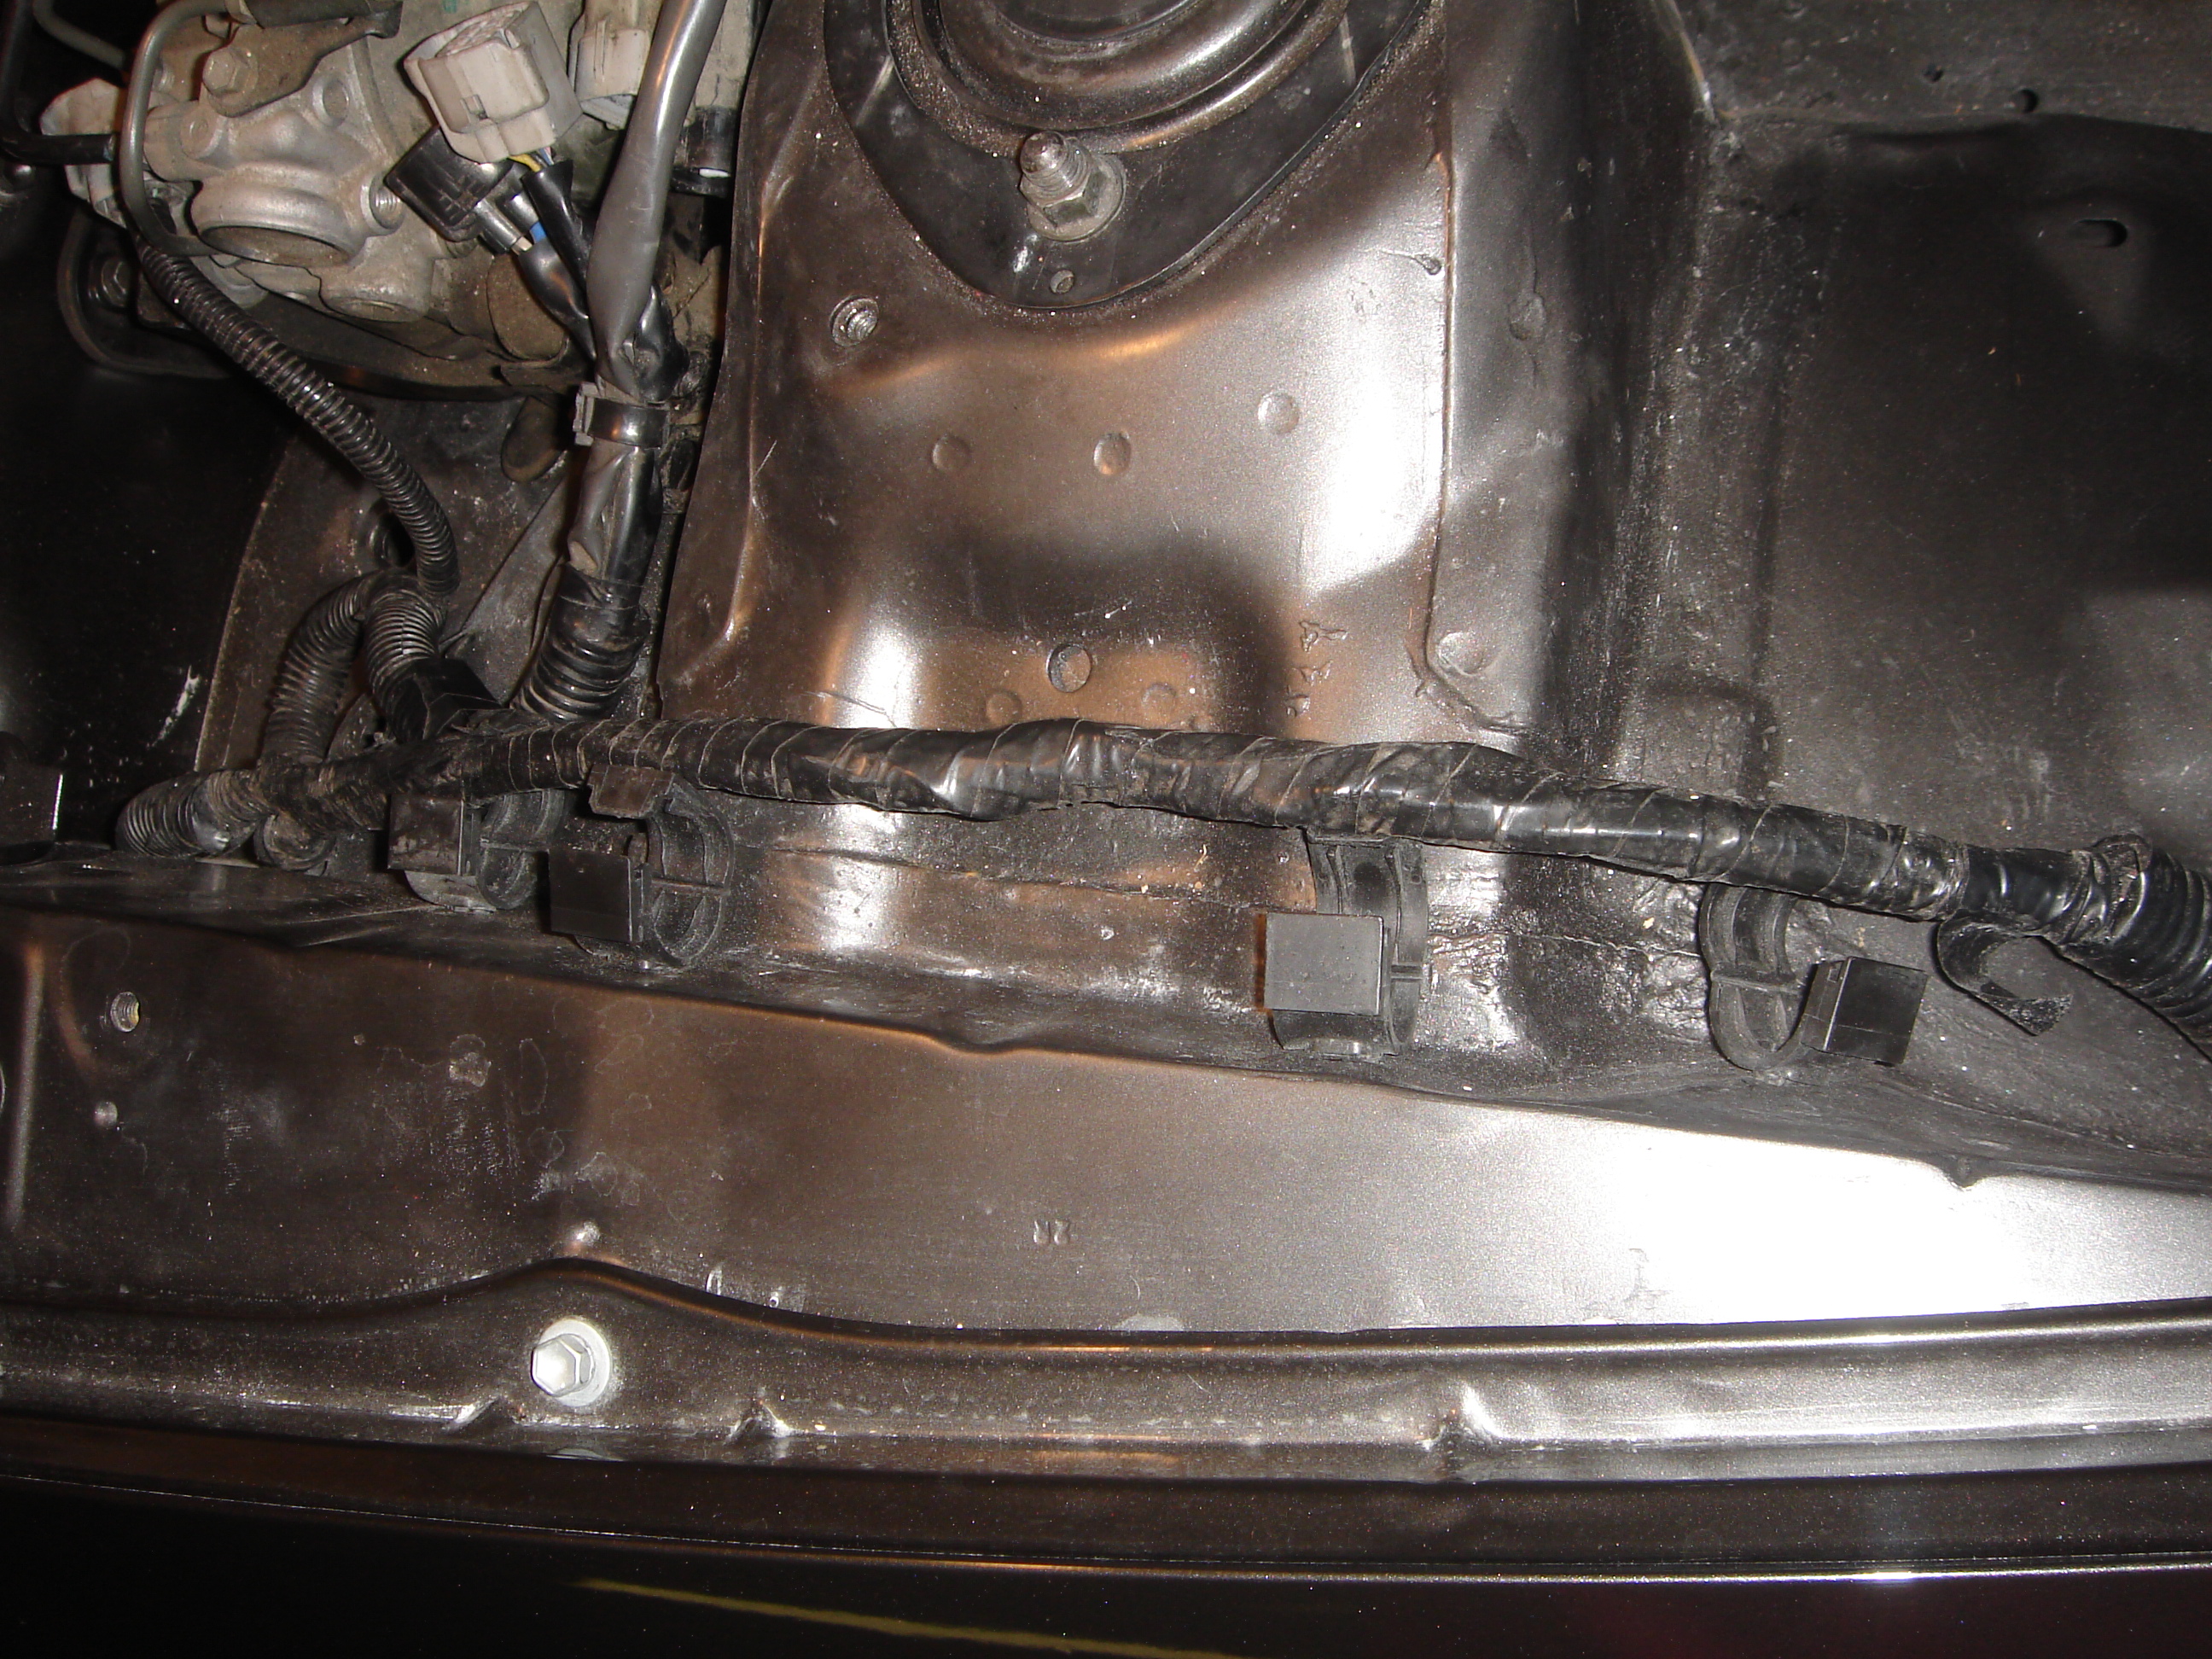
I started off by un-clipping all of those snap holders. The trick is to take a flat head screw driver, put it into the thin slit and twist.
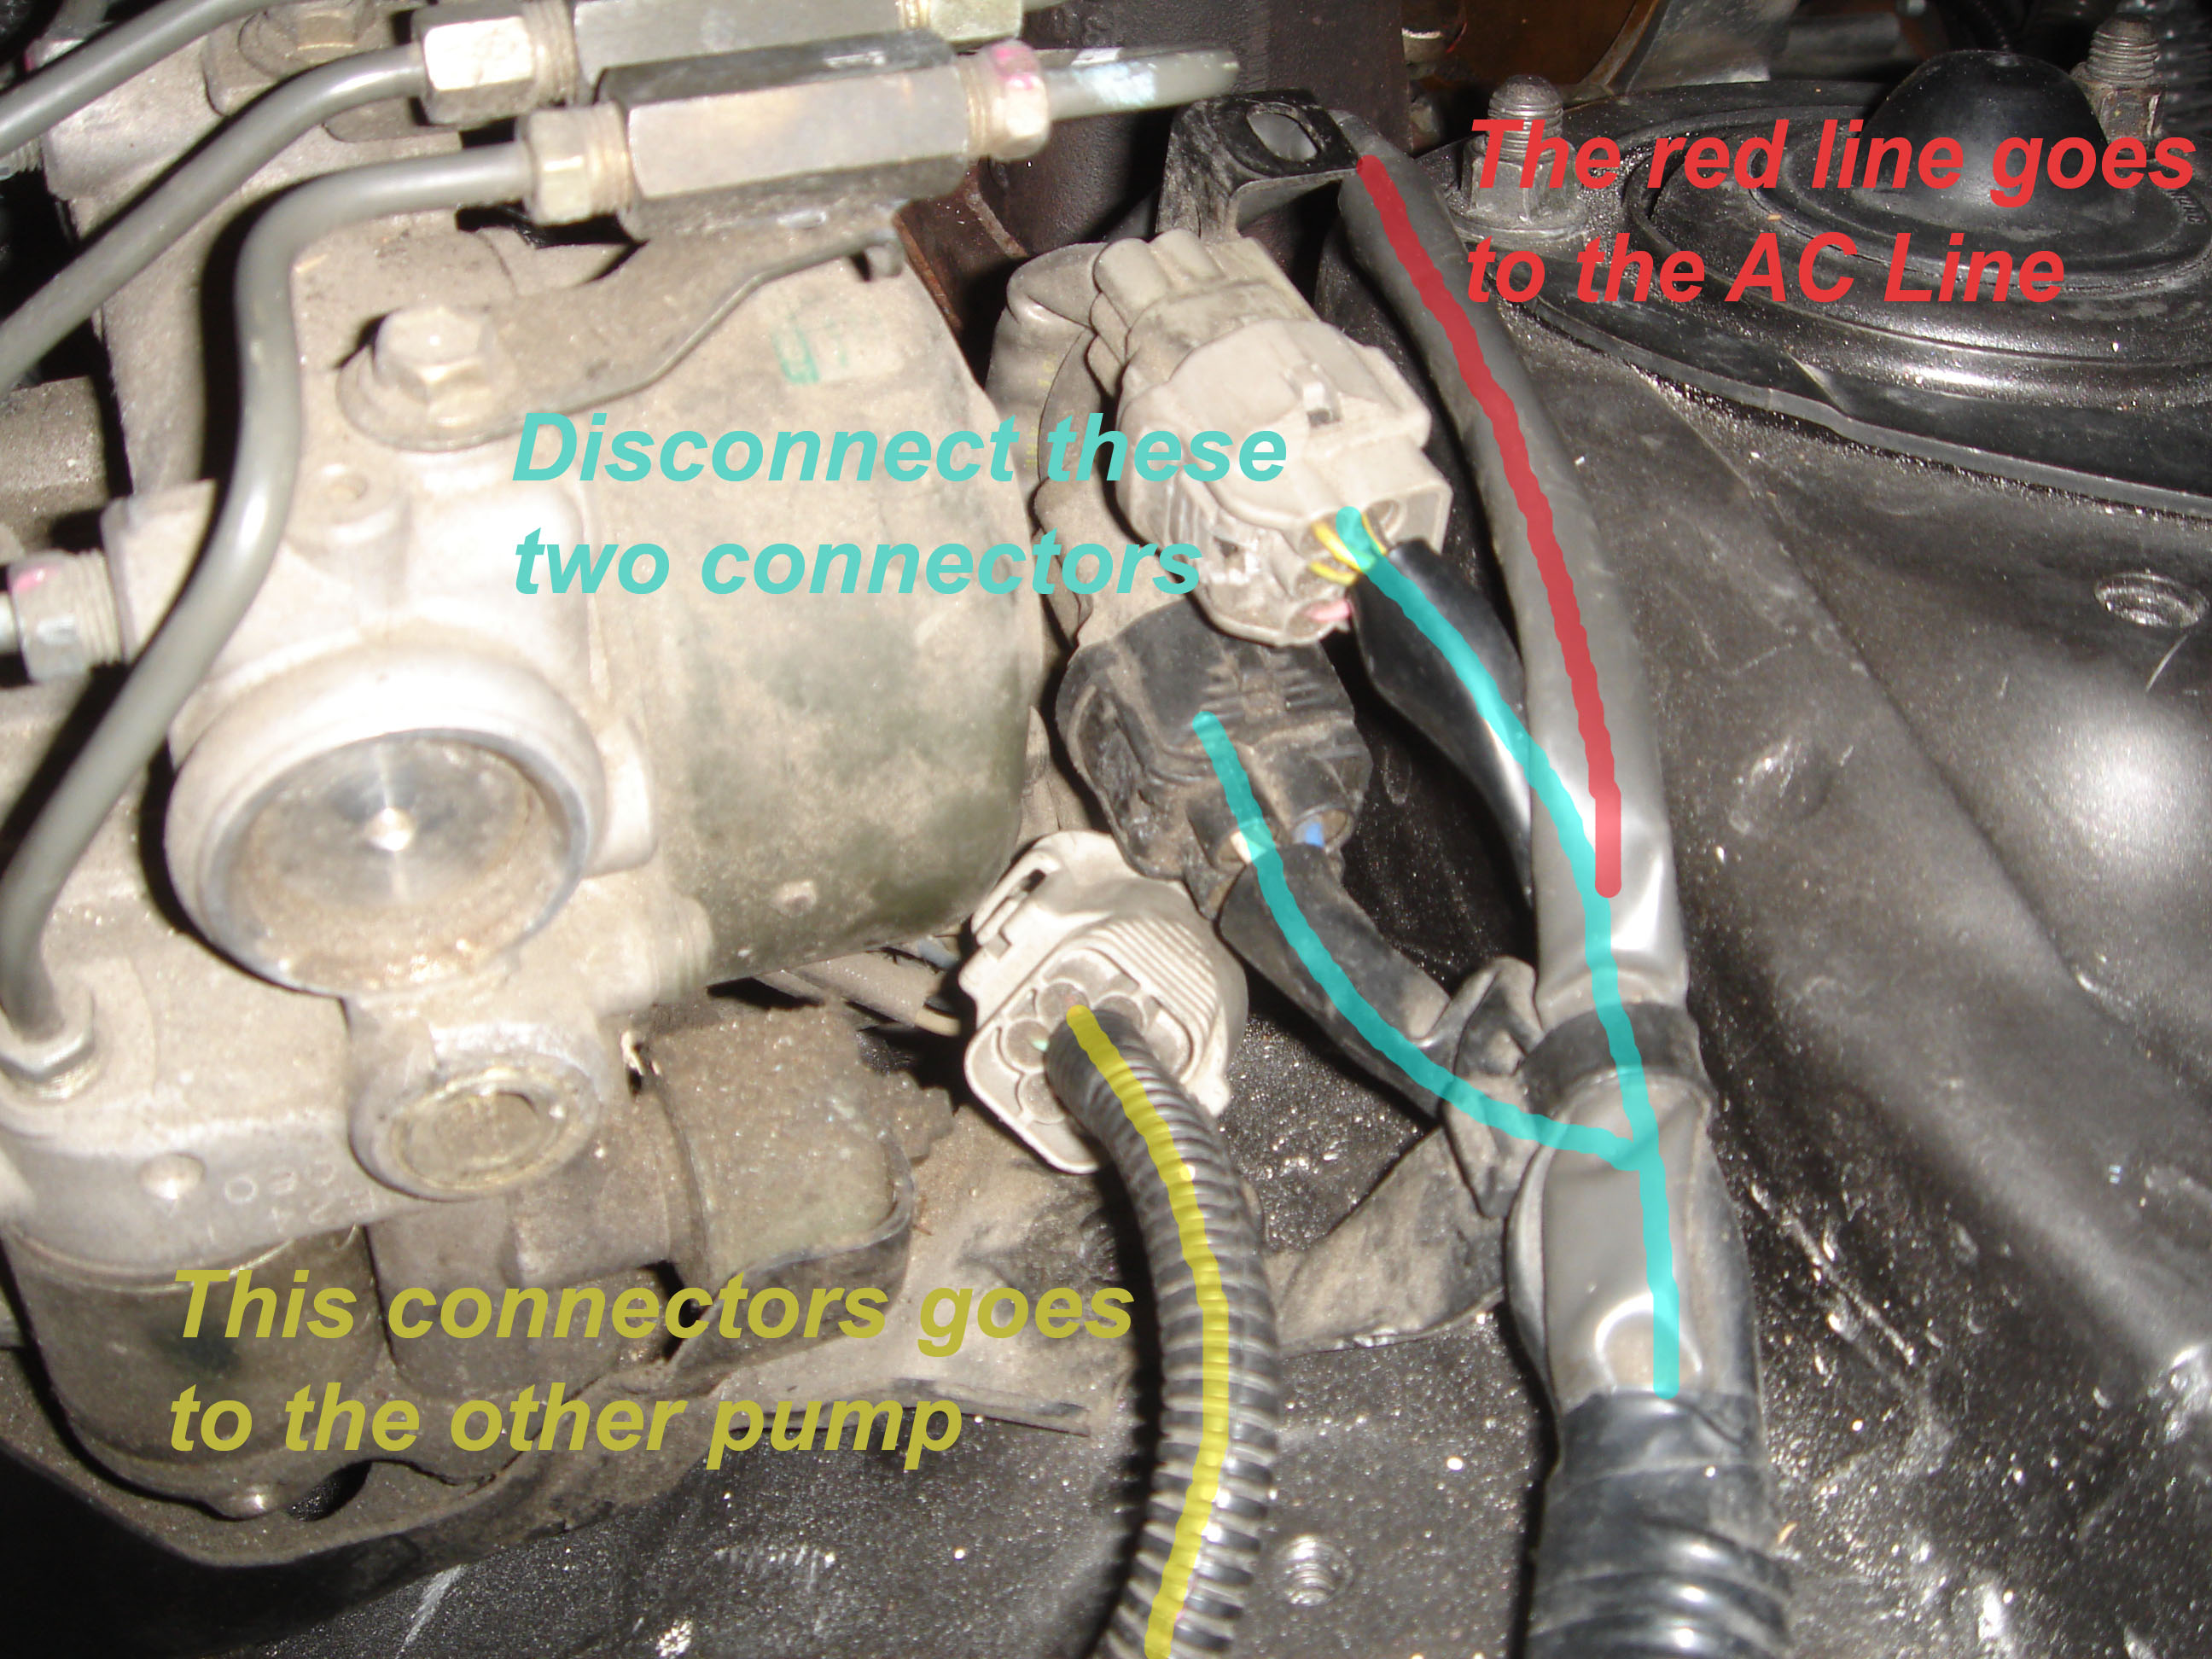
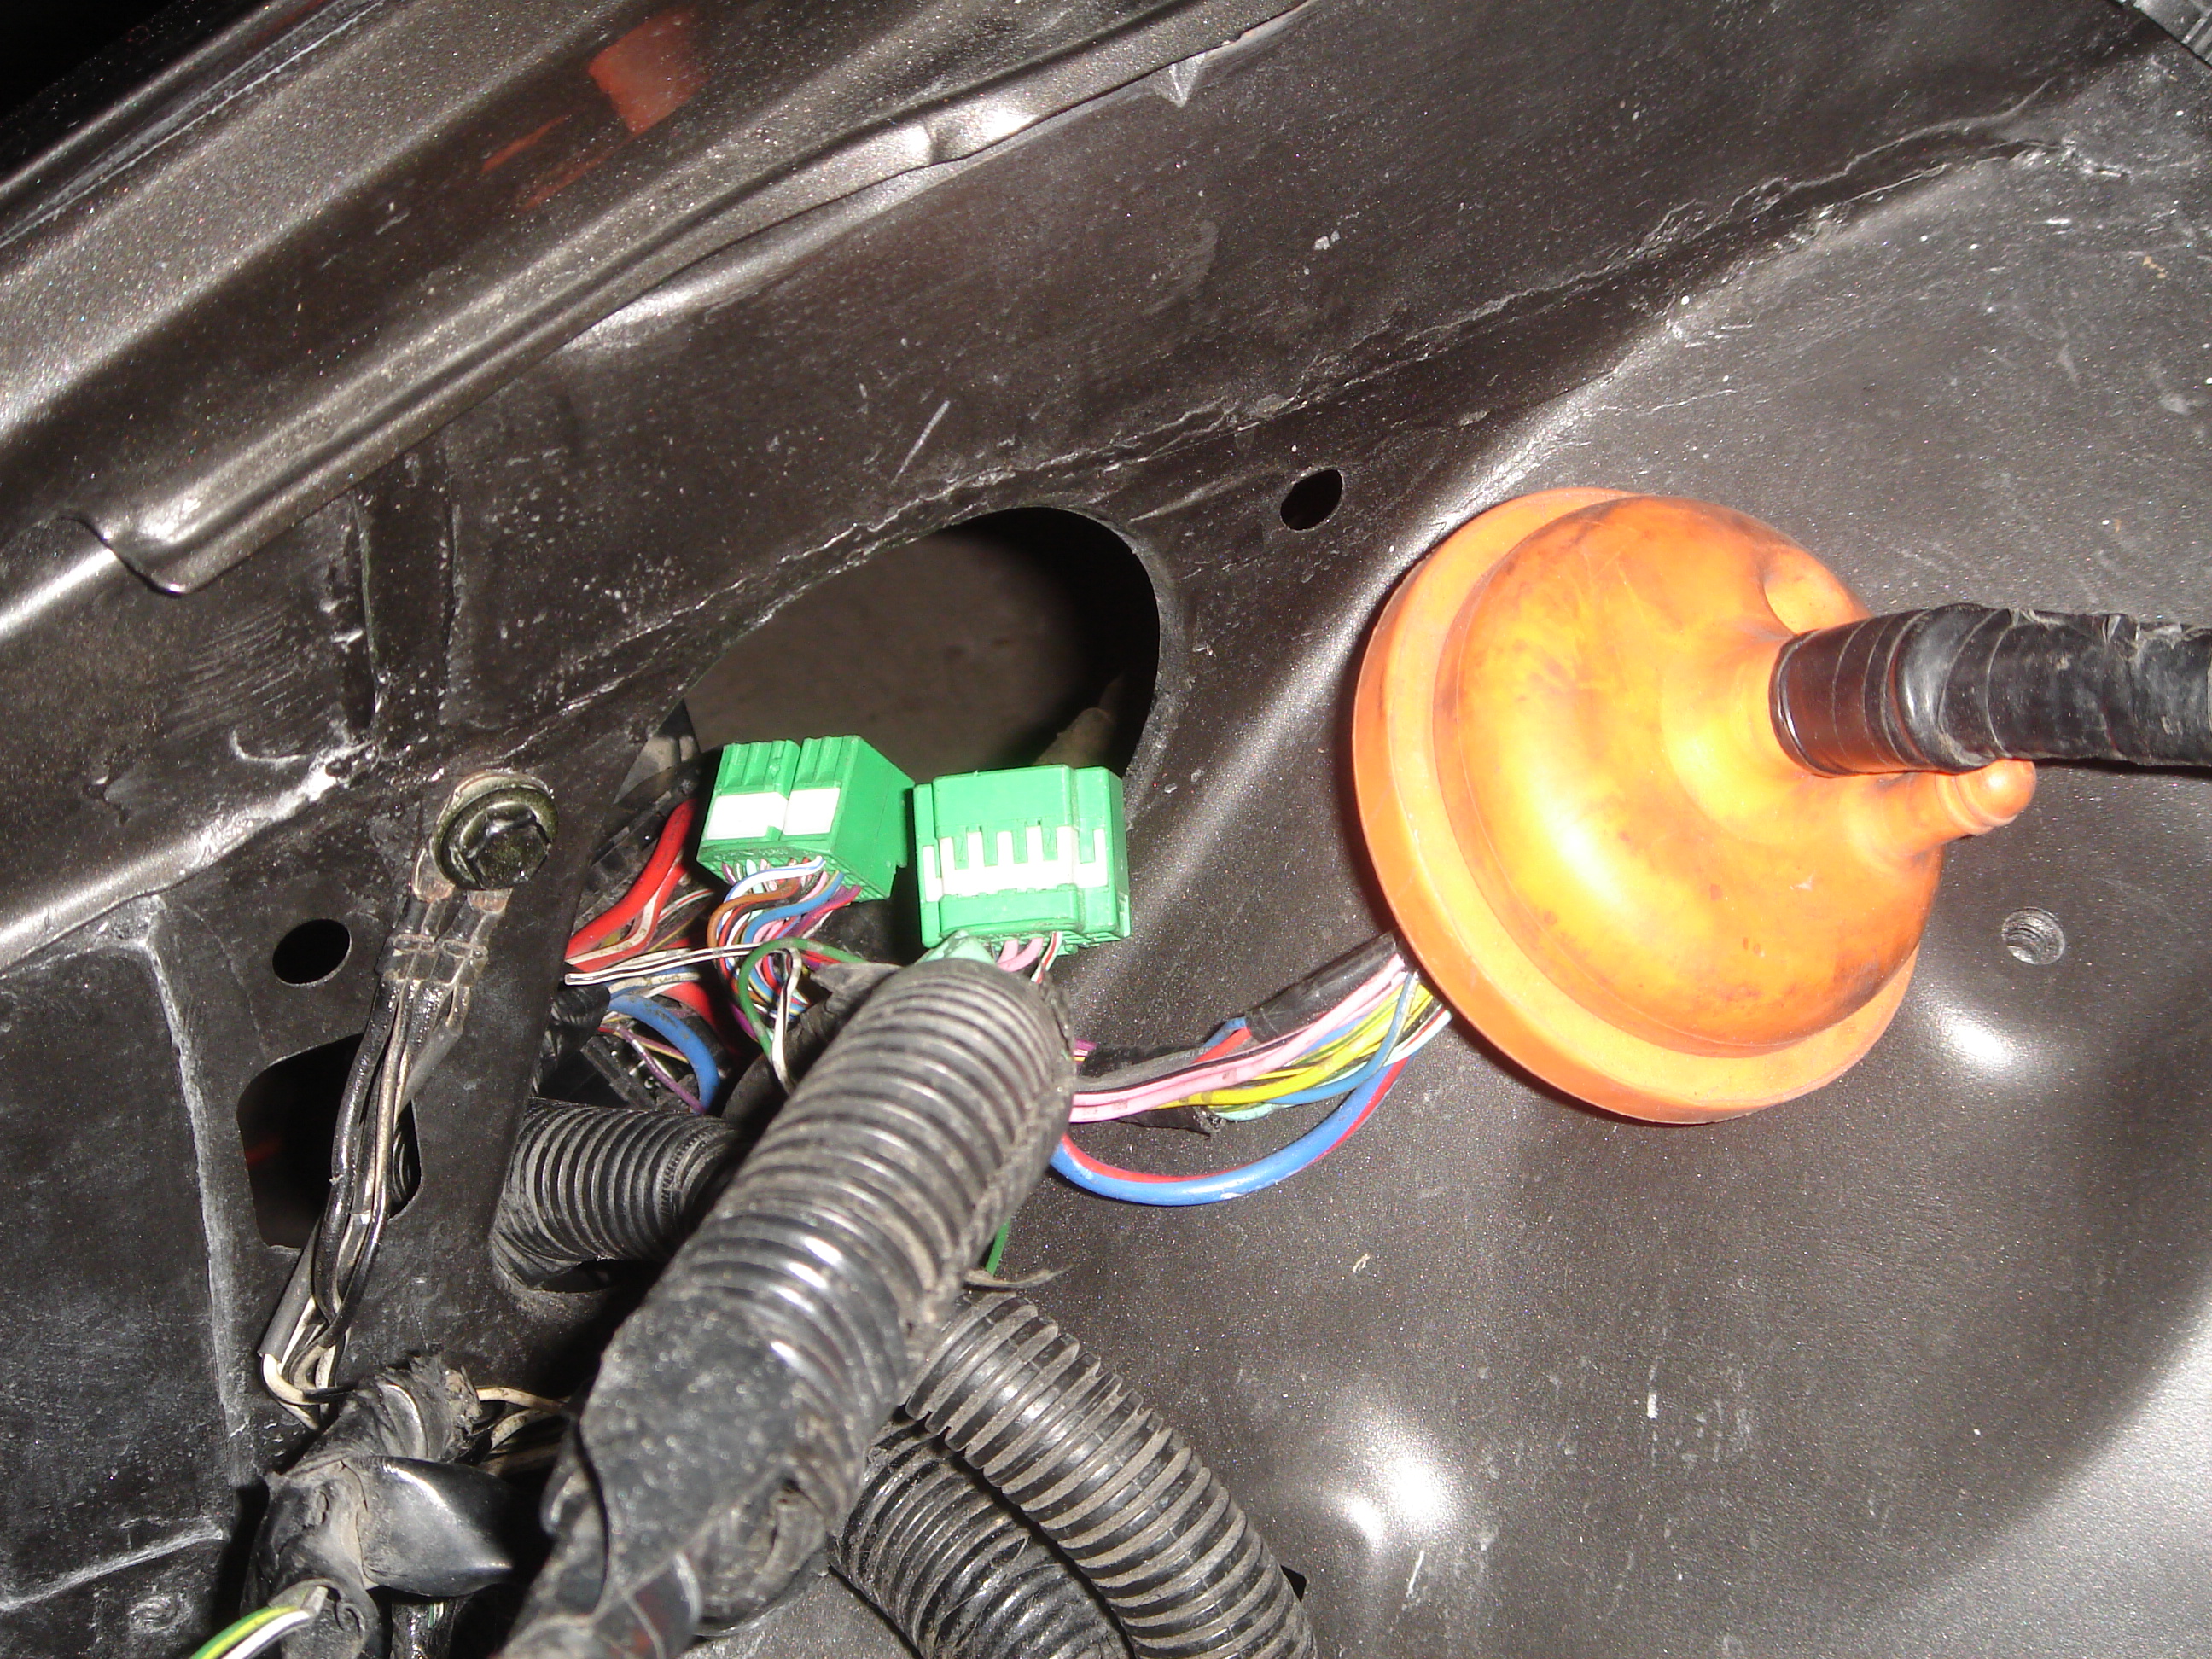
Then I un-clipped the three harness connectors near the TRAC PUMP and the one on connected to the AC Line.
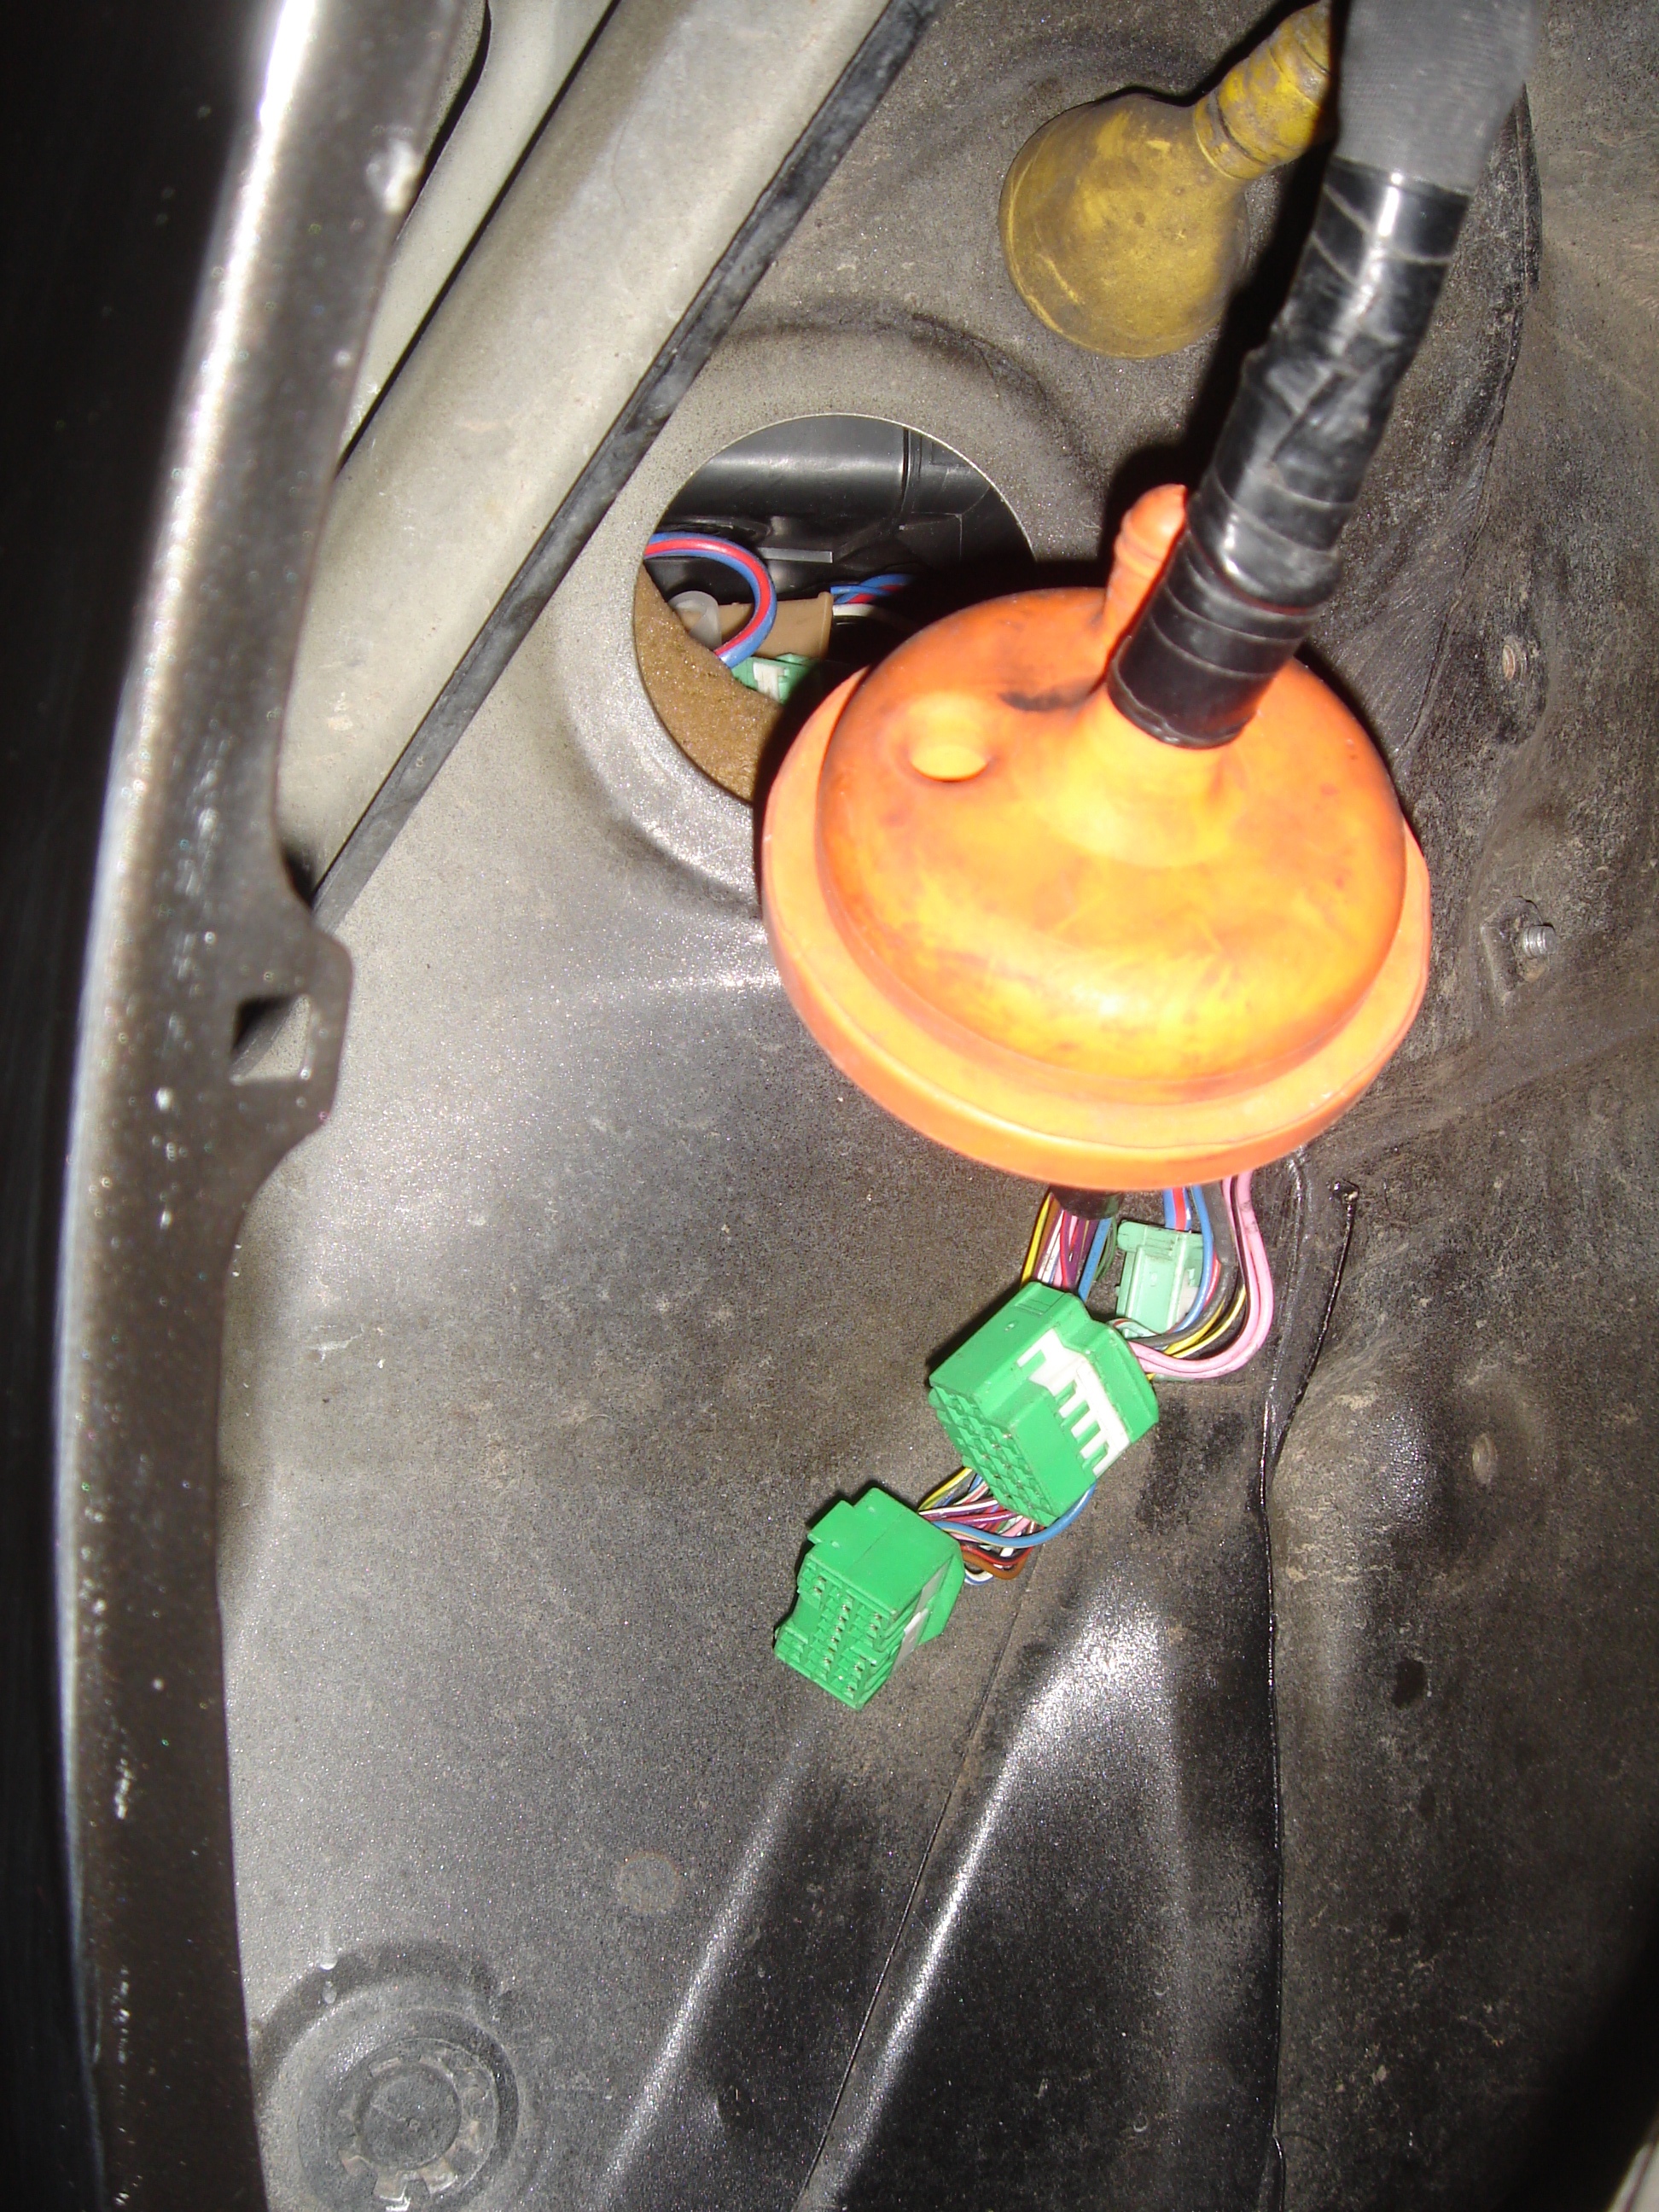
Next your going to go inside the passenger door and remove the three green plugs in the fuse panel.
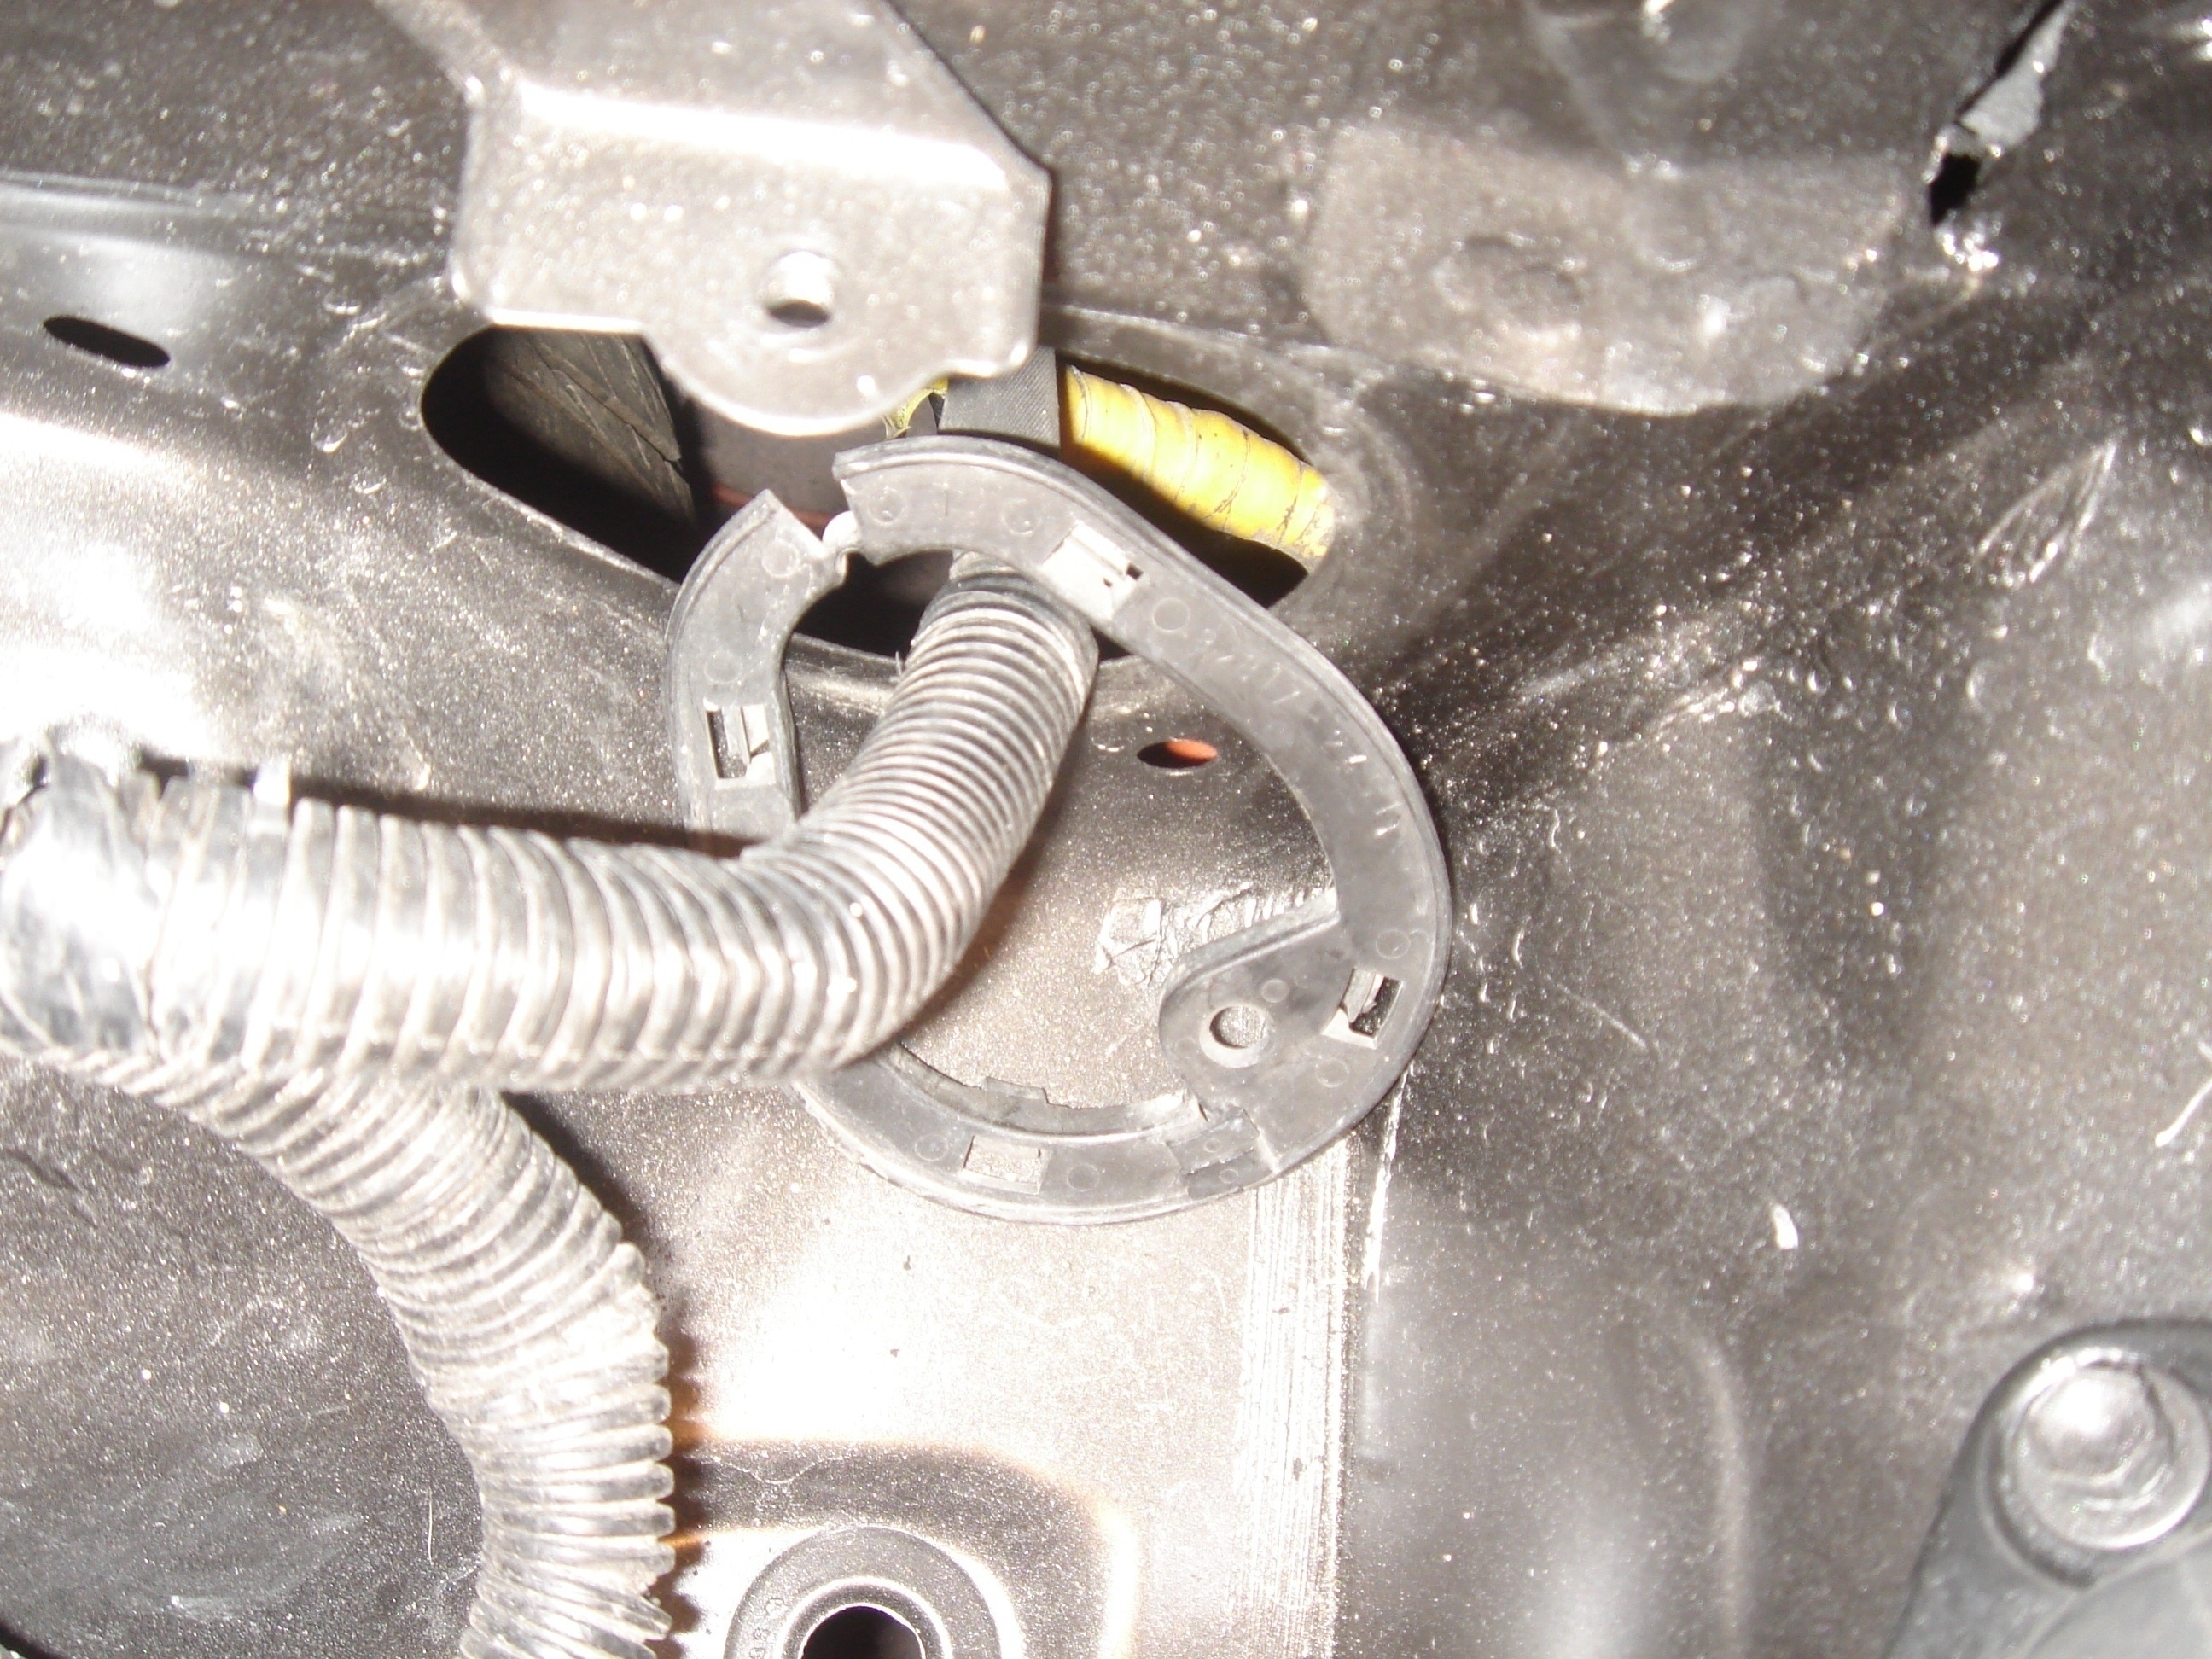
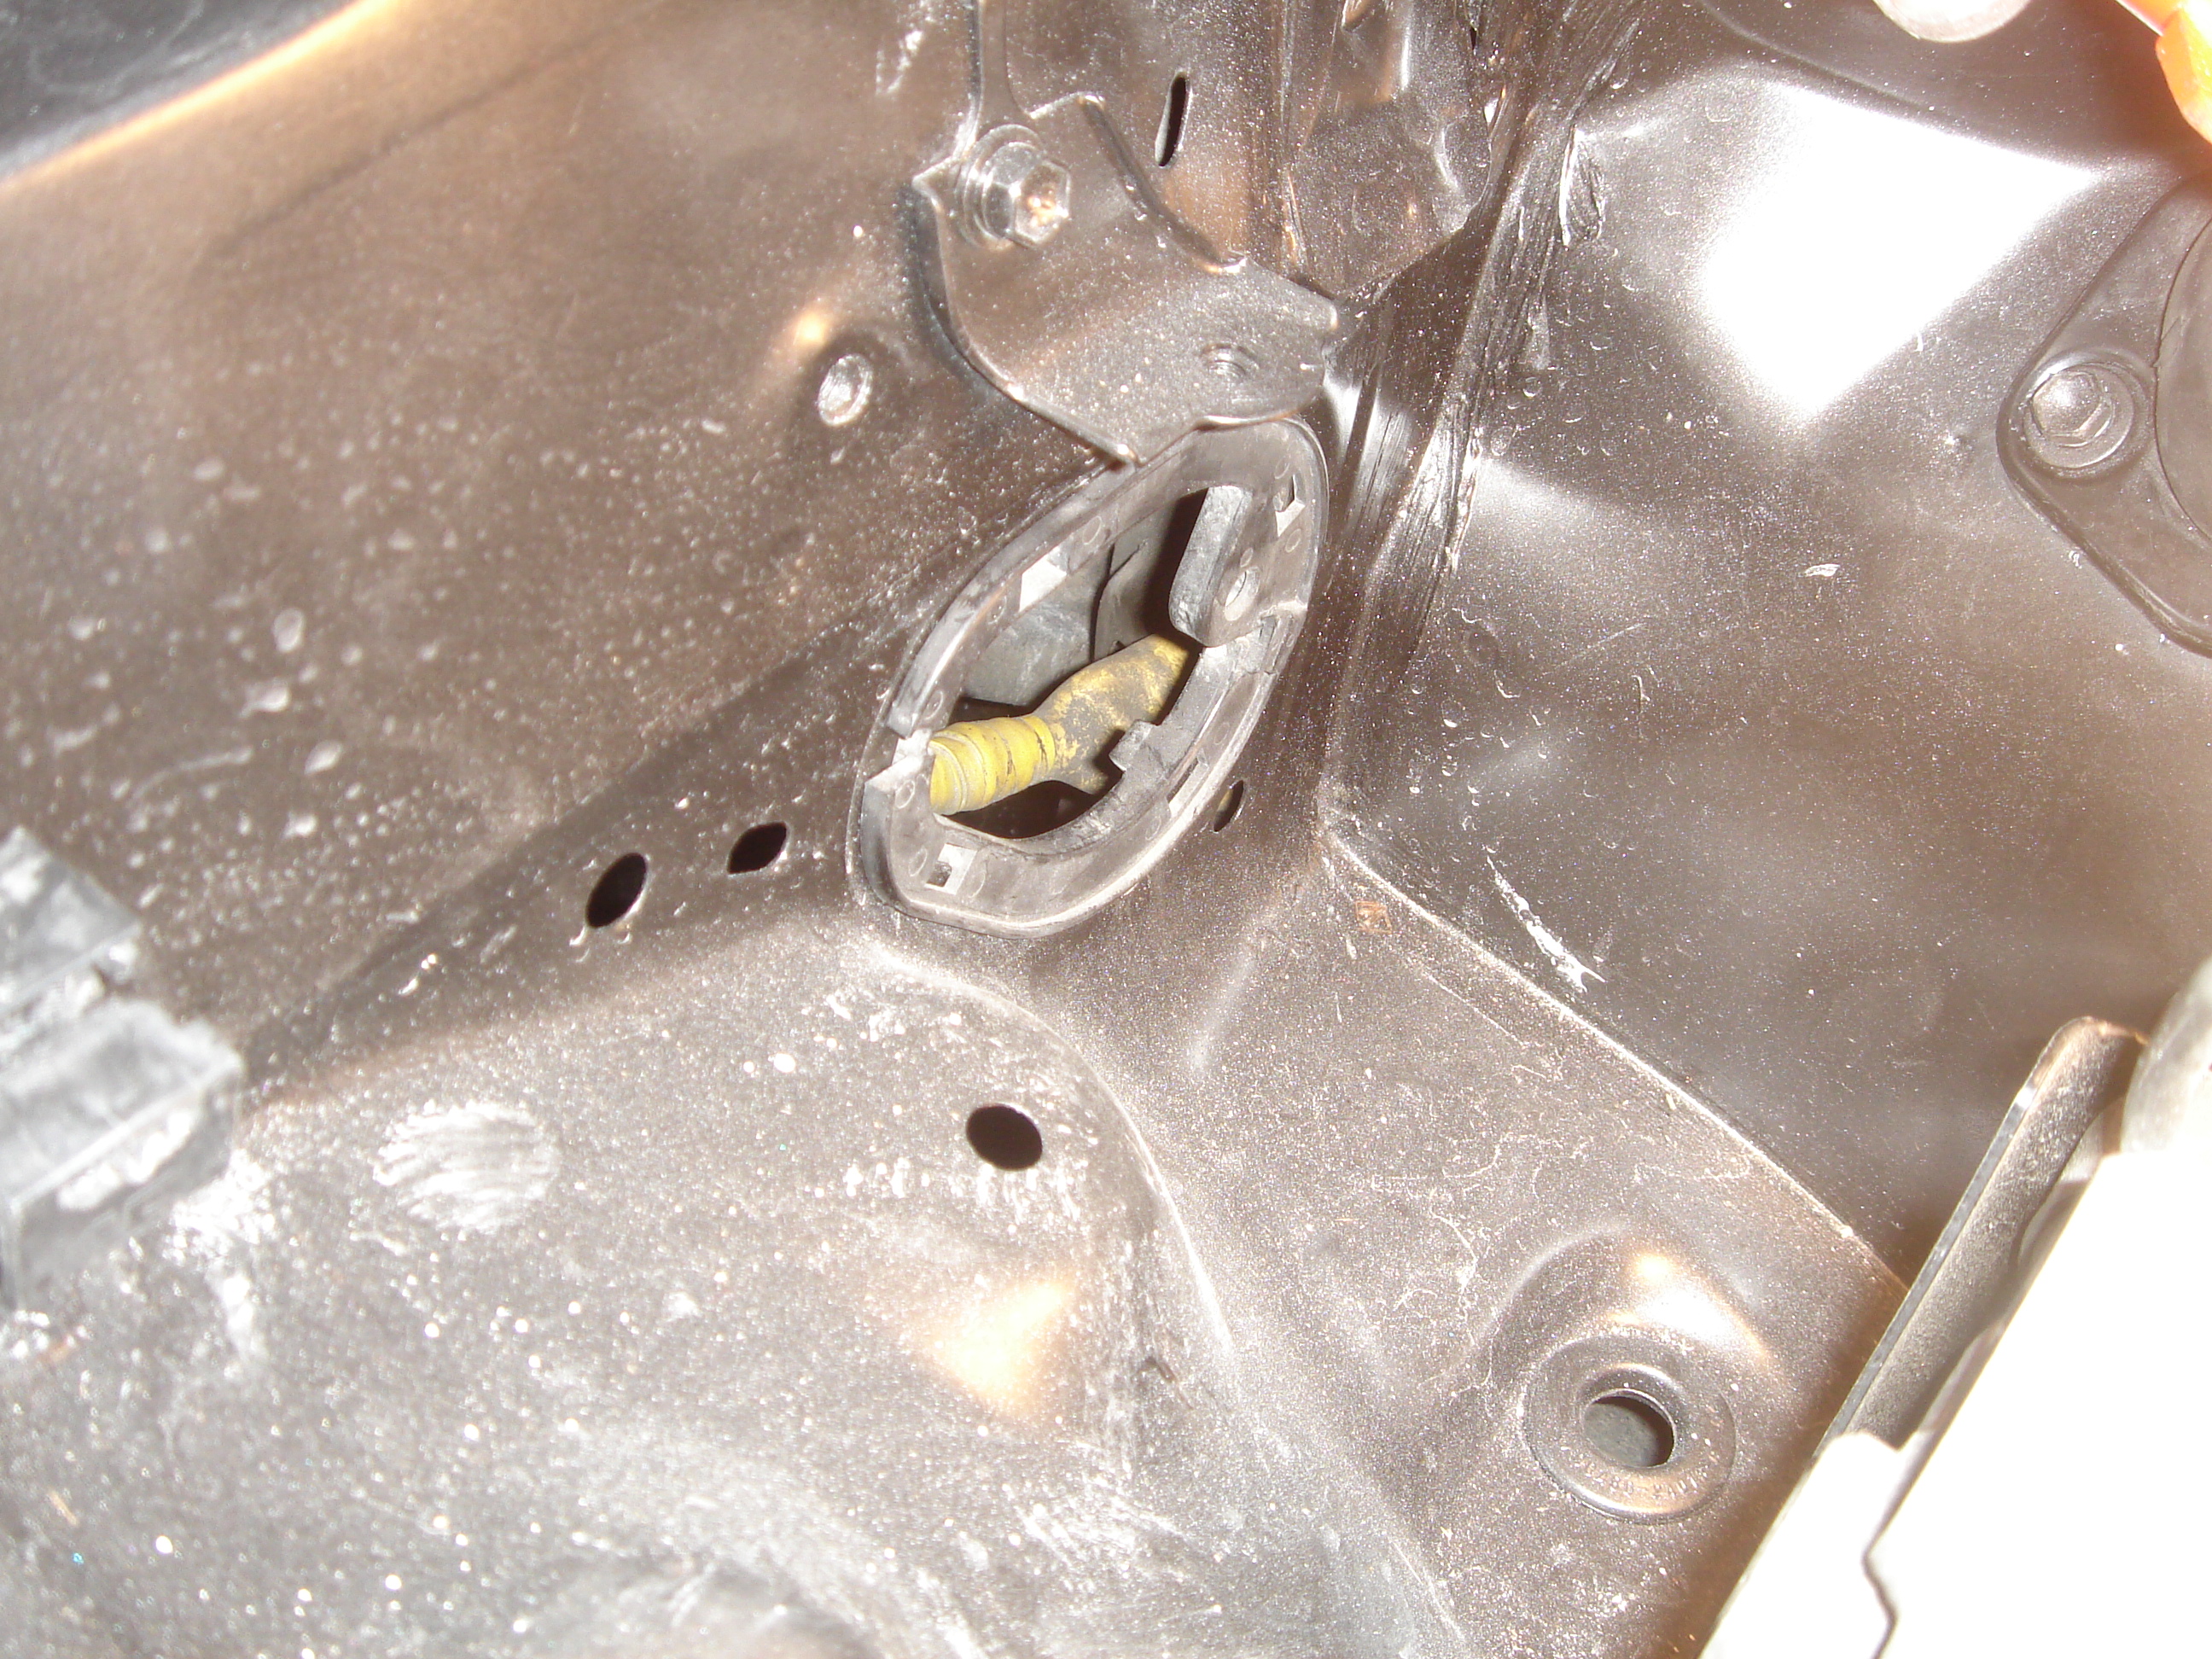
After all three are unclipped you can return to the wheel well to take out the orange rubber gromet that is in the firewall.
Now that you have this harness unclipped and out of the firewall you can start to pull everything into the engine bay. It will make it a little easier if you take that plastic piece off as you pull the orange rubber grommet and plugs through the engine bay.
Once everything is through you can replace it.
Now you have two options here.
Option 1:
Now you want to pull the harness back into the wheel well where some of the wires run out.
Once that is through I just let it hang there while I went back to remove the snap fasteners the harness was held down by. I opened the clip, and looking at the inside you can see where it has two fasteners pushing outwards to hold the clip to the vehicle. You want to push them in towards the center with the small screw driver and pull the clip out. Don't be afraid if you have to use a bit of elbow grease.
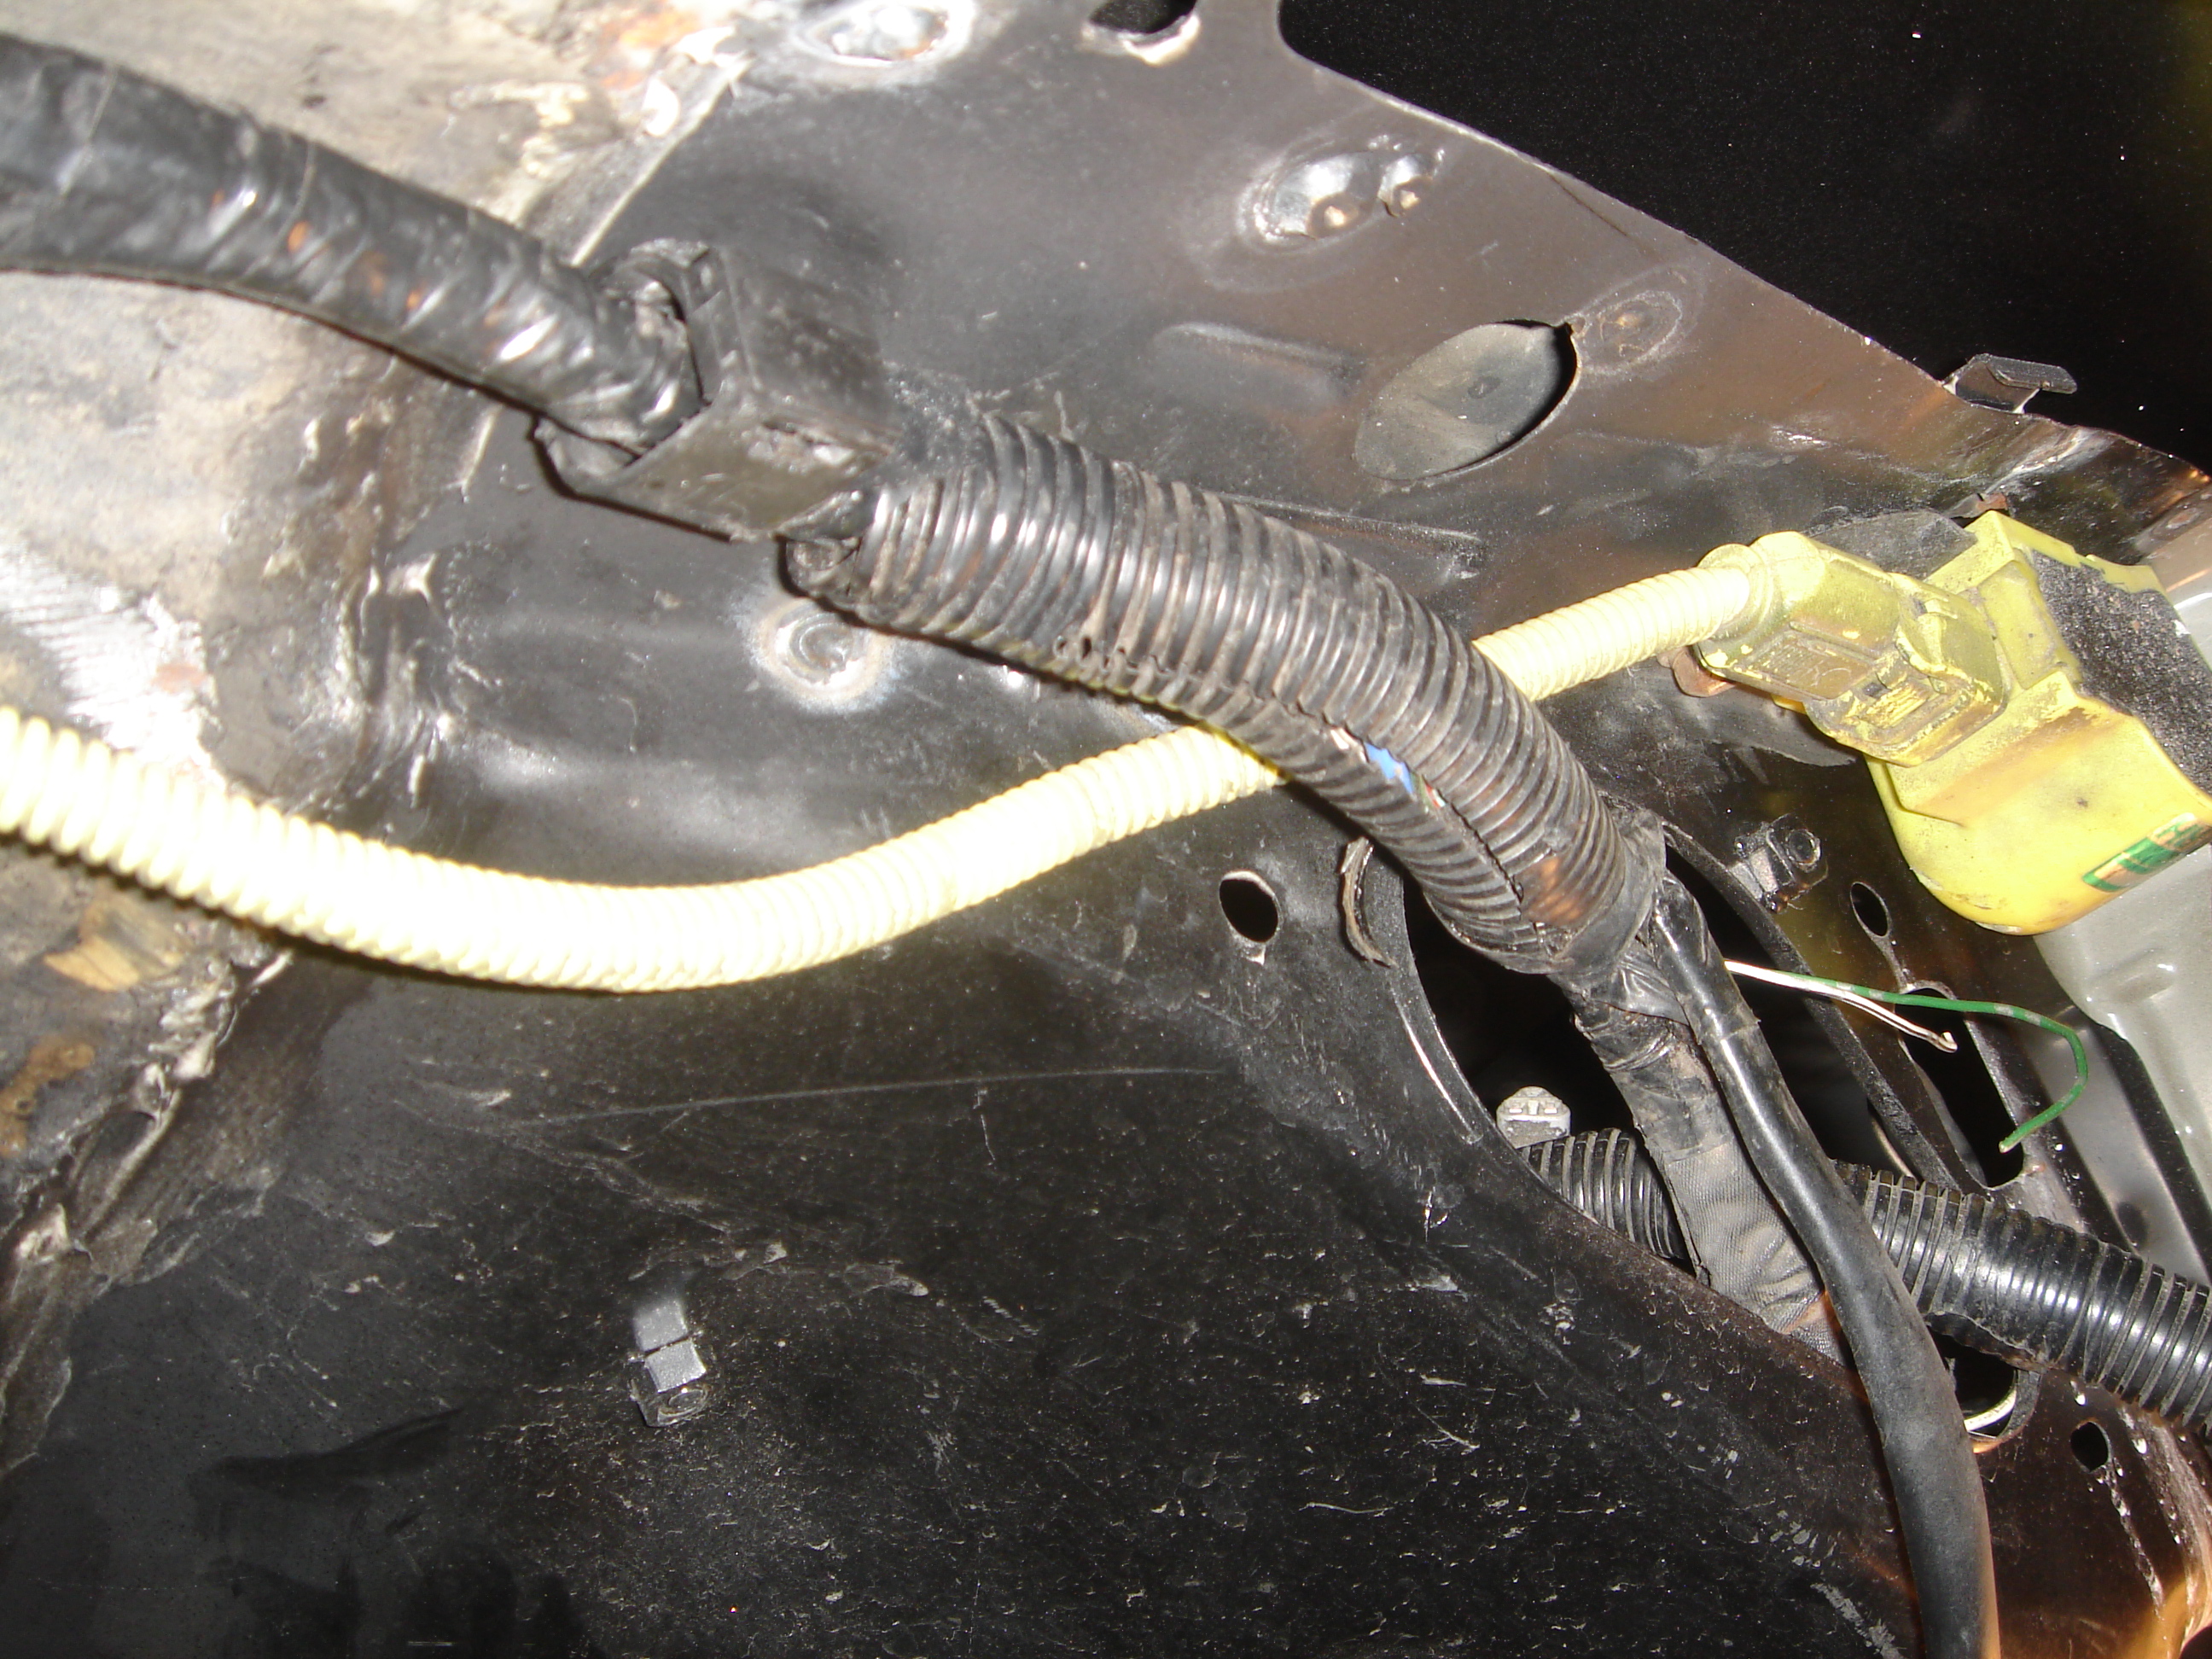
After I removed them I went ahead and used some to hold them up under the wheel well.
I then fed the 3 green plugs back through the firewall and the other 4 back out into the engine bay and plugged them all back in. The easiest way to get the orange grommet back into place is the fold it in half, push it through and give the harness a firm pull. Not to hard or you might rip it back out into the wheel well. Just enough so it provides the weather proof again.

OPTION 2: Cleaner, but more time consuming way!!
Remove the passenger headlight and unbolt the bolt that is circled furthest to the right in this next picture.
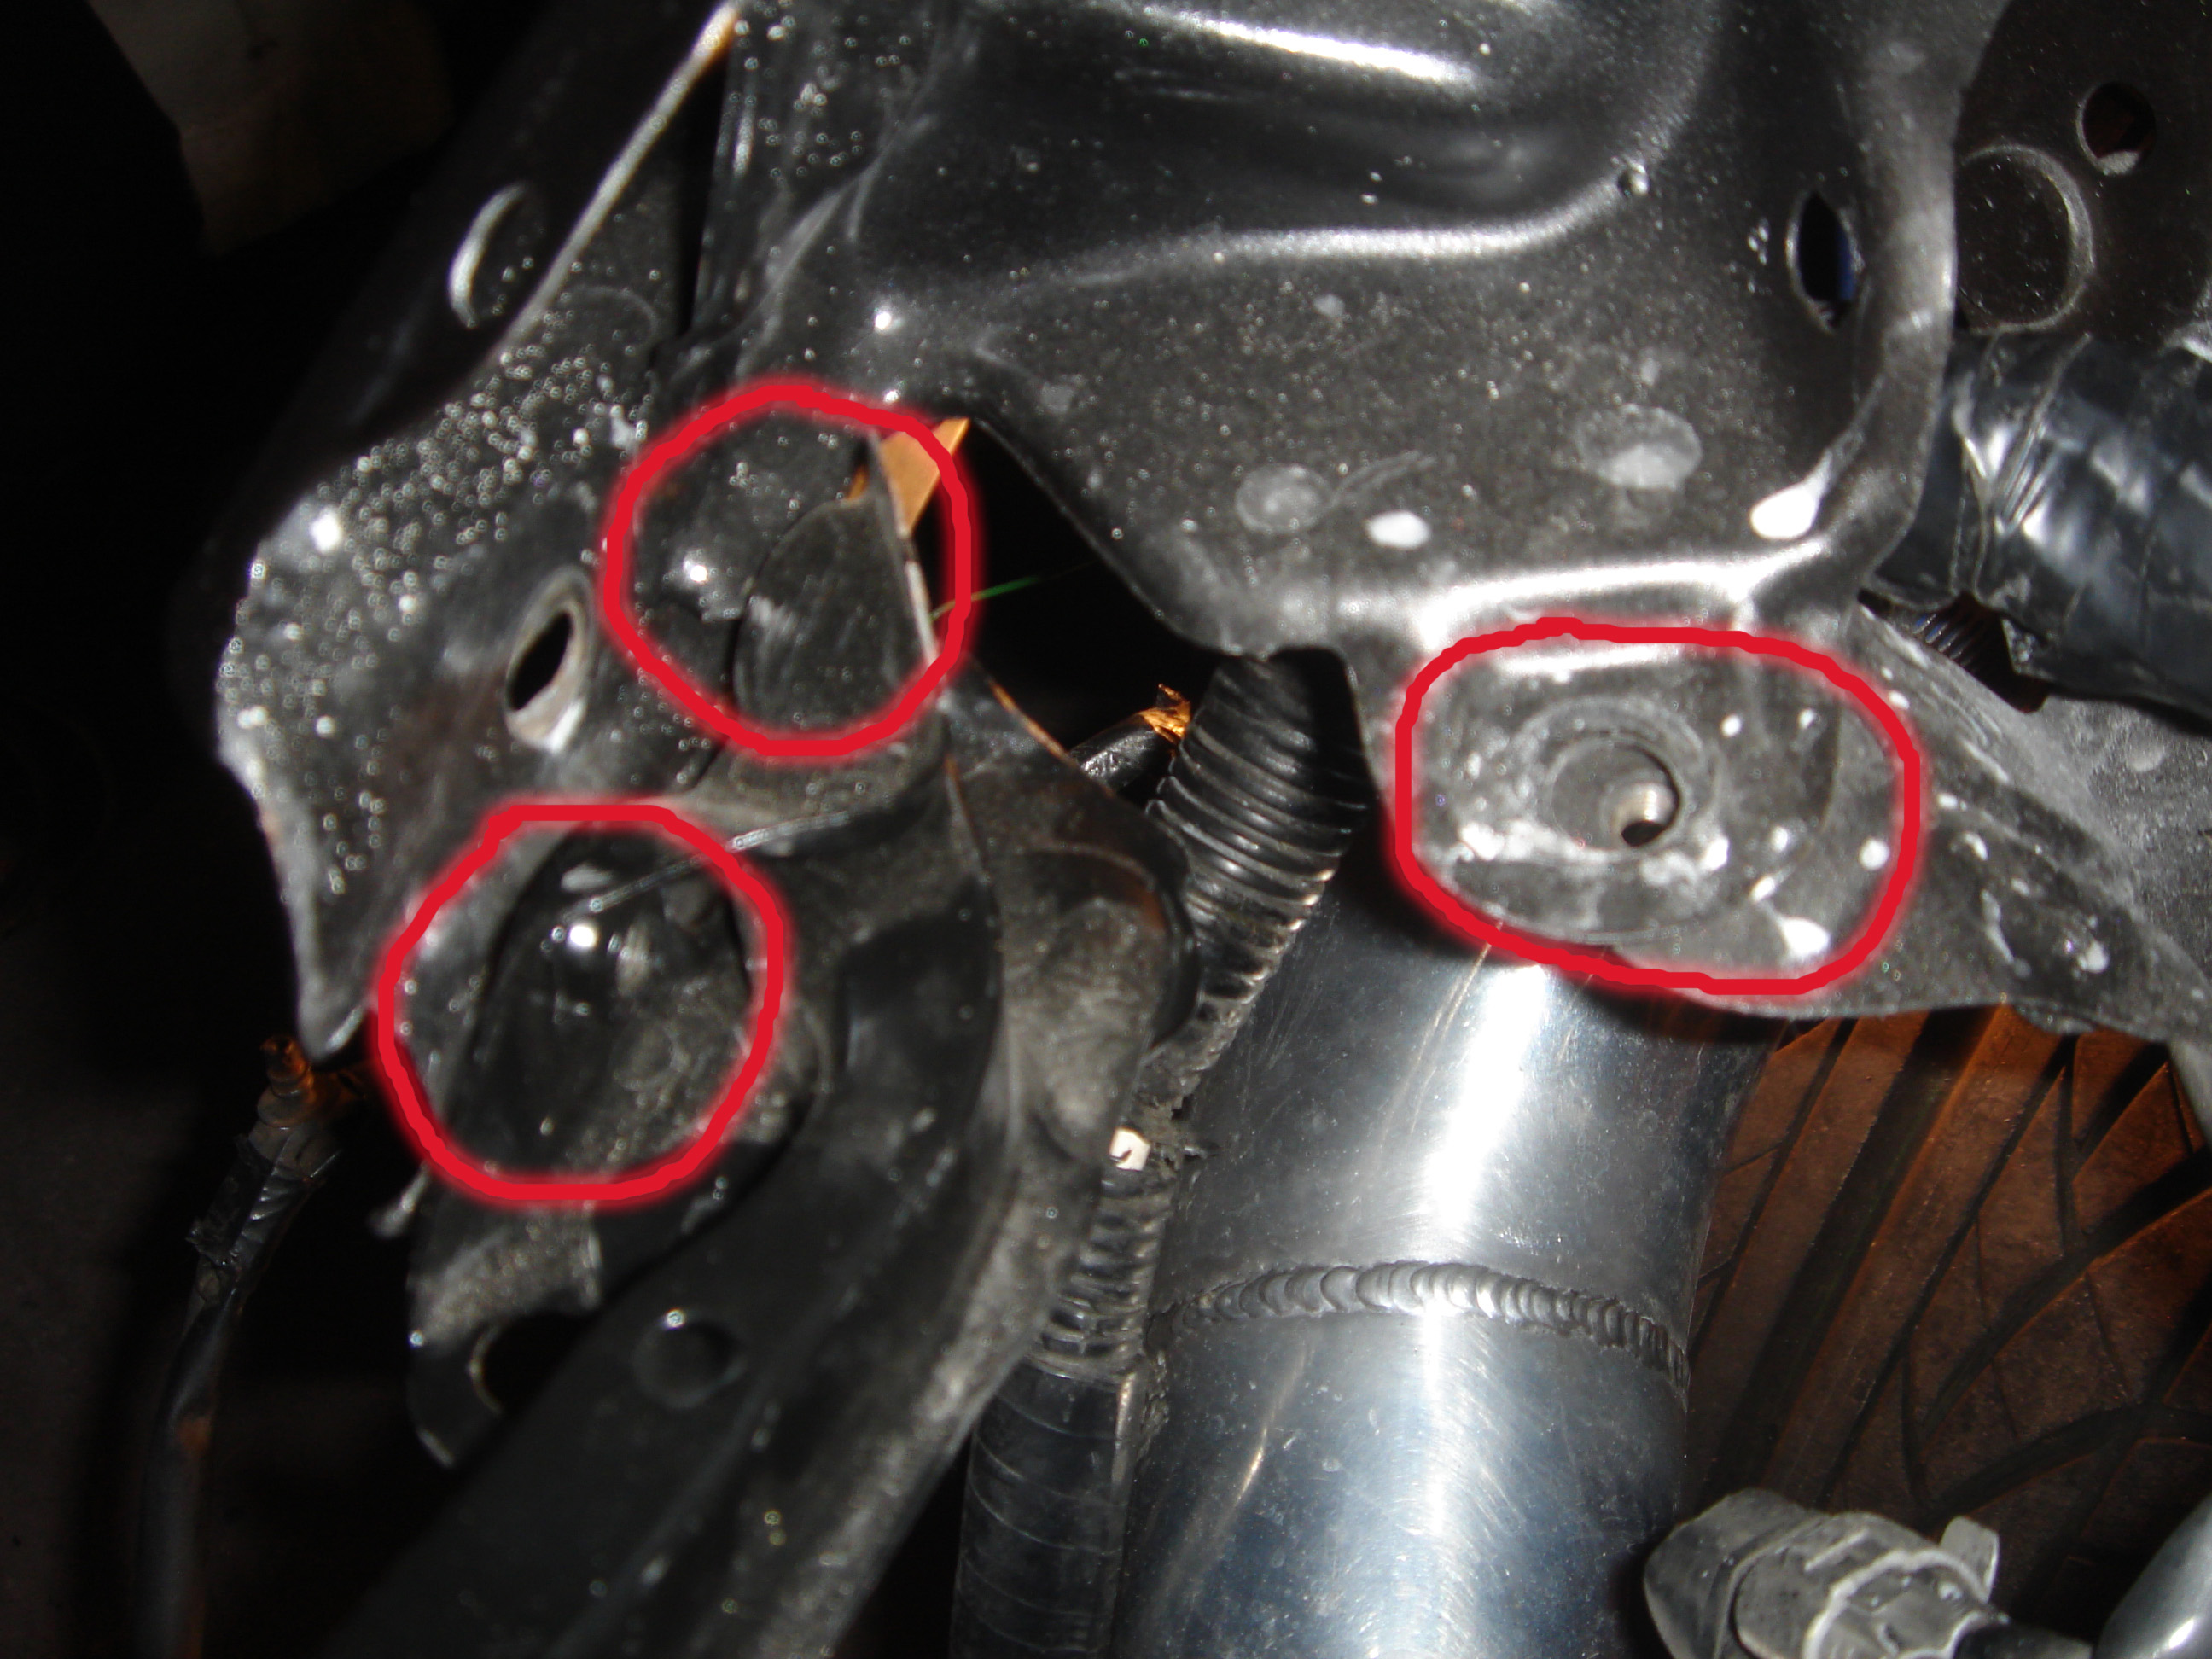
Then try to slide the wiring harness between those two pieces that were just bolted together.
**IF that doesnt work than you have to unbolt the passenger side of the front bumper to get to the two bolts that you see circled on the left. You should definitely be able to get it through then.
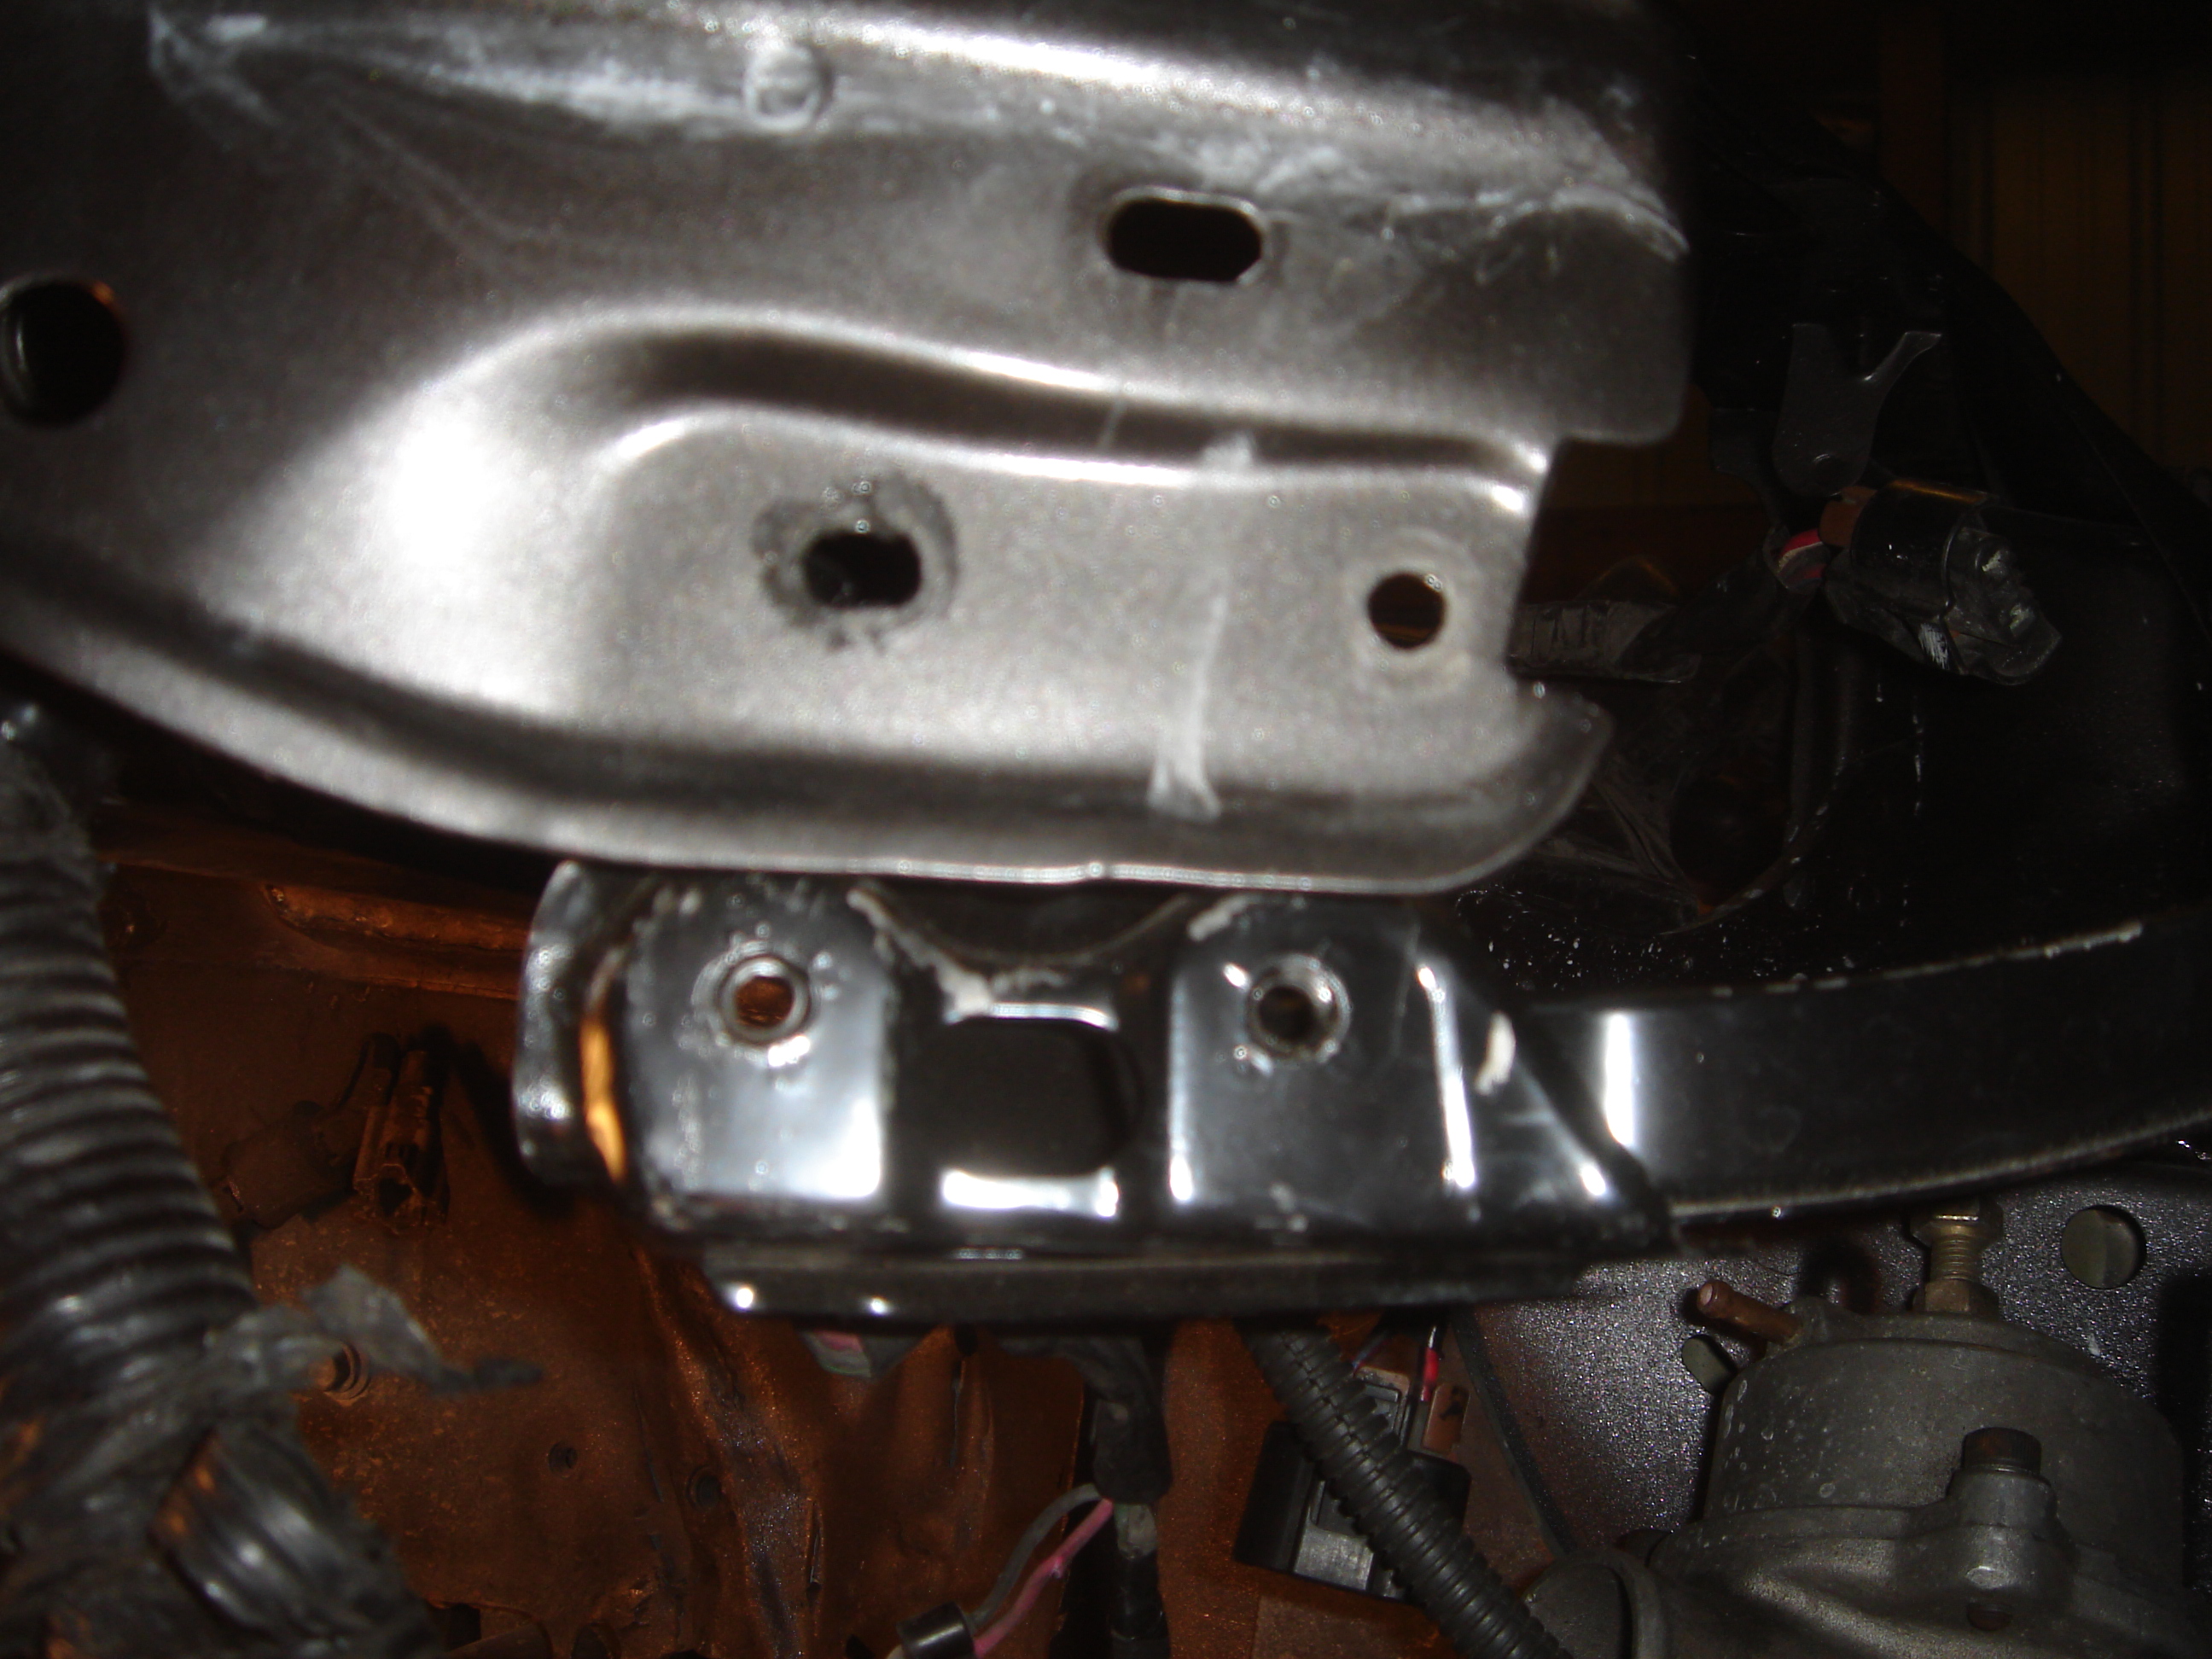
Here is a picture of those two bolts from the outside.
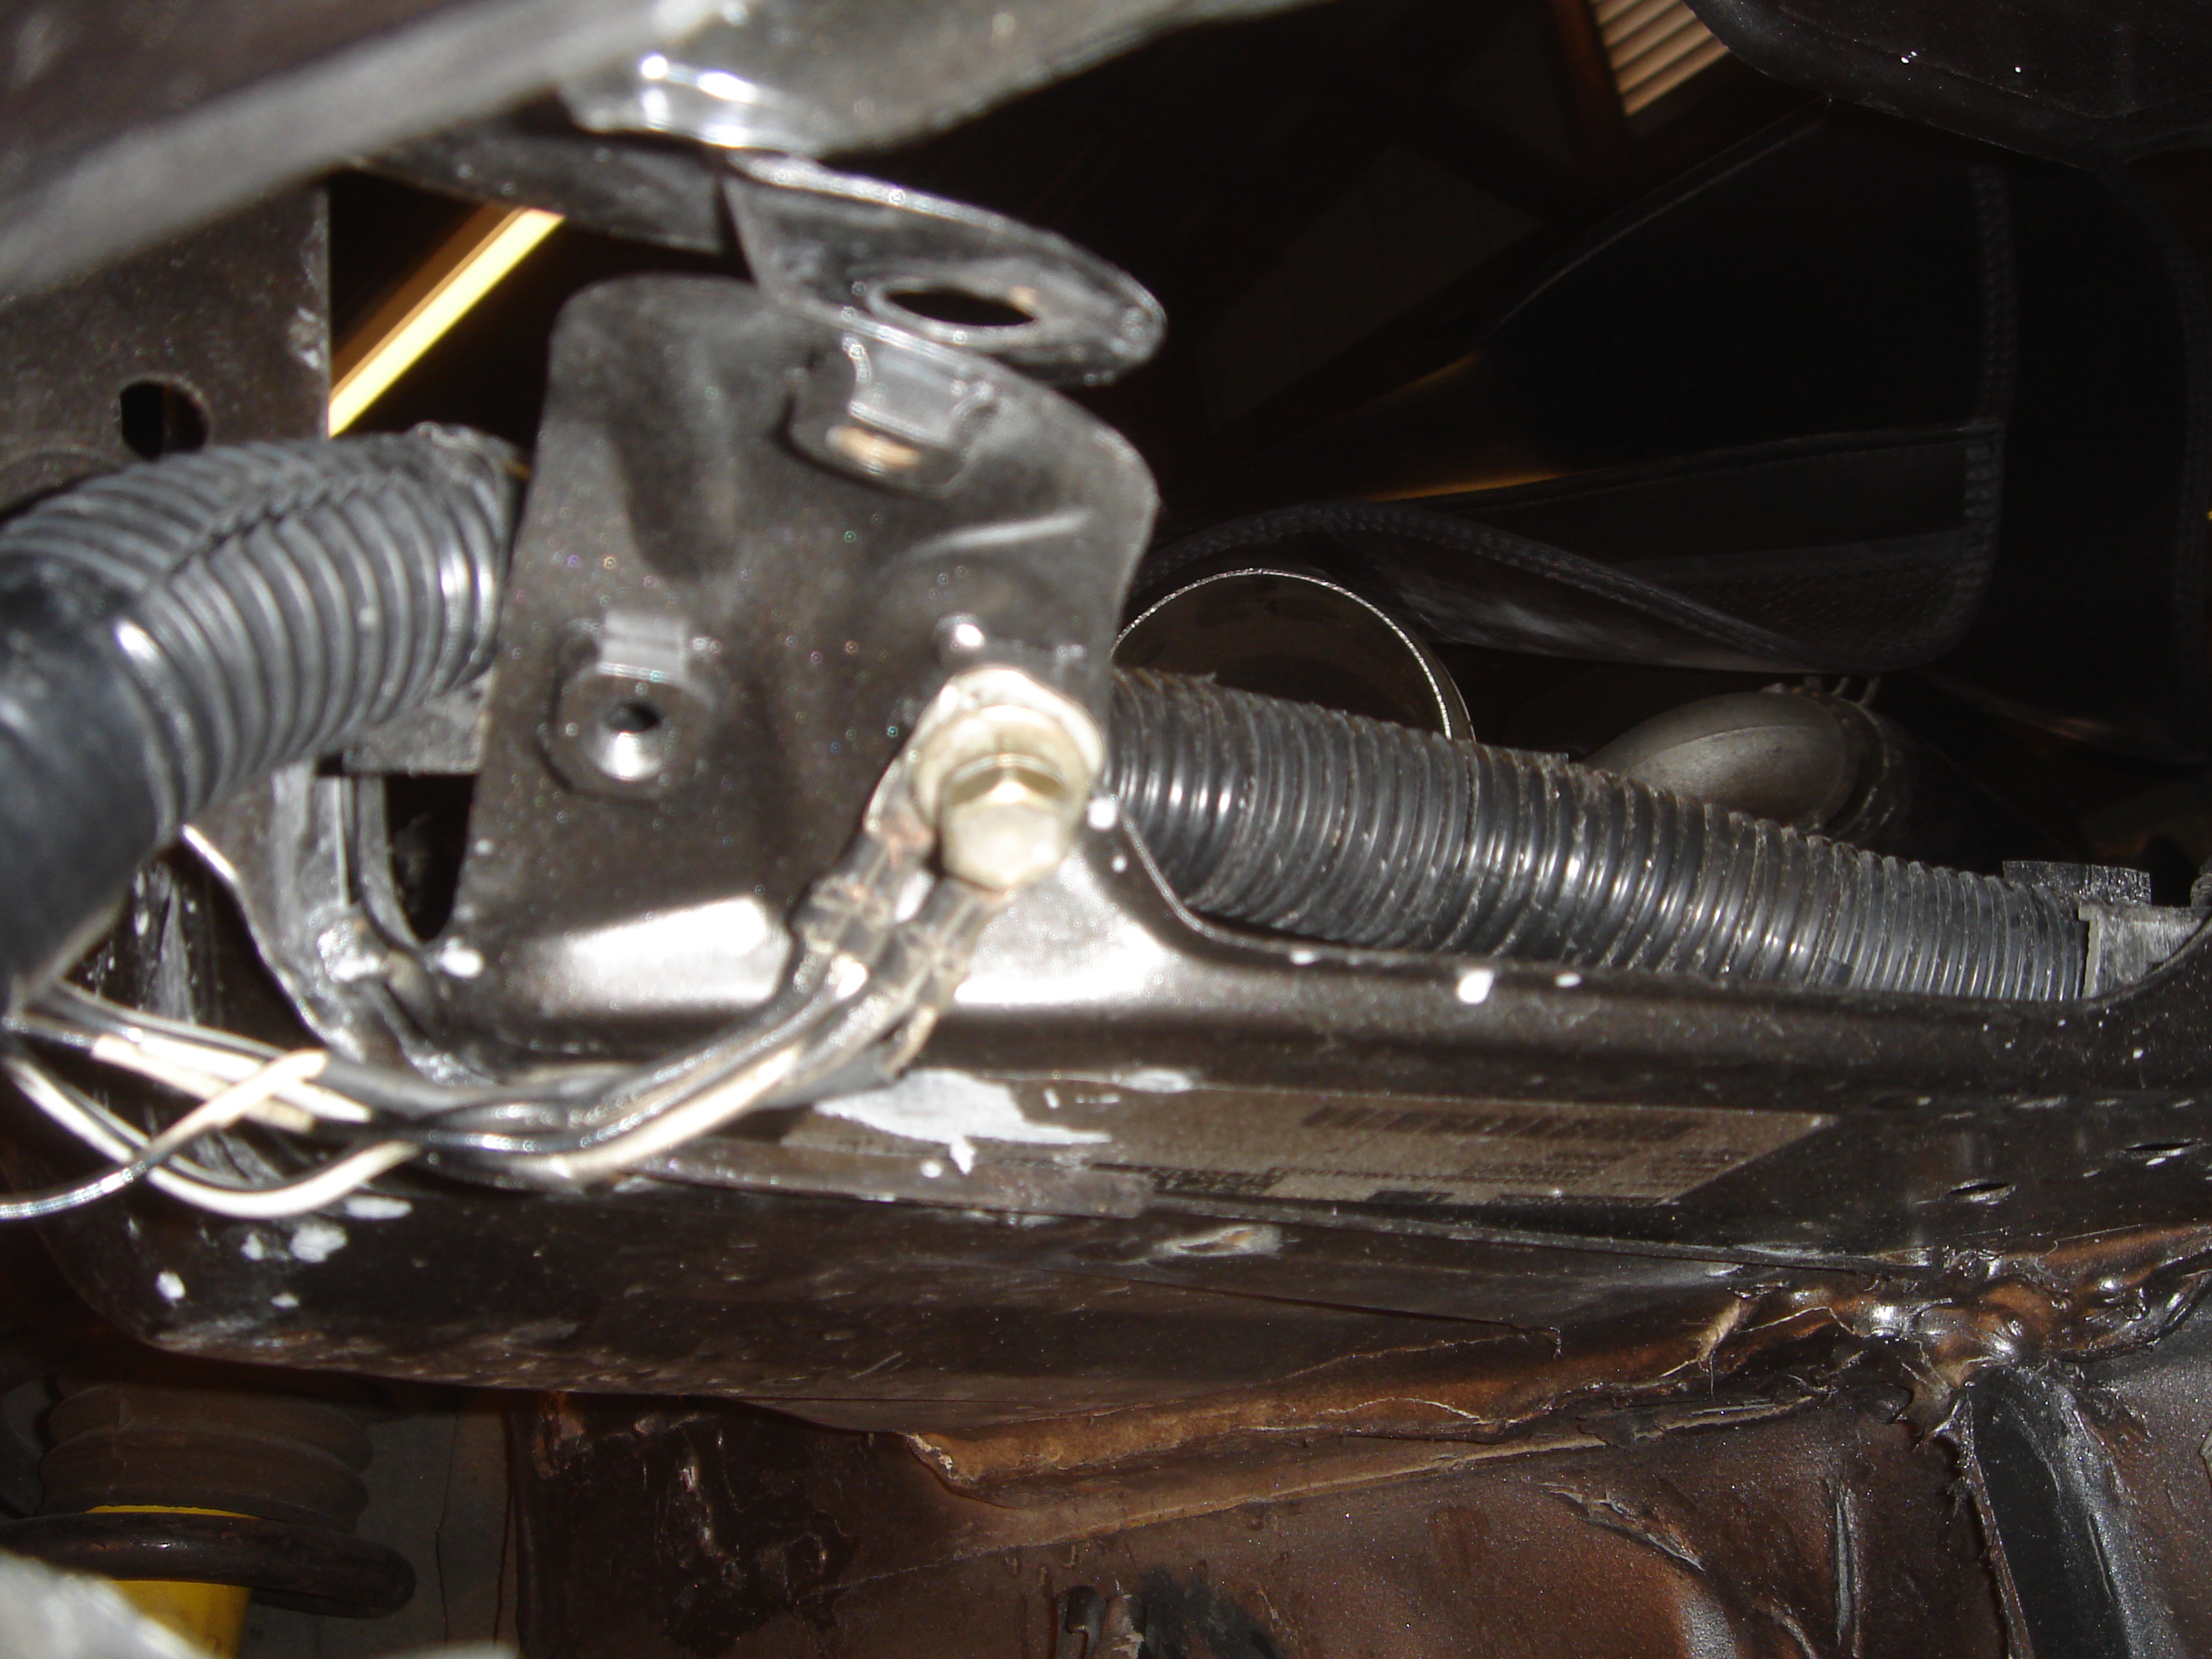
After you get the wiring through, Bolt your ground wire to this spot that is just under the first bolt you took of under the passenger headlight.
Immediately replace all bolts you took apart, as well as the headlight and the front bumper (if you had to take it off).
Go ahead and used some of the wire holders to hold the harness up under the wheel well. (or use wire ties)
I then fed the 3 green plugs back through the firewall and the other 4 back out into the engine bay and plugged them all back in. The easiest way to get the orange grommet back into place is the fold it in half, push it through and give the harness a firm pull. Not to hard or you might rip it back out into the wheel well. Just enough so it provides the weather proof again.