- Boost Gauge Install

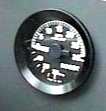
- Purpose: Allows you to monitor the turbo's boost levels.
- Tools/parts required: 52mm (2 1/16") boost gauge (fits clock location), philips screwdriver, 10-12 feet of vacuum hose (preferably non-black), 2 feet of shielded electrical wire, knife, coat hanger, flash light.
- Time required: 1-2 hours.
Steps:
- 1. Disconnect the negative battery terminal using 10mm wrench to prevent the air bag light from getting stuck on.
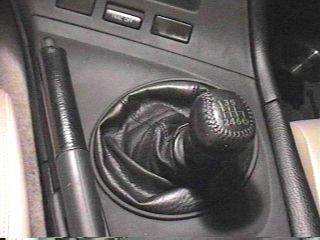
2. Remove center console:
a) remove ash tray
b) pull up rear part of console from the ashtray area

c) pull up left edge of console around shift level

d) pull up console over shift knob (undo Velcro on leather)

e) unplug electrical connector to ashtray light

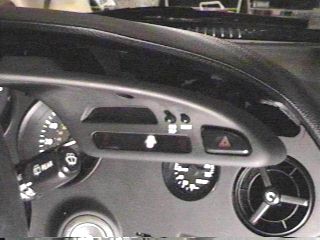
3. Remove upper dash panel:
a) remove 5 screws holding panel

b) pull off panel

c) remove screw behind panel

d) disconnect both wiring harnesses from upper dash panel, remove panel

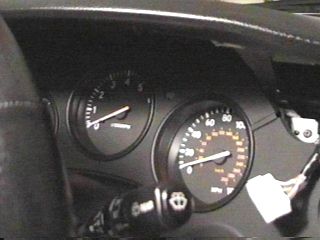
4. Remove panel that covers the speedo and tach

5. Remove main dash panel that covers clock, radio, etc.:
a) pull up lower right corner of dash

b) pull upper left part of dash panel

c) pull right part of dash panel, you may need to use a flat-head screwdriver.

d) the dash panel should now come free

6. Disconnect electrical harness to clock, remove clock using screwdriver
7. Install boost gauge:
a) install gauge, tighten using supplied brackets

b) connect vacuum hose to boost gauge

c) route vacuum hose thru dash to the left, route thru upper dash to fuse box area near clutch pedal.

8. Connect boost gauge electrical wires to allow the dashboard dimmer knob to control the boost gauge's back-lighting at night:
a) route electrical wires from boost gauge behind dash, pass near gearshift knob. You'll probably have to add an additional 2 feet of wire.
b) cut off about 3" of the tube covering the wires going to the ashtray light
c) connect black ground wire from boost gauge to green wire going to ashtray light. Both wires look white in the picture, but the one on the right is really green.
d) connect 12V wire from boost gauge to white wire going to ashtray.

9. Reinstall dash panels:
a) pop main dash panel back into place
b) install screw into upper part of main dash panel from step 3c
c) install speedo and tach panel

d) install upper dash panel and 5 screws

e) plug ashtray electrical connector back in
f) install center console back over shift knob

10. Vacuum hose connection:
a) punch hole thru the small yellow rubber grommet near clutch pedal with screwdriver
b) route vacuum hose thru this hole into engine compartment, push as far and as high as possible

c) bend coat hanger to create a hook. From engine compartment, usecoat hanger to pull vacuum hose into engine compartment. This part isnot easy. Use a flash light to locate the hose coming thru thefirewall. It is easier to see if you are using a non-black hose. Youcan also try to tape the hose to another coat hanger from inside thecar to help push it upwards.

d) route vacuum hose to left side of intake manifold. If the free FCD mod has been done, simply disconnect the vacuum cap that was placed on the "Y" in that mod ("A" in fig. 2 of FFCD mod) and plug the vacuum hose onto the "Y"

If the free FCD hasn't been done, use a vacuum "T" to connect the boost hose into the vacuum line that goes from the "Y" to the turbo pressure sensor (see the free FCD mod for detailed pictures).
11. Reconnect the negative battery terminal.
- 12. Take a test drive. At idle my SPI boost gauge reads 20 IN Hg, light throttle 0 psi, at full throttle in 4th gear and high RPM it reads around 11 psi on a stock motor

